 Cassandra.org
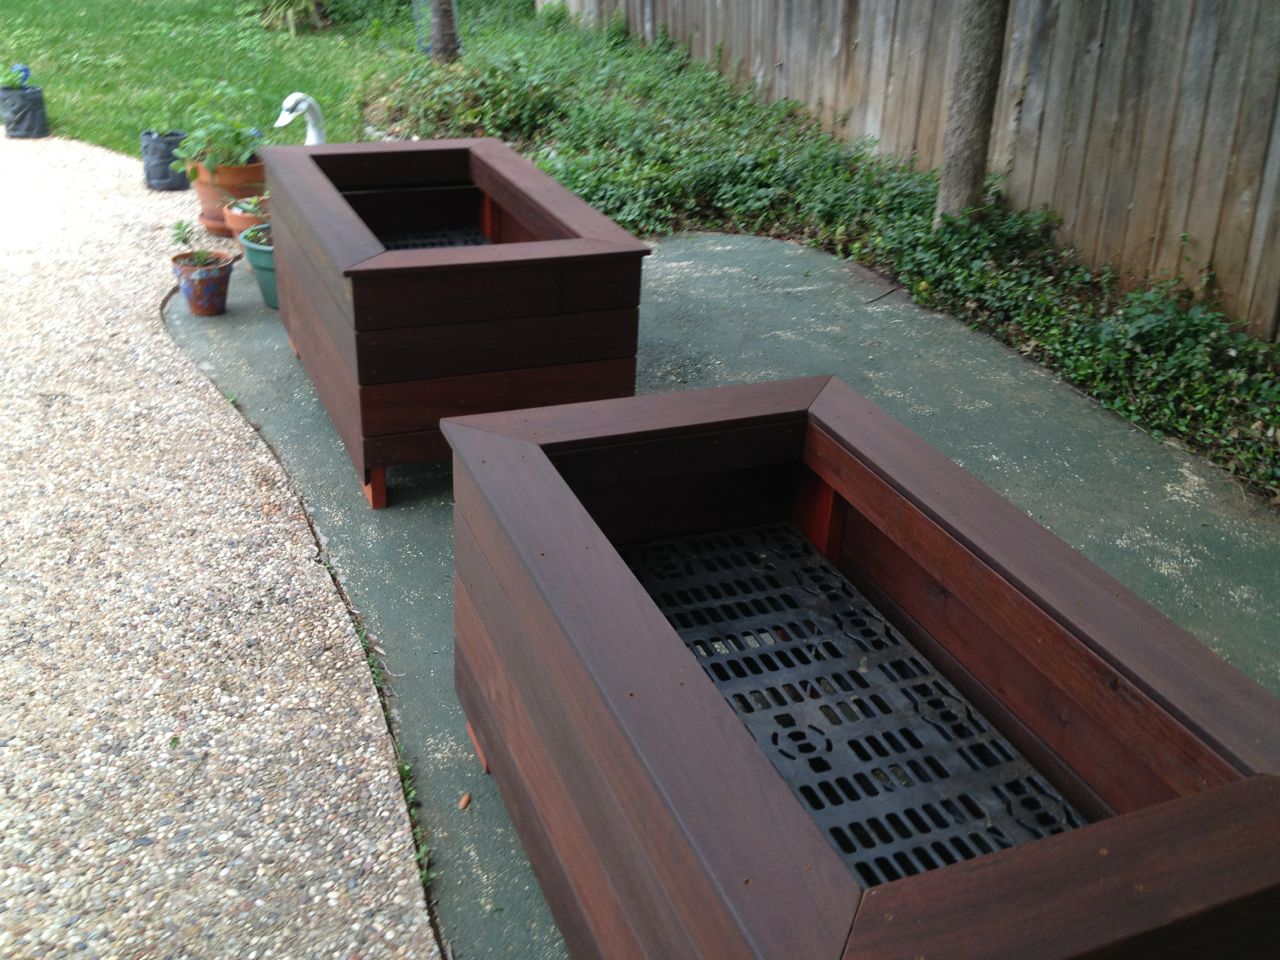
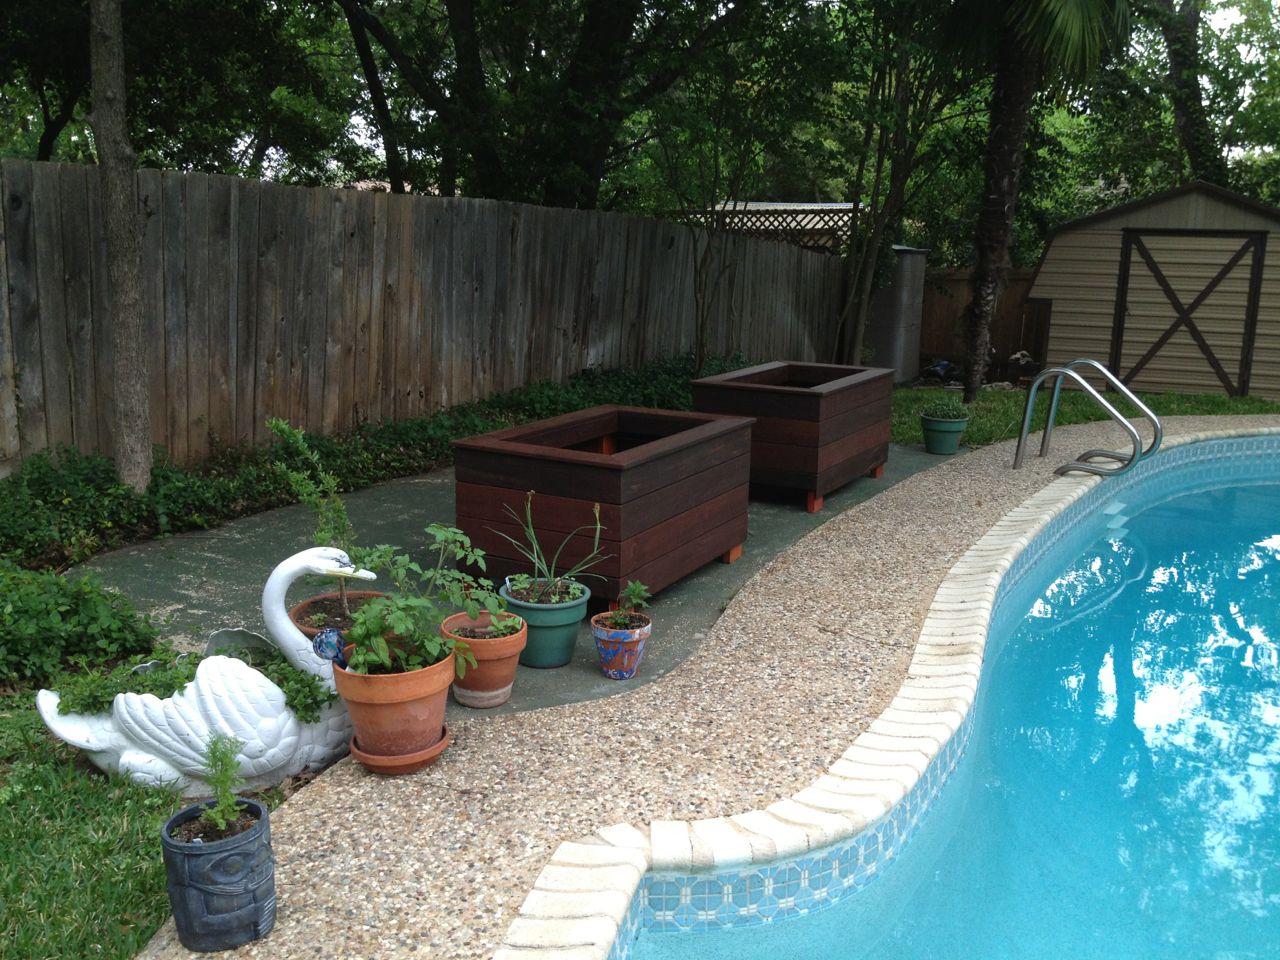
Planters (closeup)
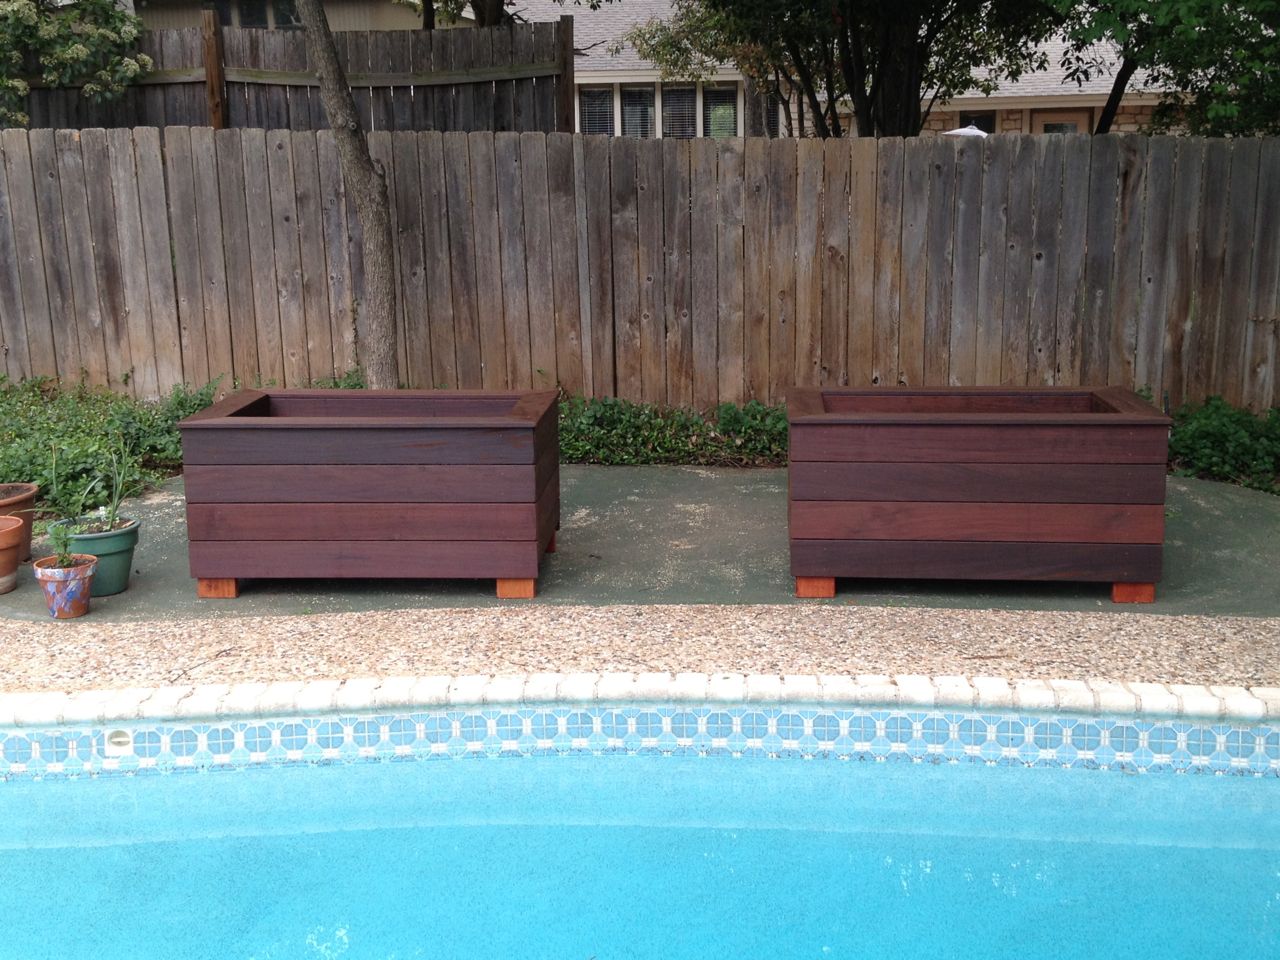
Planters (front view)
Story
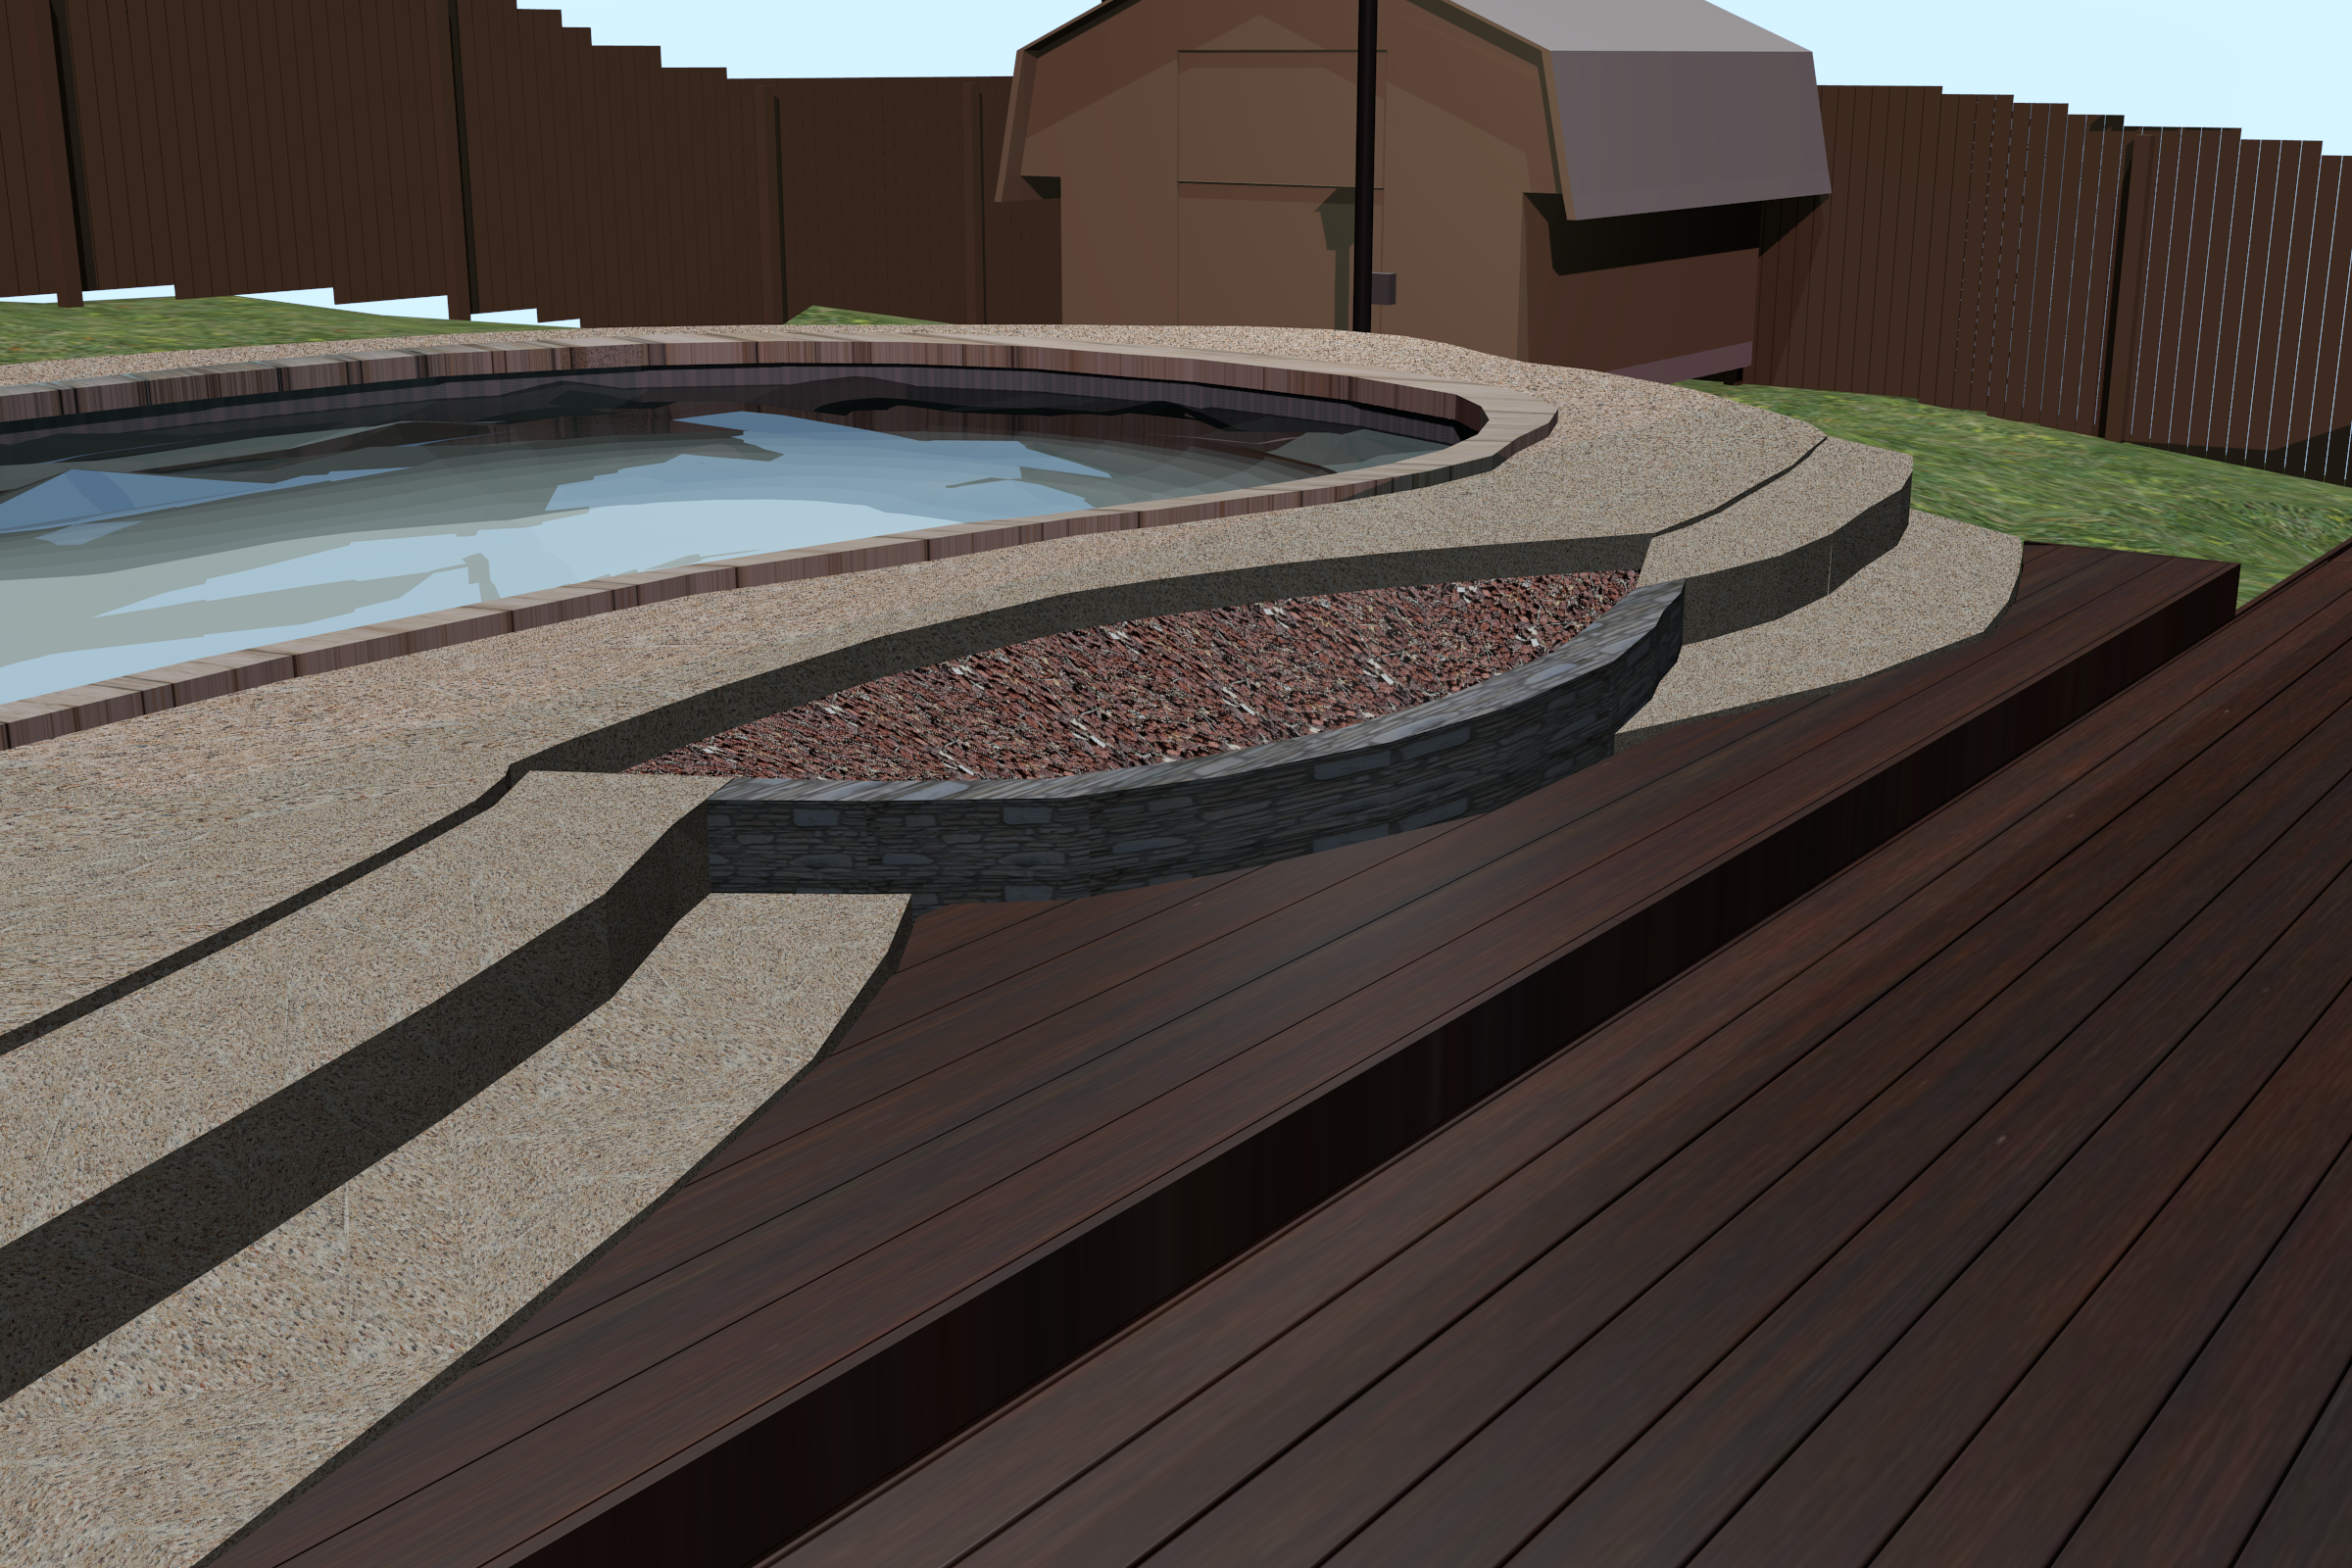
Abandoned Design for Steps
I had a fair amount of extra wood lying around from the various deck
related projects from the previous year (see Decks, Deck Screen and Deck Furniture). This wood
consisted of pressure treated 2x6's and 2x4's, plus some Ipe 1x6 and
1x4 deck boards. This wood was originally slated for an oddly shaped
area between the new decks and the pool. The proposed plans for this
consisted of some steps and planters, which are shown on the Deck Perimeter Project
Page. To save on delivery charges, I bought the wood for this in
advance of having a firm plan, since I needed to gte the wood for the
project Deck Furniture - Phase
II.
I grew dissatisfied with the initial plans and later decided not to
follow through with the wooden steps idea, and went with paving stones
instead. The extra wood sat there for about 9 months before I had a
plan for it. The wood was also preventing me from being able to park
my car in the garage, so I was motivated to find a use for it.
With the new deck and removal of the old decks, we were left with a
somewhat barren area toward the rear of the property. Creating
planters that would match the deck seemed to be a good combination of
being functionality useful, visually adding to the backyard and
consuming the extra wood.
Details
The trickiest parts of designing planters for this project were the
constraints:
- needs to be very sturdy to hold the weight of a lot of soil and pots;
- should be relatively simple to construct;
- needs to tolerate standing water/soil well; and
- needs to be made with only the remaining materials.
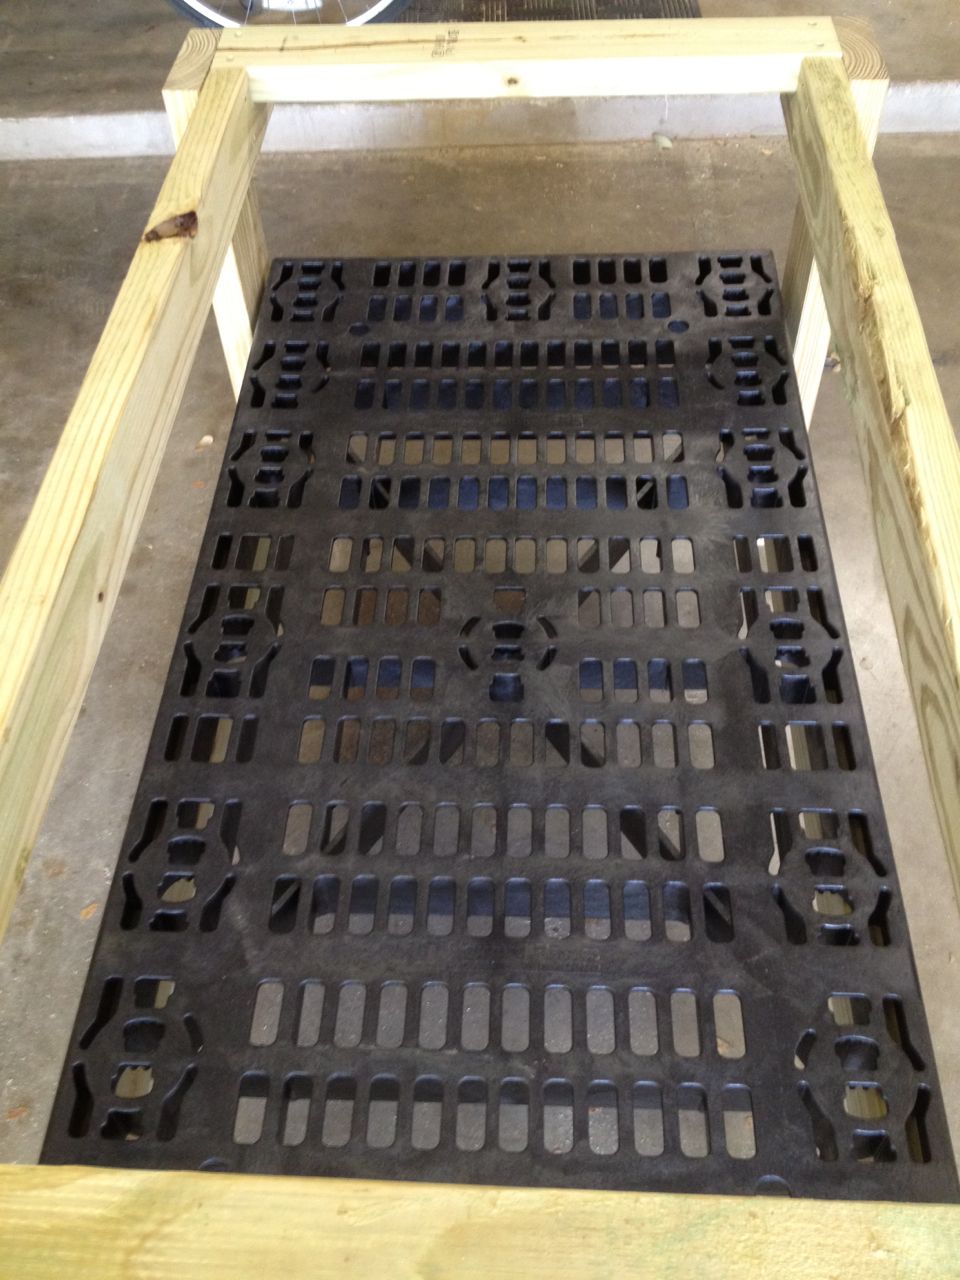
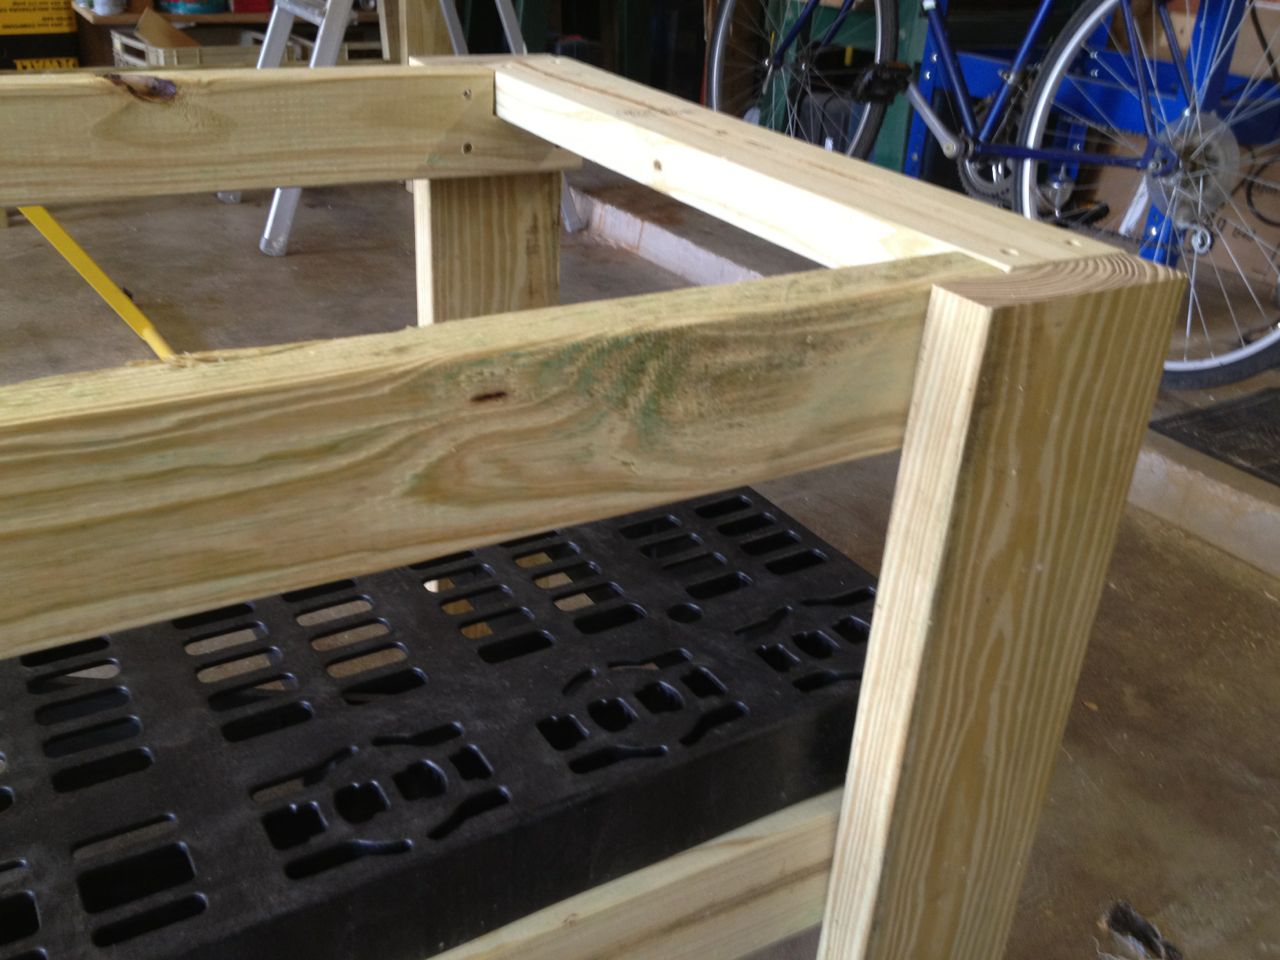
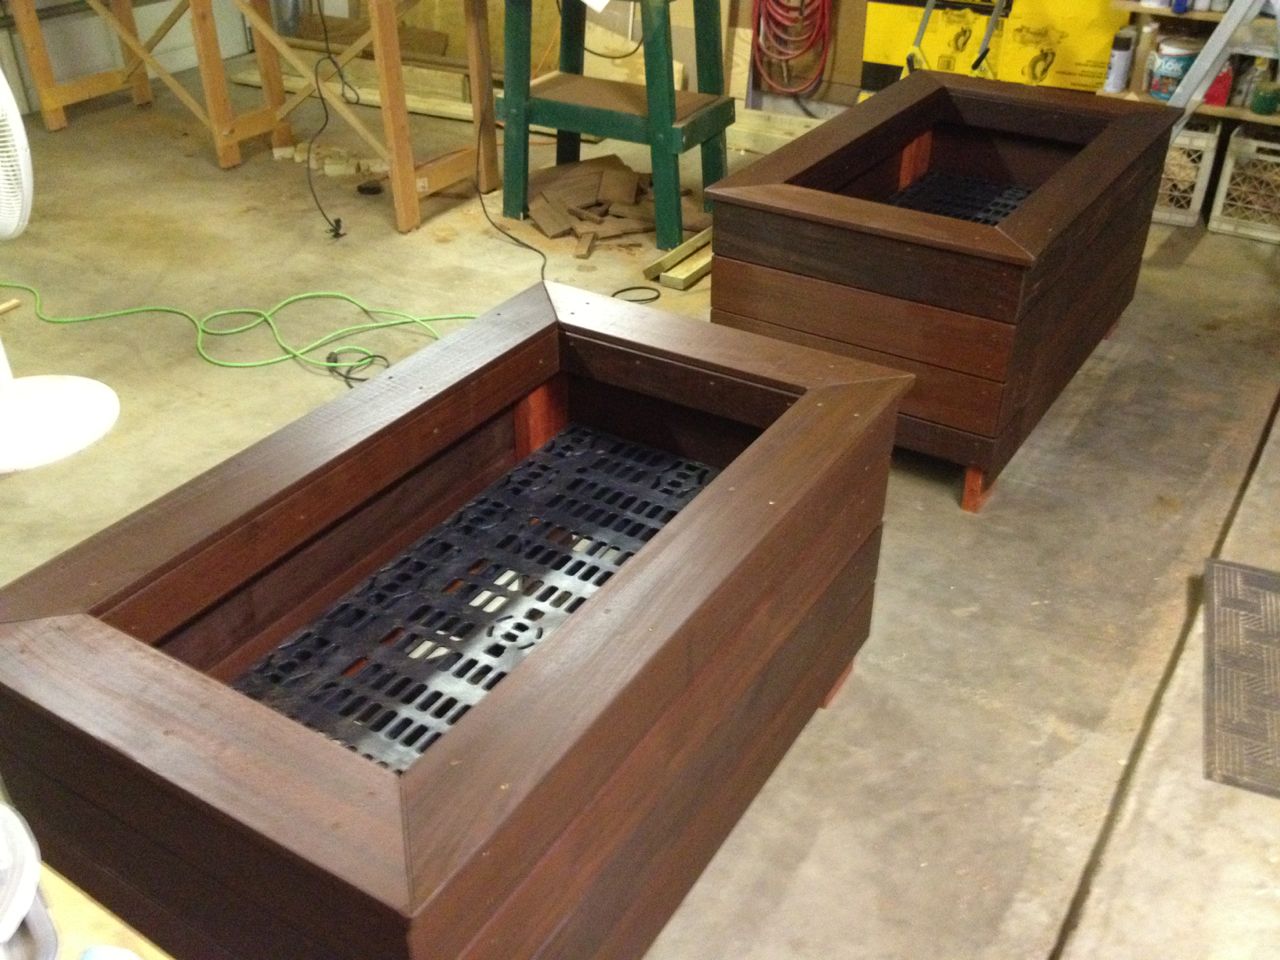
Plastic Base (closeup)
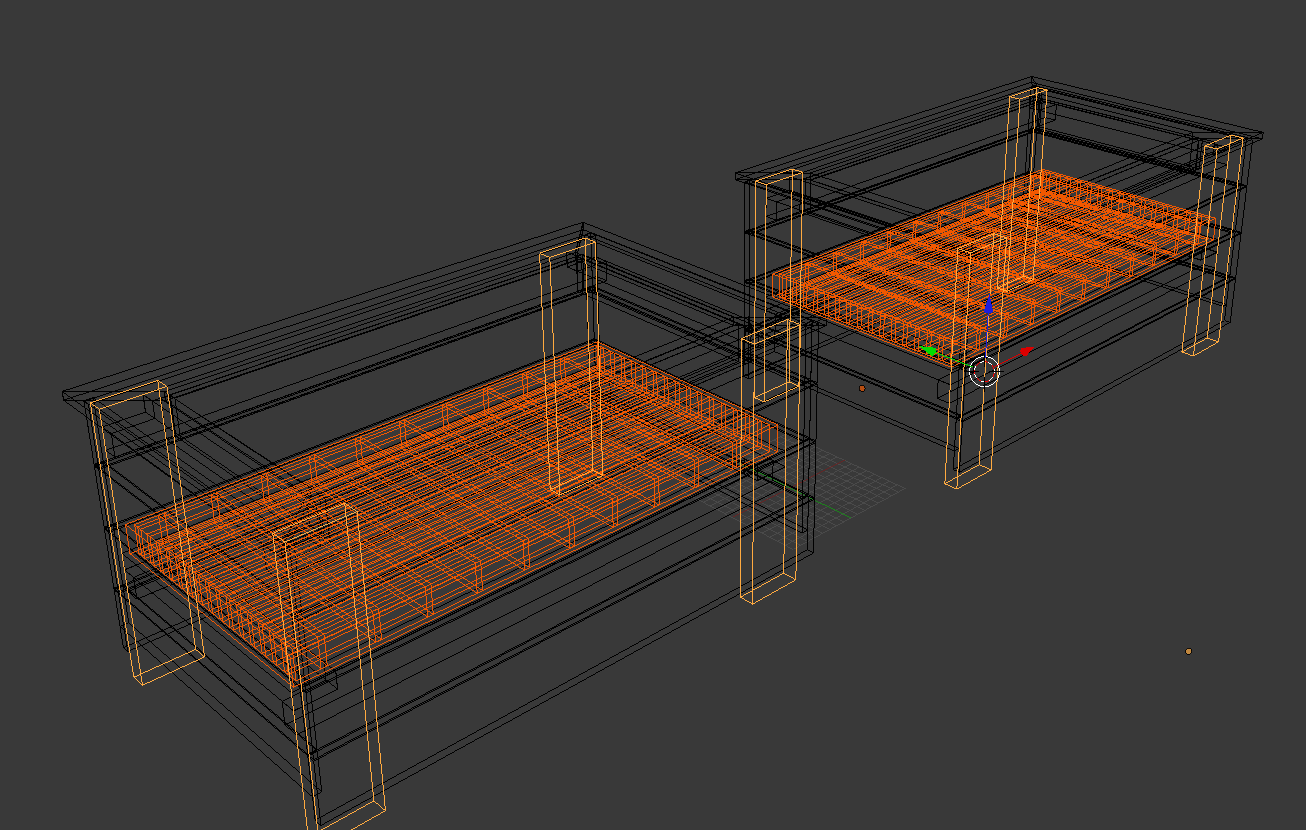
New Planter Design
As usual, I created the design
using the Blender software.
What proved the most difficult though was designing the flooring that
the plants woudl sit on. I did not like the idea of direct contact
between the pots/soil/water and wood. I thought about and researched
various rubber and plastic coatings I could use, though about plastic
supports, but then found these sturdy, marine-grade plastic bases that
were designed for use in artificial waterfalls. They were meant to be
submerged and have heavy rocks on them, so fit my requirements
perfectly. They were 2 feet by 4 feet, which was just about the size I
was planning on for the platers, so I modified the designs to
accomodate theitr exactly dimensions.
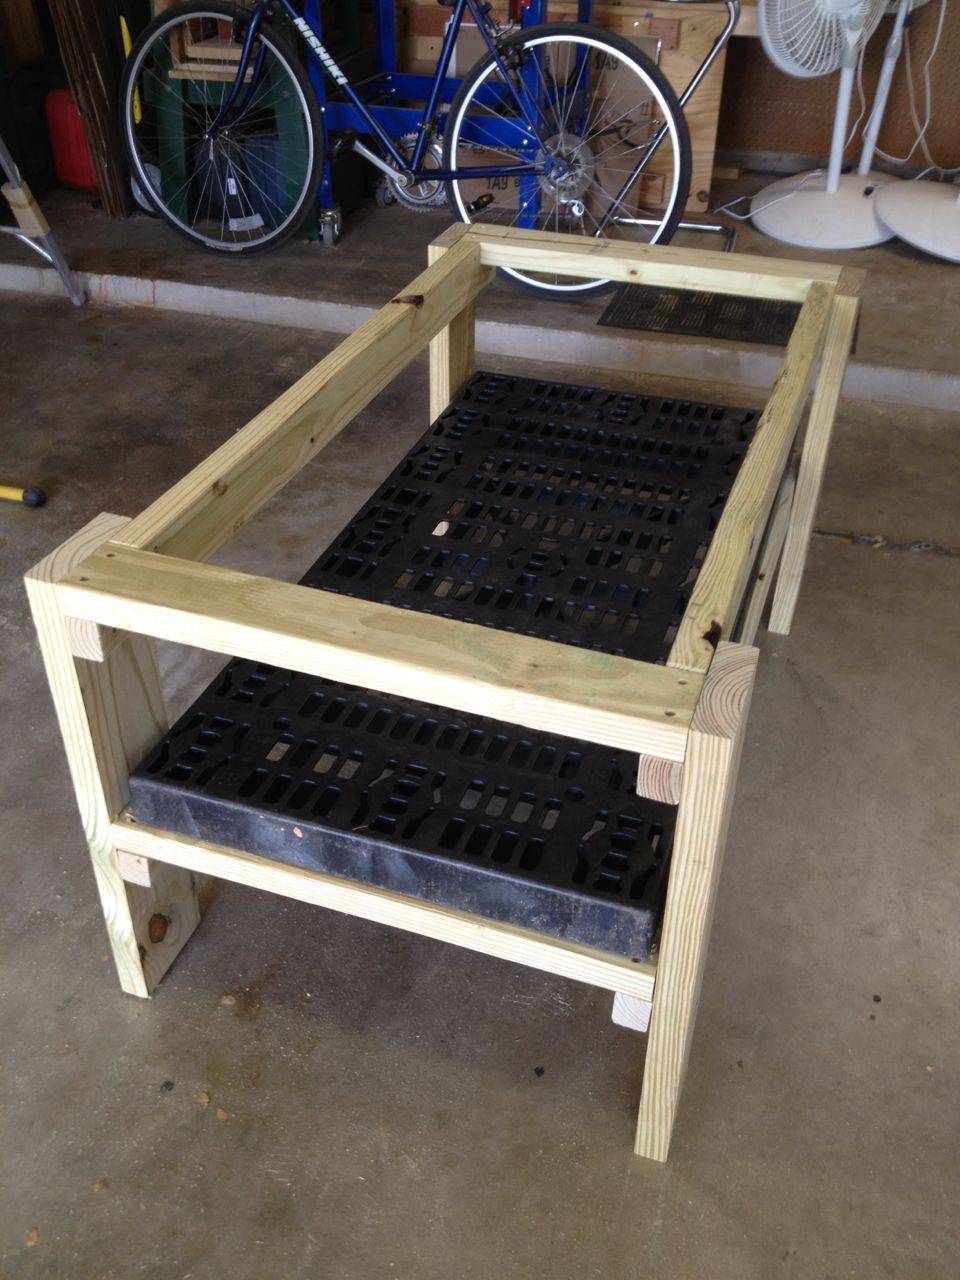
Frame Completed
Frame Assembly
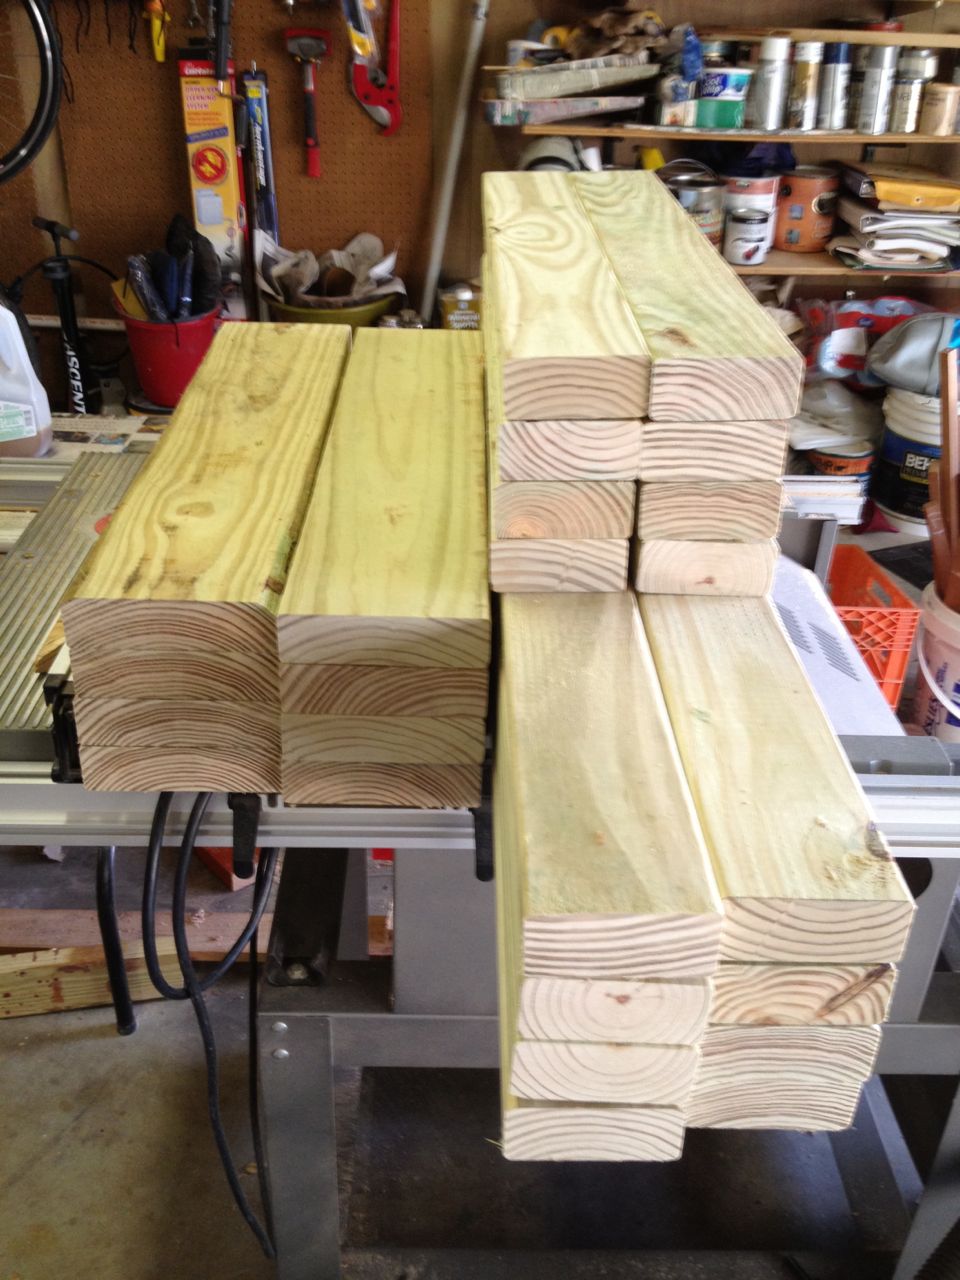
Cut Frame Pieces
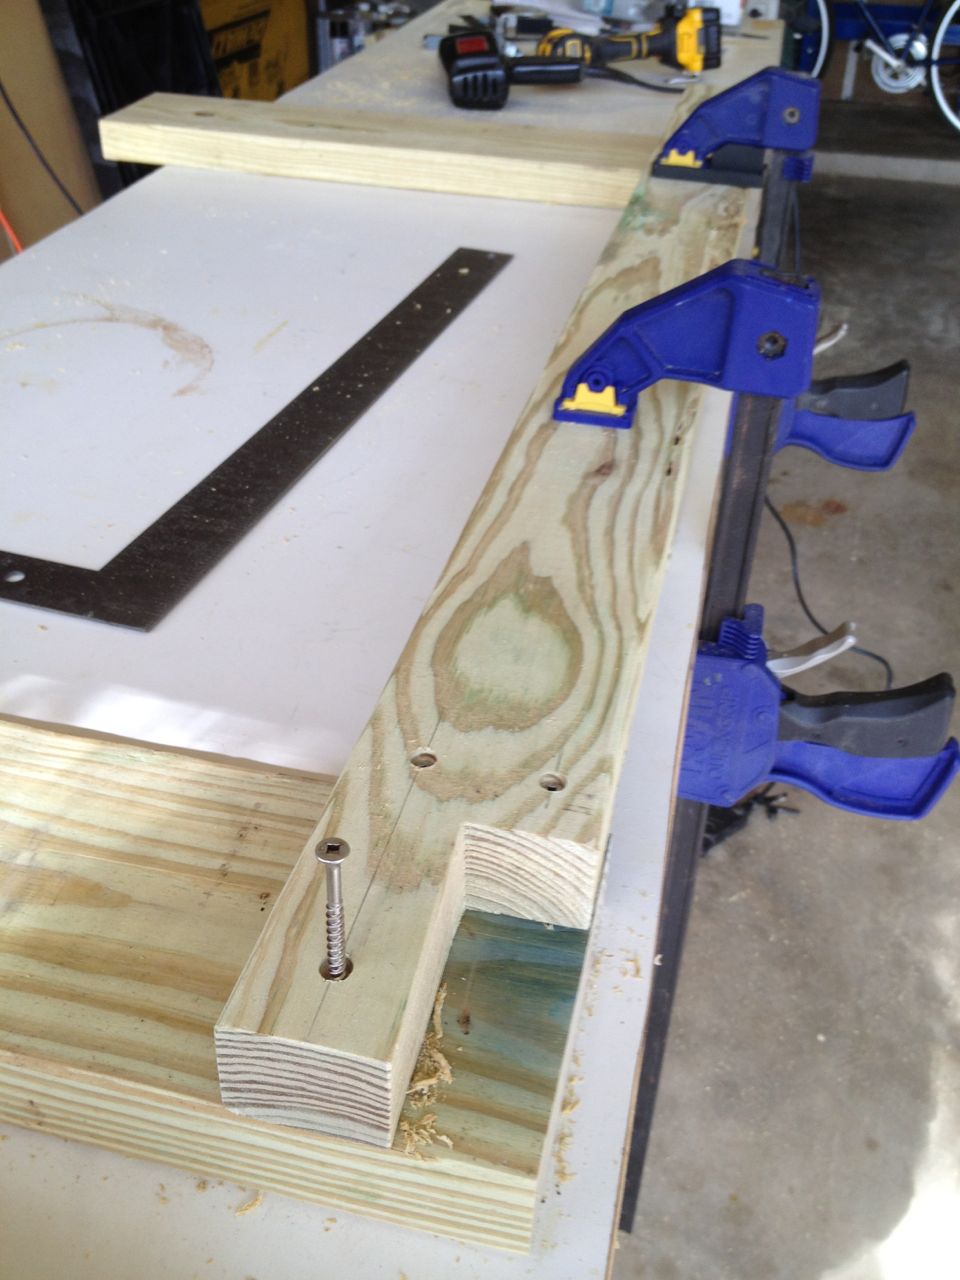
Once the design was complete, the building was straigh-forward and
uneventful. I used the extra stainless steel screws I had from the Deck Furniture project to ensure
it would hold up to the elements. I first cut the frame pieces out of
pressure treated wood. I decided to assemble the frame first so I
could get precise measurements for the Ipe pieces that would be the
exterior surfaces. Because every edge on the Ipe needed to be mitered,
and because I had very little margin for error in the amount of Ipe
wood I had, I did not want to risk any mistakes.
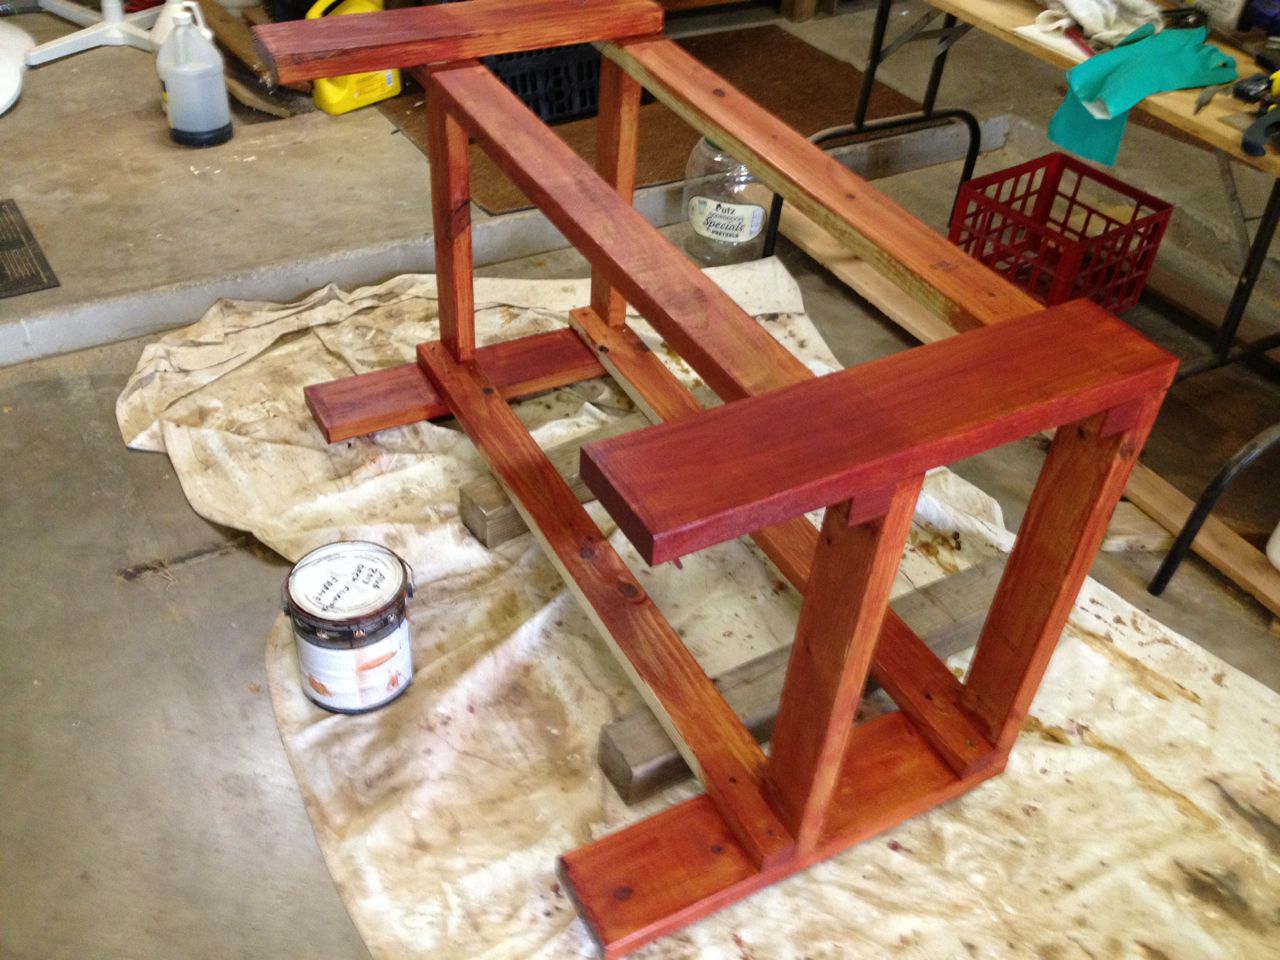
Painted frame
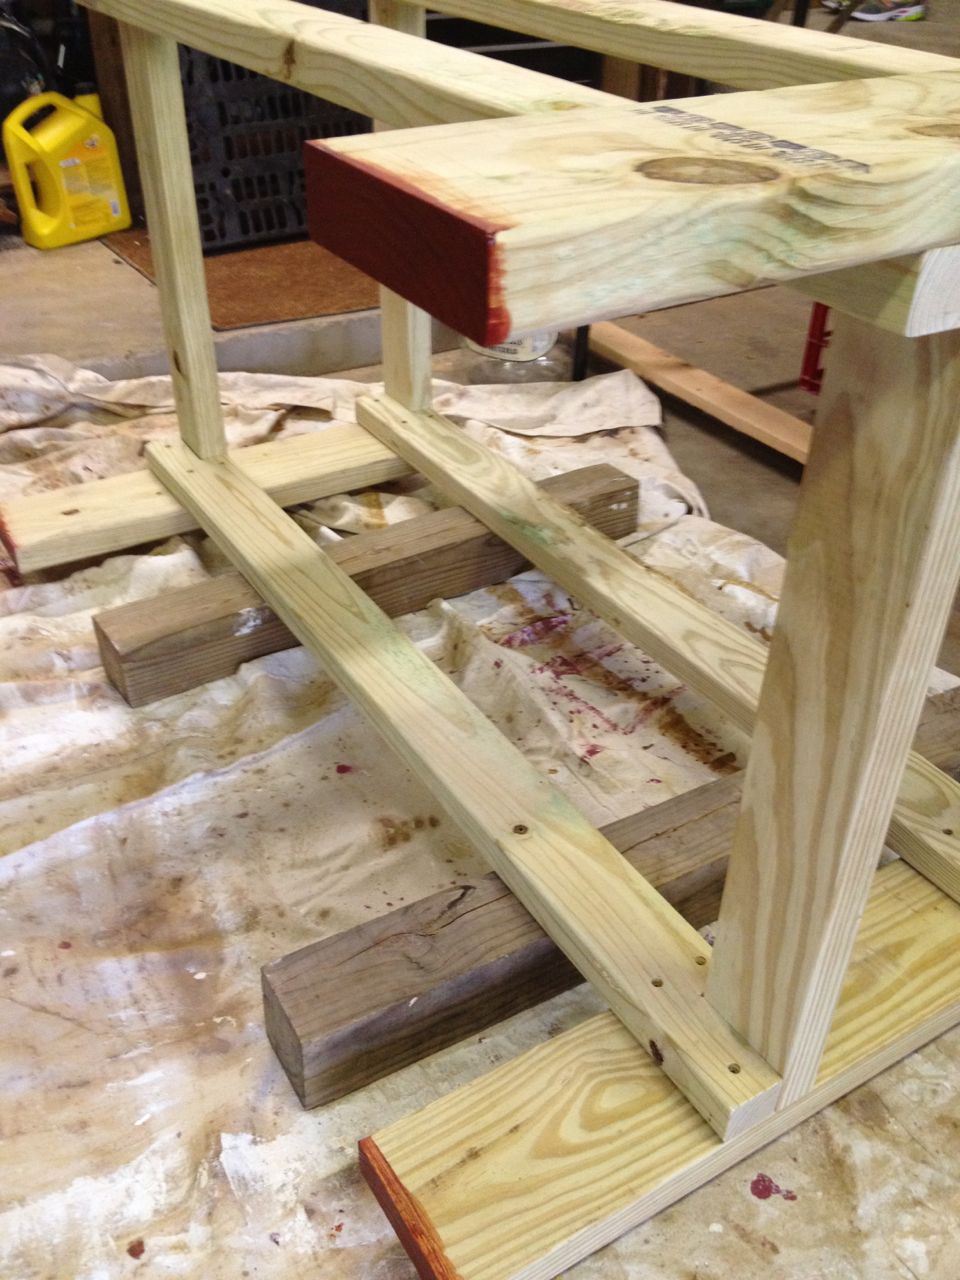
Painted end grain
Frame closeup
Though the legs were pressure treated wood, the treatment does not
always fully penetrate the wood. When you cut the wood, if the end
grain is exposed to the elements, there is some chance it will not hold
up as well as the uncut and better treated parts of the wood. The cut
ends of the legs of the planetsr woudl be sitting directly on the
ground (concrete though), but still would often sitting in water.
Thus, I wanted to make sure the end grains were liberarlly sealed with
some outdoor paint. There was just a little bit extra left-over paint,
so it was used on the rest of the frame as some additional protection
(it would have dried up in the can by the next time I went to use the
leftover).
Assembling Ipe
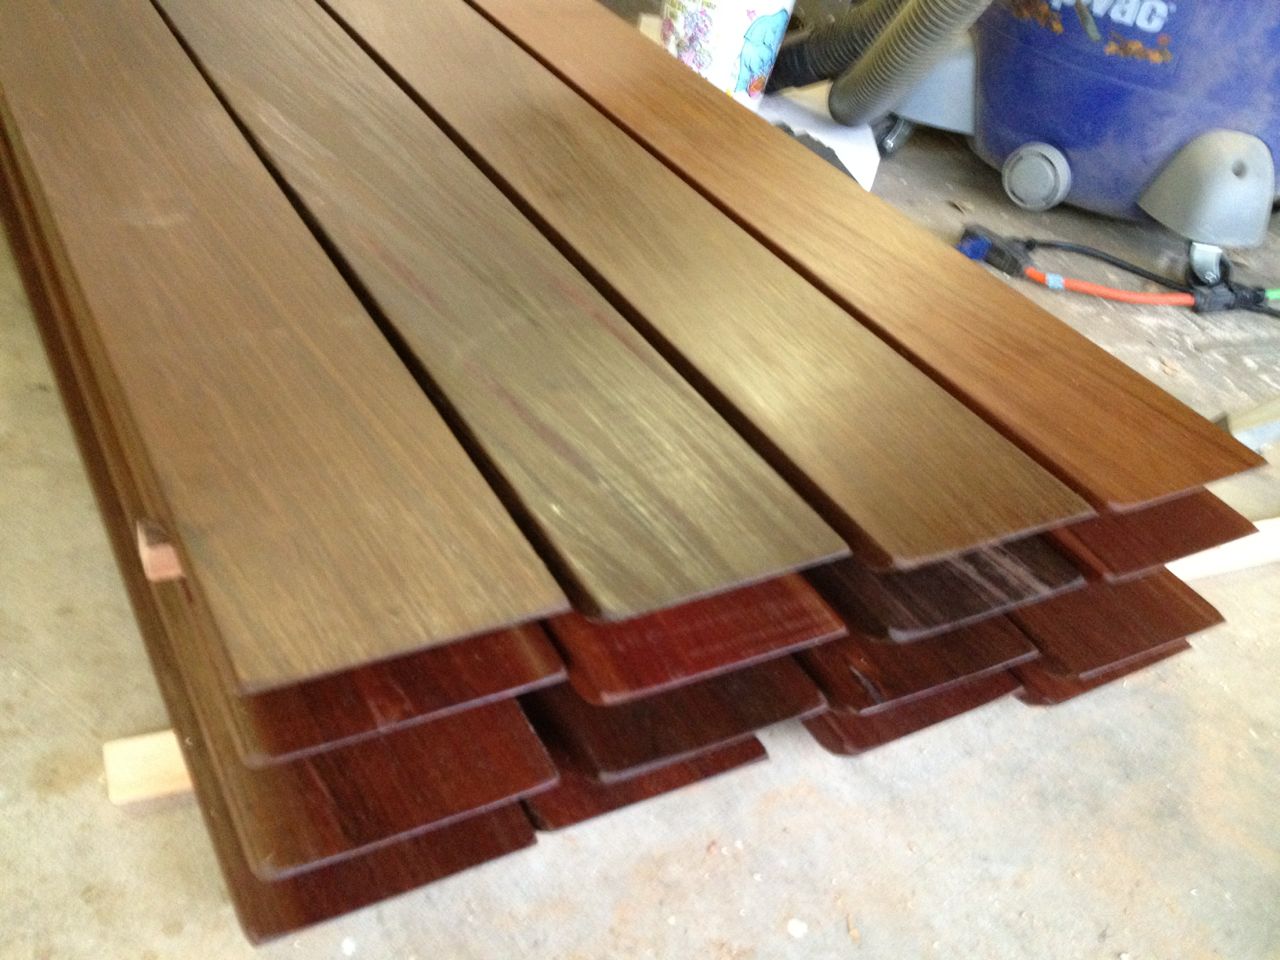
Ipe after oiling
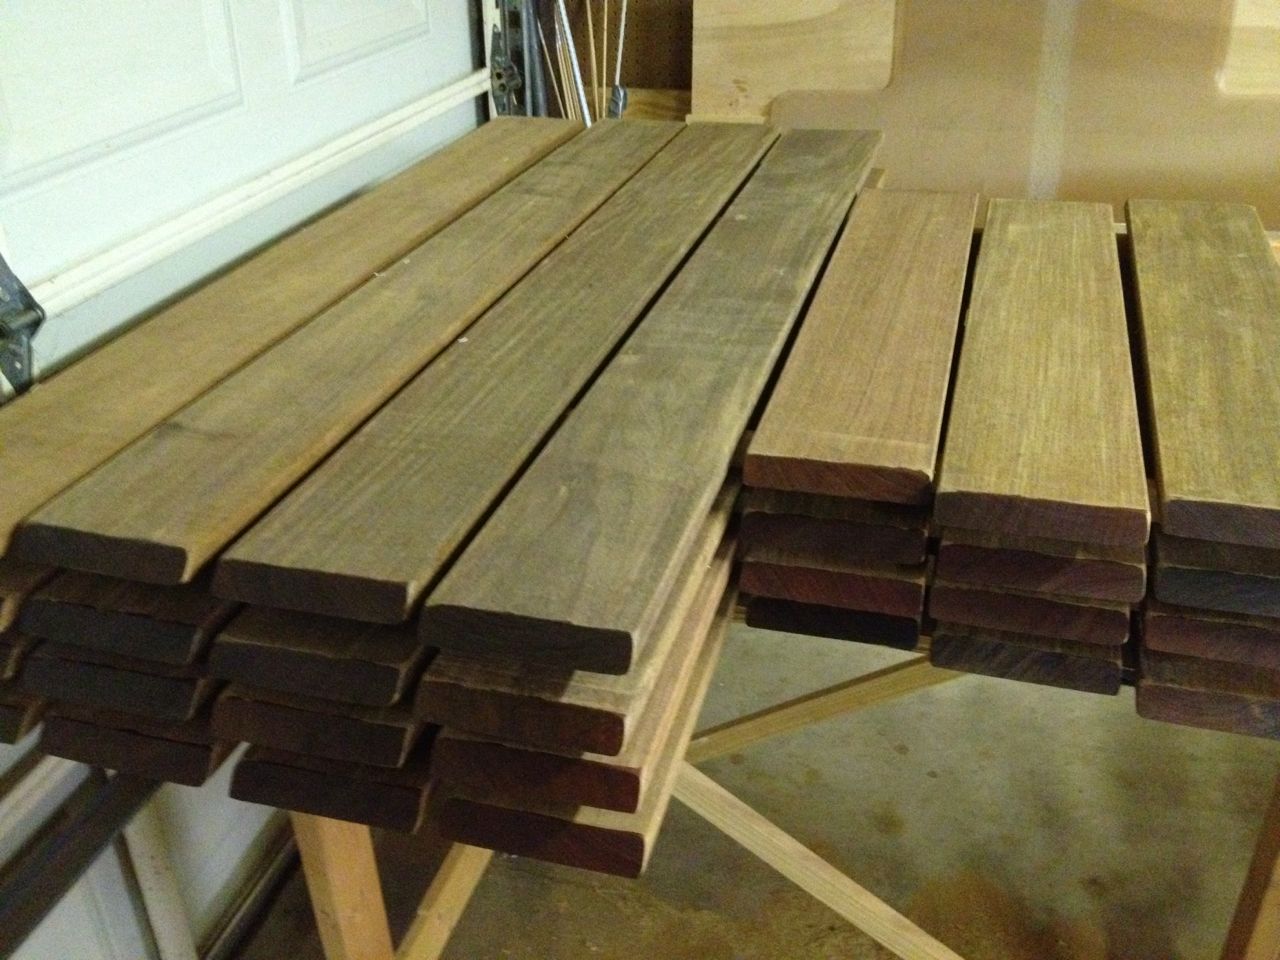
Ipe after cutting
The overall dimensions of the planter were dictated by the plastic
bases that I bought, so this determined the lengths of the Ipe boards I
would need to cut for the outside. I originally thought to make 3
planters when the design was a little smaller, but the plastic base
required a larger footprint, so I could only make 2 planters.
To make the appearance as nice as possible, I beveled every edge of the
Ipe, which was a breeze with my relatively new miter saw. This was
have been a bigger pain to do on my table saw, and likely not as
precise. I also had left-over oil stain from the deck, which was just
about the right amount for the boards.
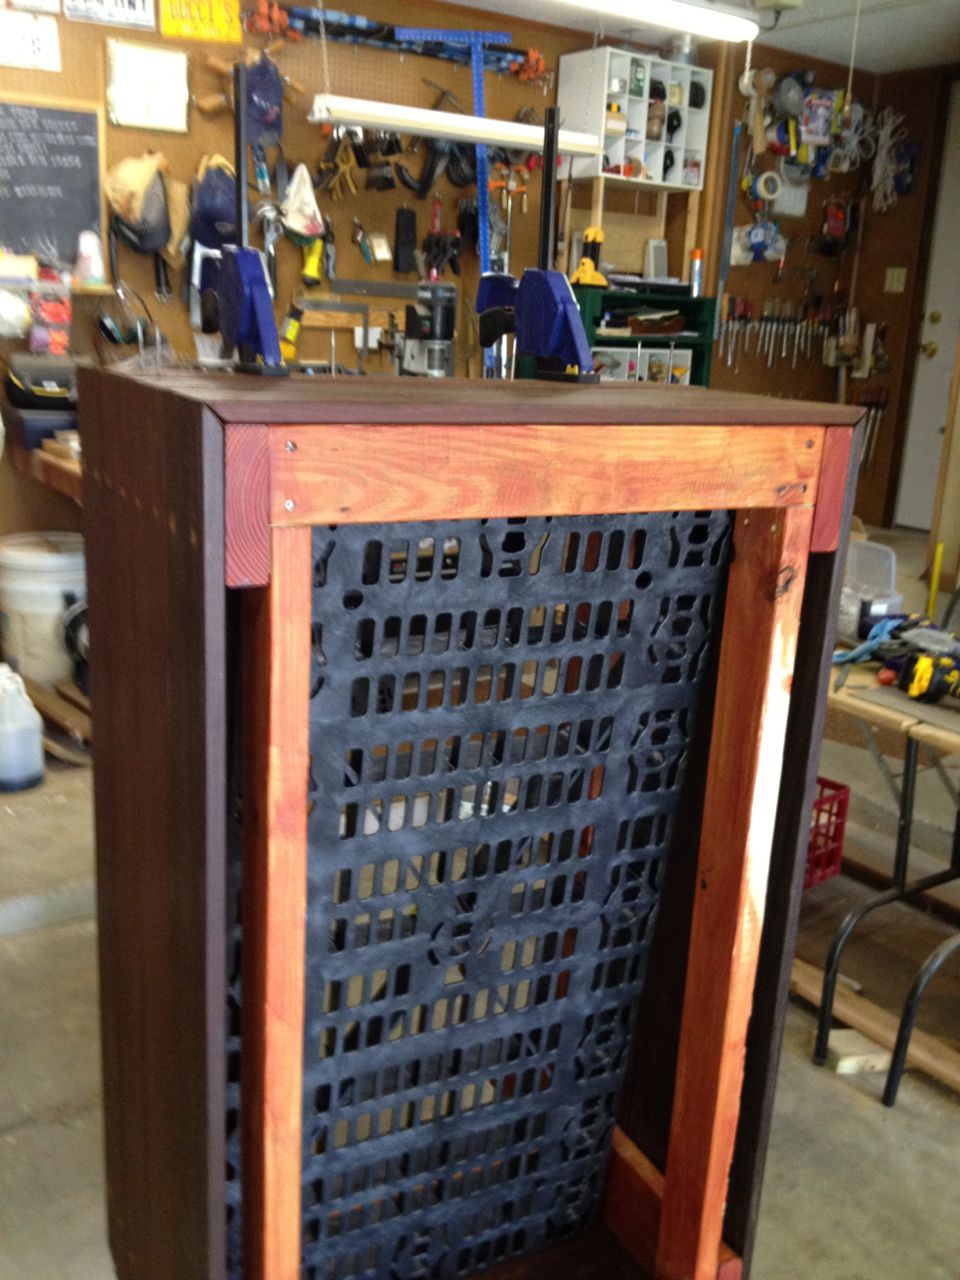
Completed (closeup)
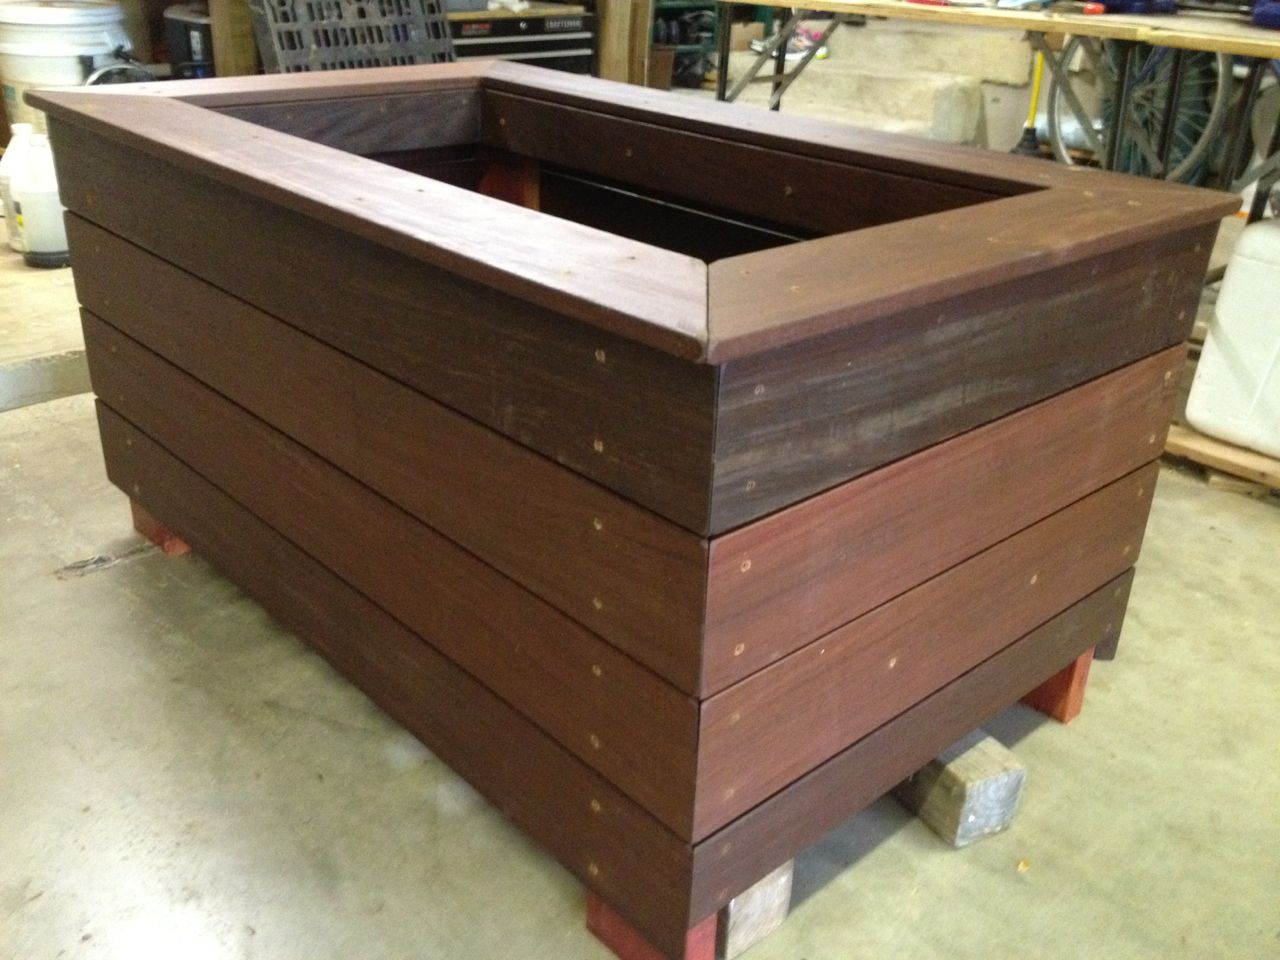
Completed (side view)
I wound up about 2 feet short of the Ipe 1x6 boards I needed. I dealt
with this by modifying the design so the lowest side pieces were 1x4
pieces instead. The official reason for this design change was that it
would prevent leaves from accumulating under the planters and make it
easier to blow the leaves out. It is not all that noticable, as the
picture at right shows.
Final Results
In the end, I had very little Ipe wood left and used all the good
pressure treated lumber (there were some really crappy pieces I got
delivered but did not notice until too late). The only thing I needed
to buy was the plastic bases and all else was from the leftovers. The
end result wound up being much, much heavier than I anticipated:
probably a good 200 pounds each. I had to call a friend to help move
them from the garage to the backyard.
Closeup View
Side View
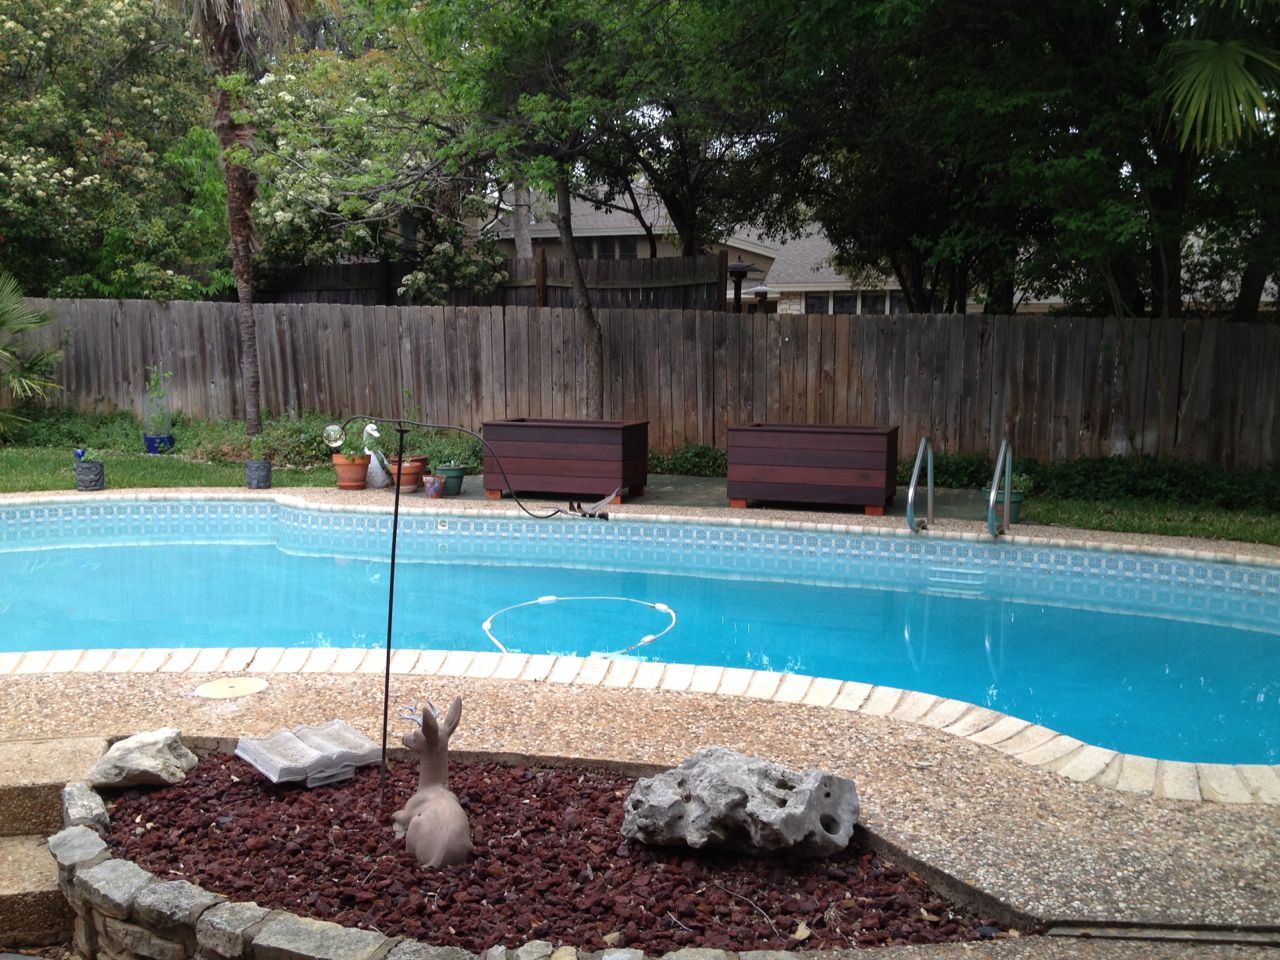
View from Deck
Front View