 Cassandra.org
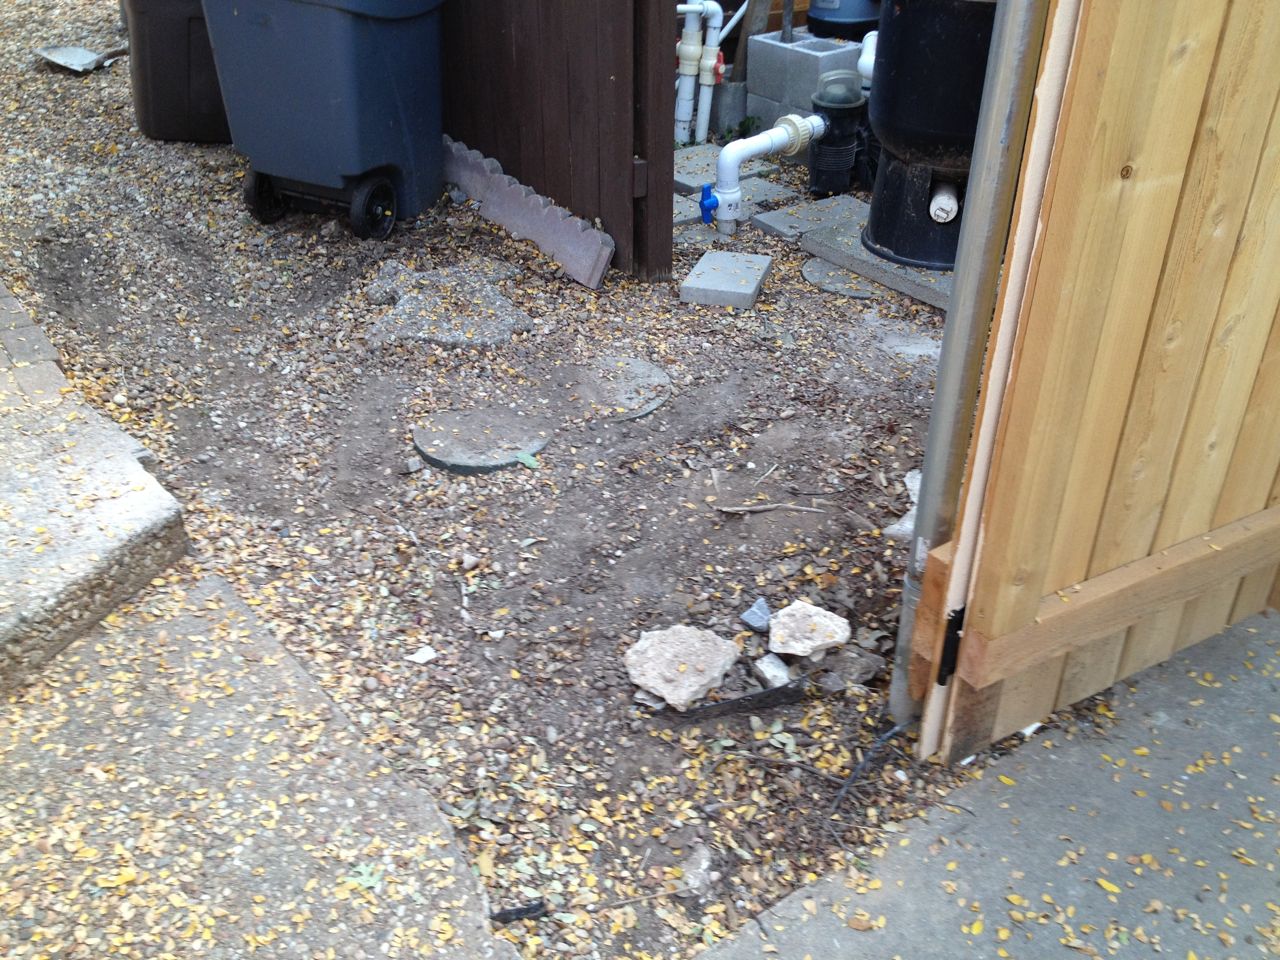
Before
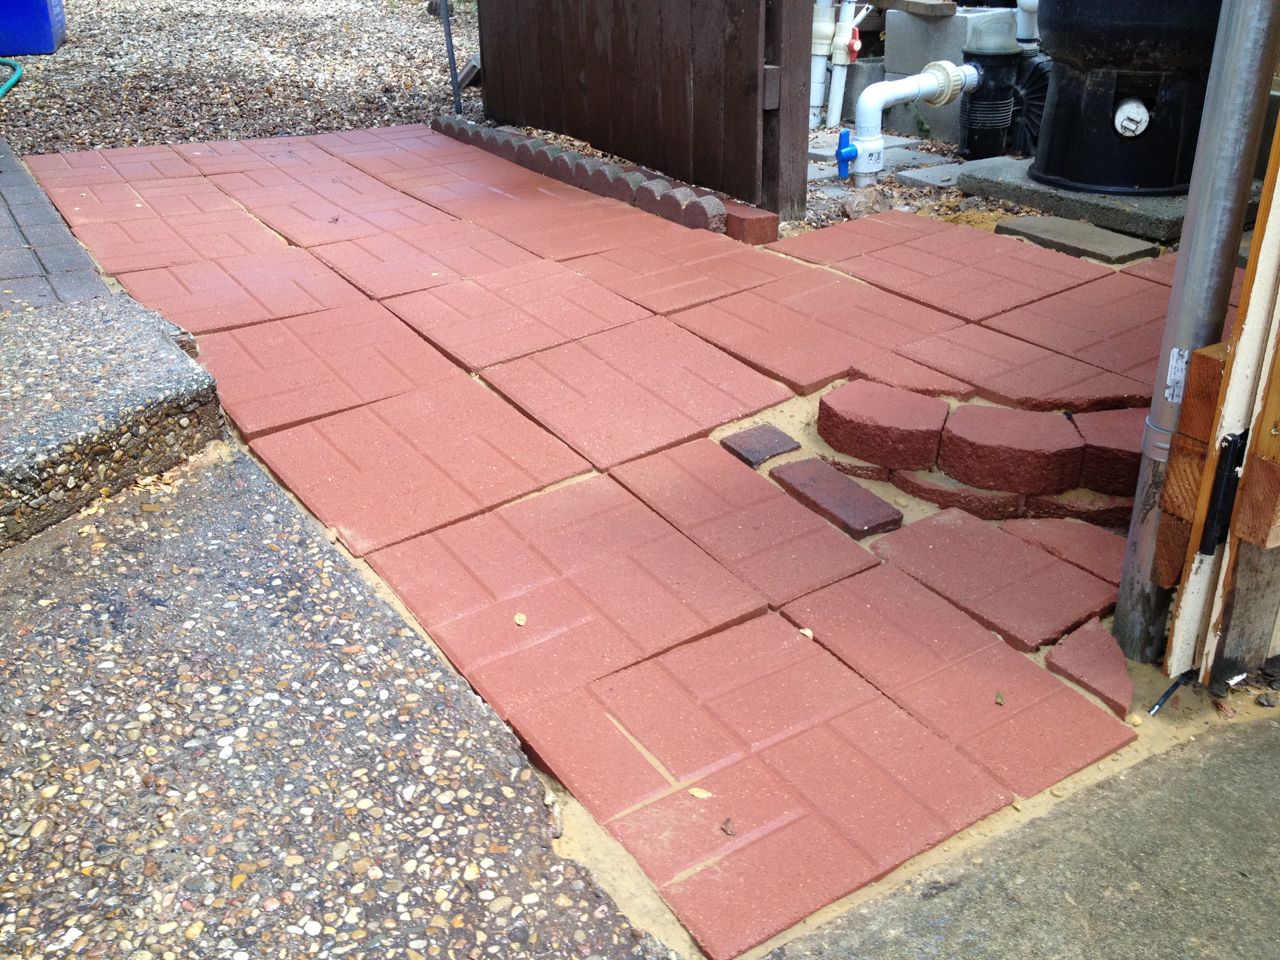
After
Story
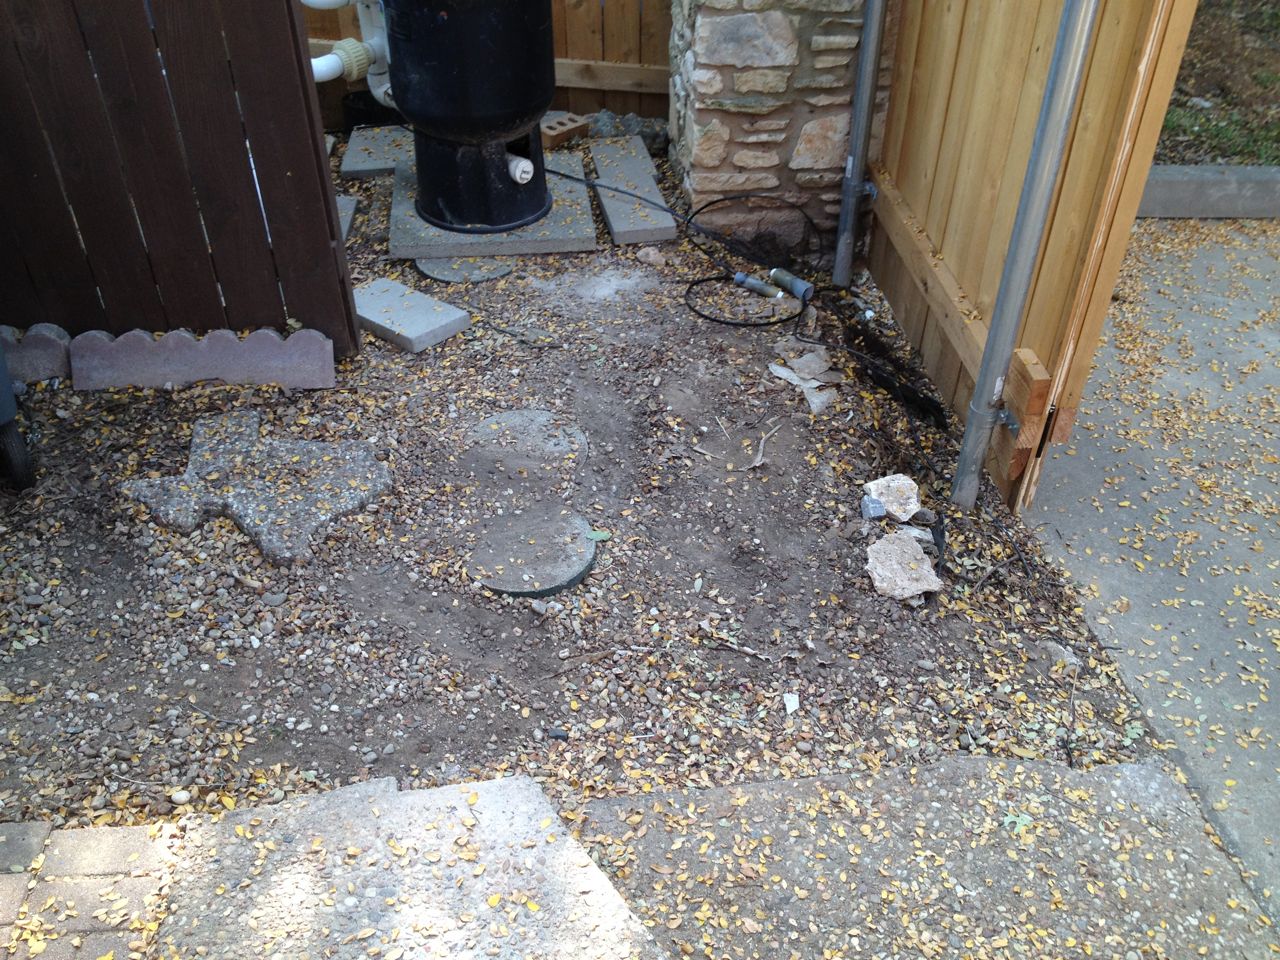
Area after fence install
There is an area in our backyard near the pool equipment that is behind
a fence and where we typically keep our garbage cans. It is graded in
two directions and mostly dirt, and it adjacent to our front-facing
fence. As part of the major New Decks
project, the front-facing fence was replaced, and much of what helped
back the dirt from going on the driveway was removed. This left us
with the need to fix this area.
The area needs to be sloped for a few reasons:
- We want to be able to wheel things from the front yard to the backyard without any steps (lawn mowers, wheelbarrows, etc.).
- When it rains heavy, a fast flowing river flows along this area, and it is essential to conveying the water off my property and into the storm sewers.
- The pool equipment area is elevated above most of this area and bring that area down is not an option.
I never liked it being just dirt around there, since it easily becomes
a mud pit. Paving stones is what I decided to put there, though the
sloping geometry would make it difficult.
Details
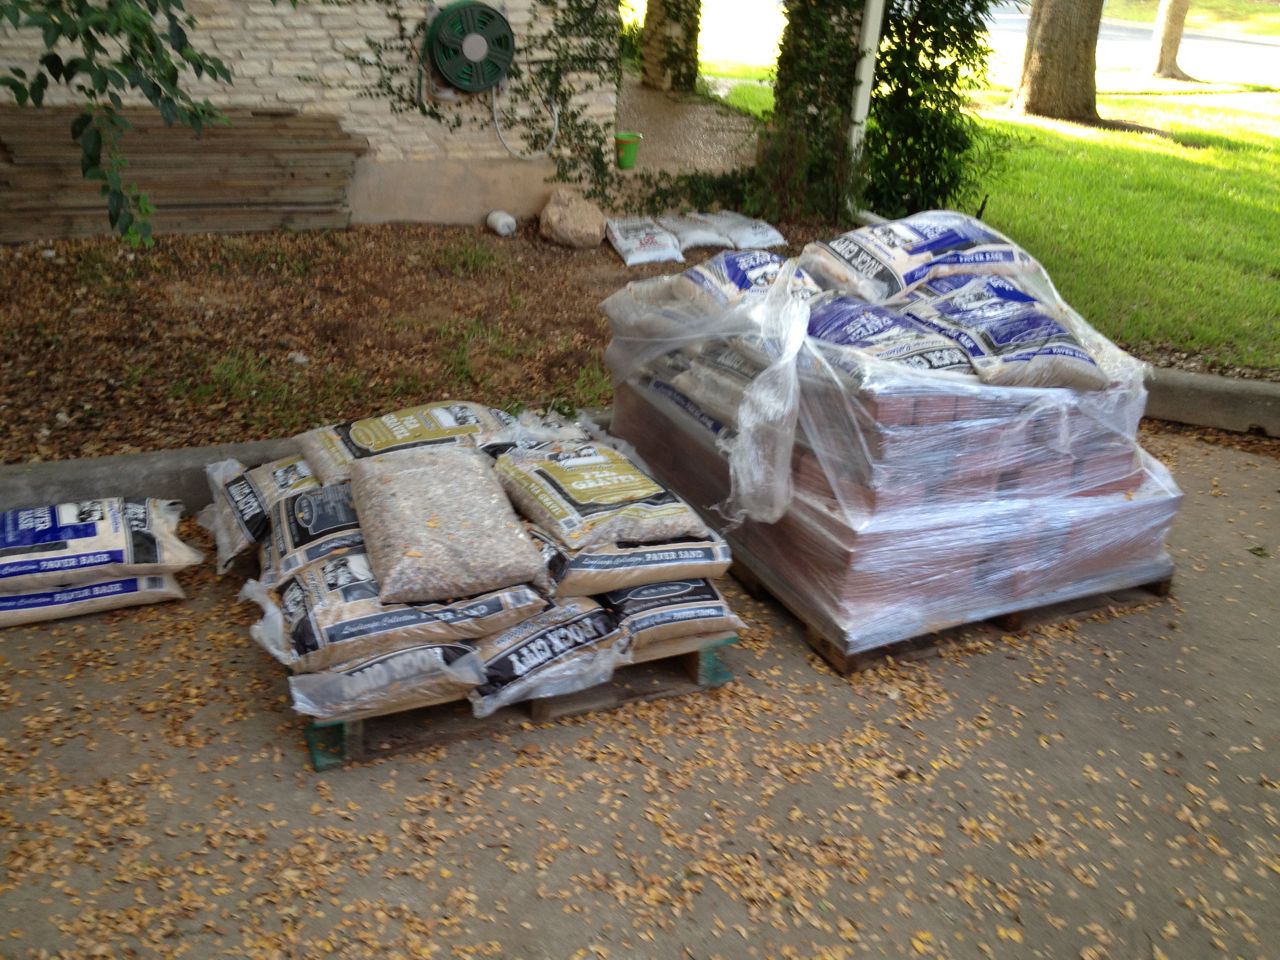
Delivered Materials
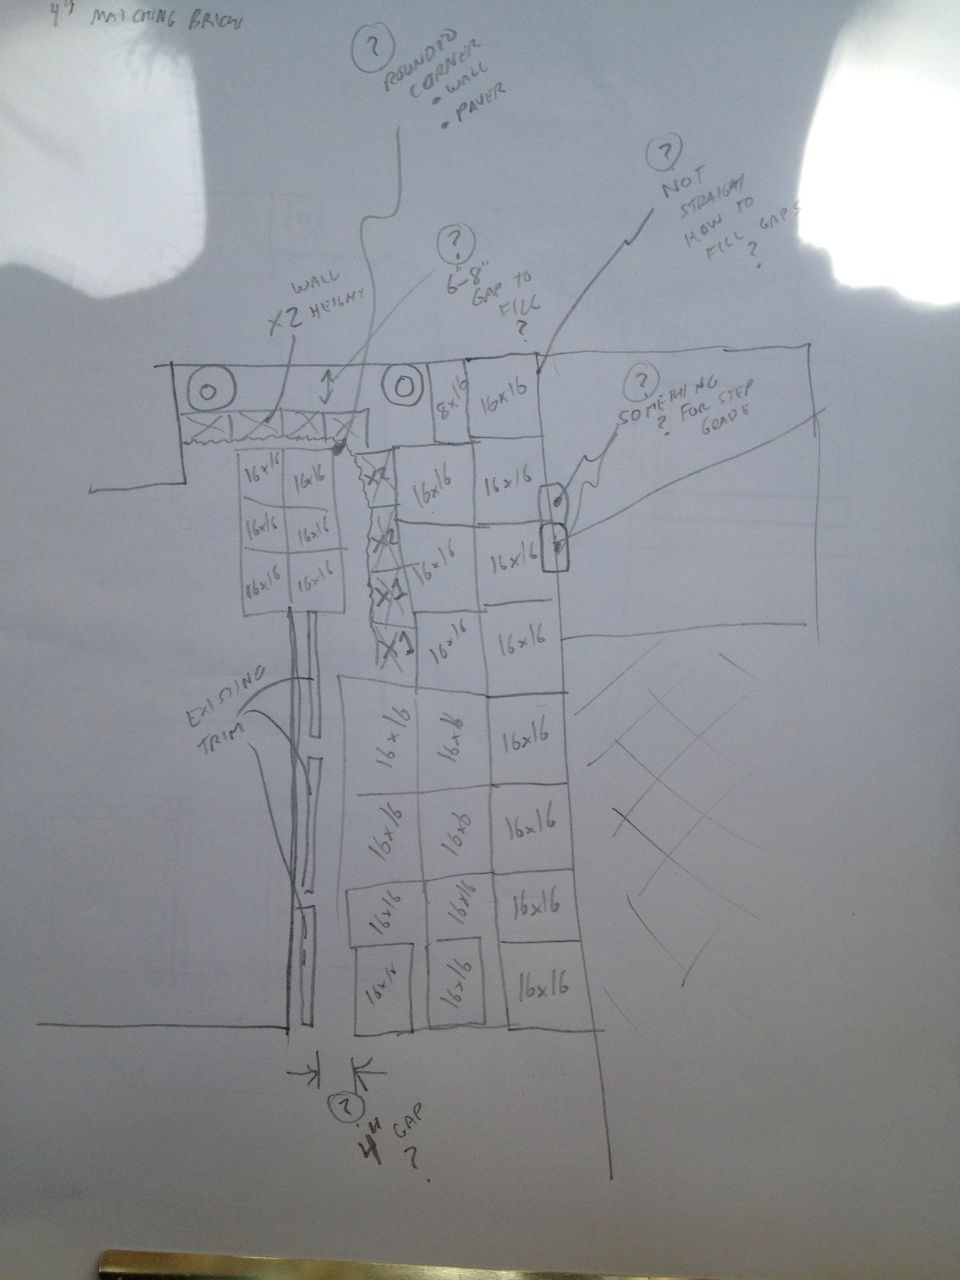
Initial Plan
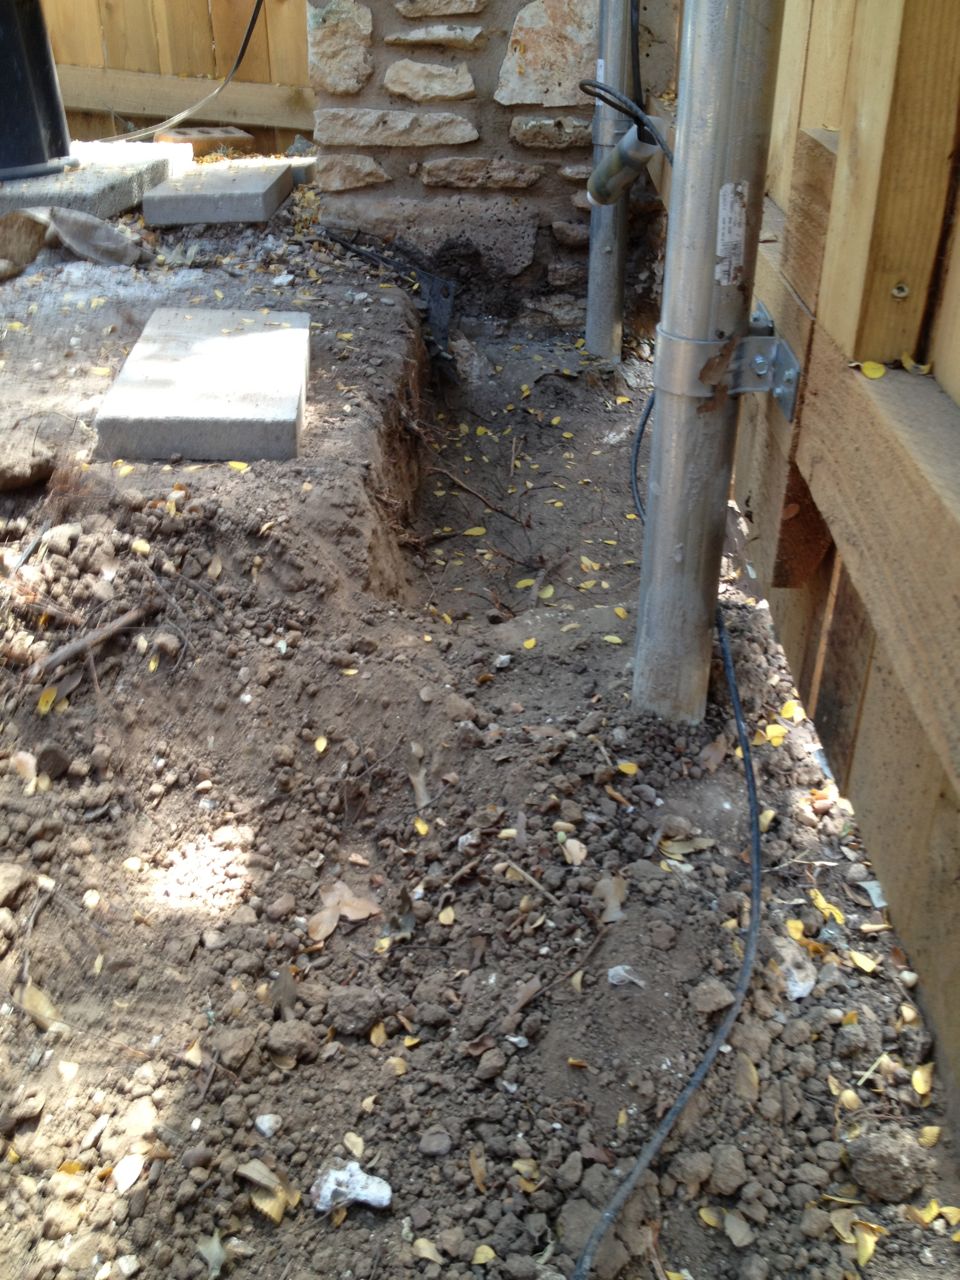
Area mostly excavated
I began by digging out the area and found plenty of obstacles: buried
phone wire, buried sprinkler pipes a mysterious pipe and obligatory
tree roots. l I had some rough idea of how I wanted the area graded,
but it was incomplete and I needed to get the materials to work out the
details. None of the edges were straight, the ground was not level and
there were various other obstacles that meant an ideal solution would
not be possible (with the amount of time and money I was willing to
invest in this project).
With things mostly excavated and some measuring, I went about looking
at available materials and planning the layout and materials list. I
found that I needed over 2,000 pounds of material, so I wanted to find
a place that would deliver. Lowe's does delivery, while Home Depot
does not. This being around labor day, I found I had to wait almost 2
weeks for a delivery date. I had enough of hauling heavy materials
myself which I did for rocks and other paving stones on the Deck Perimeter Project. So I waited.
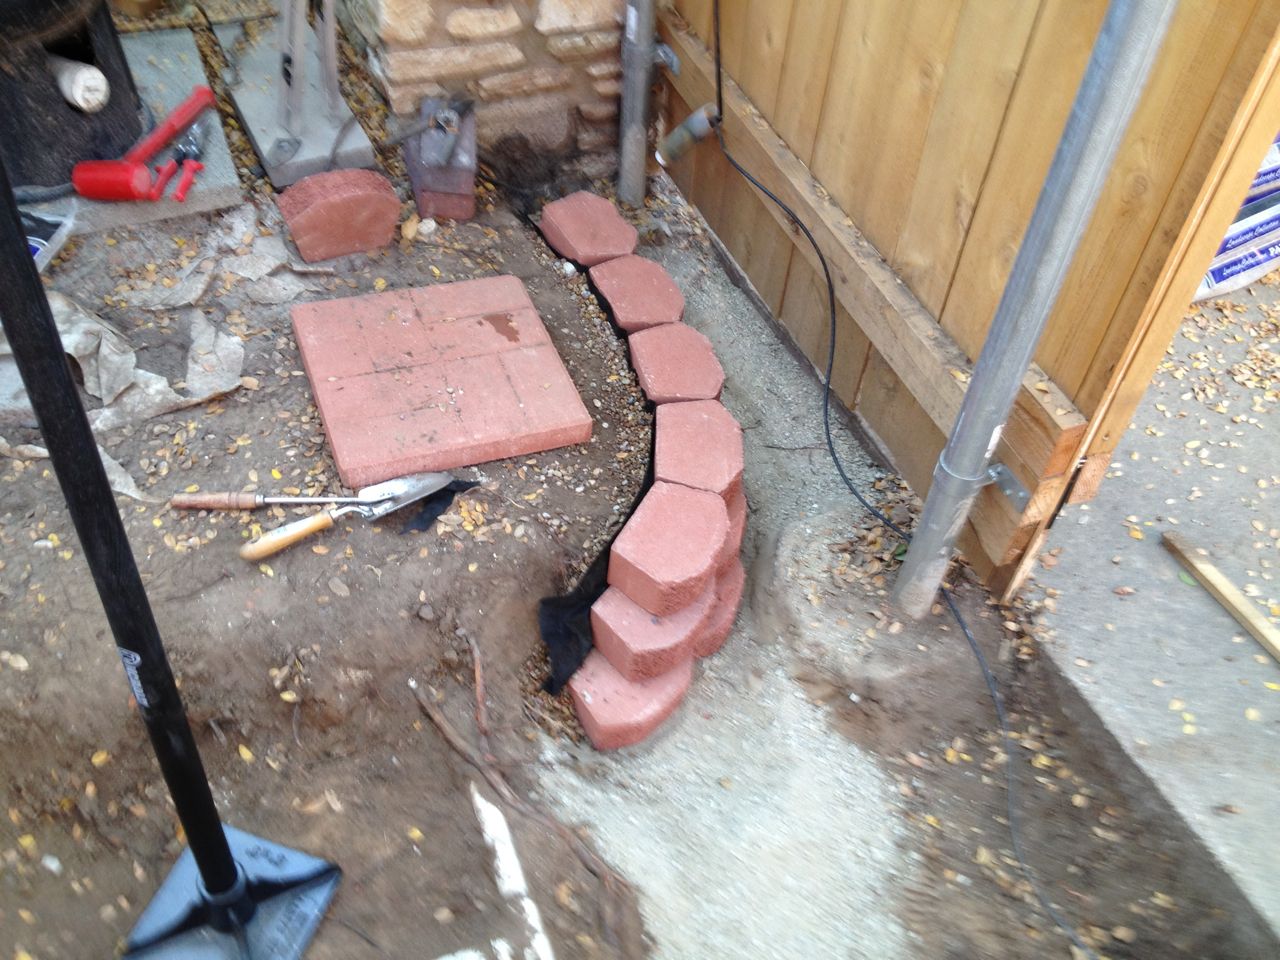
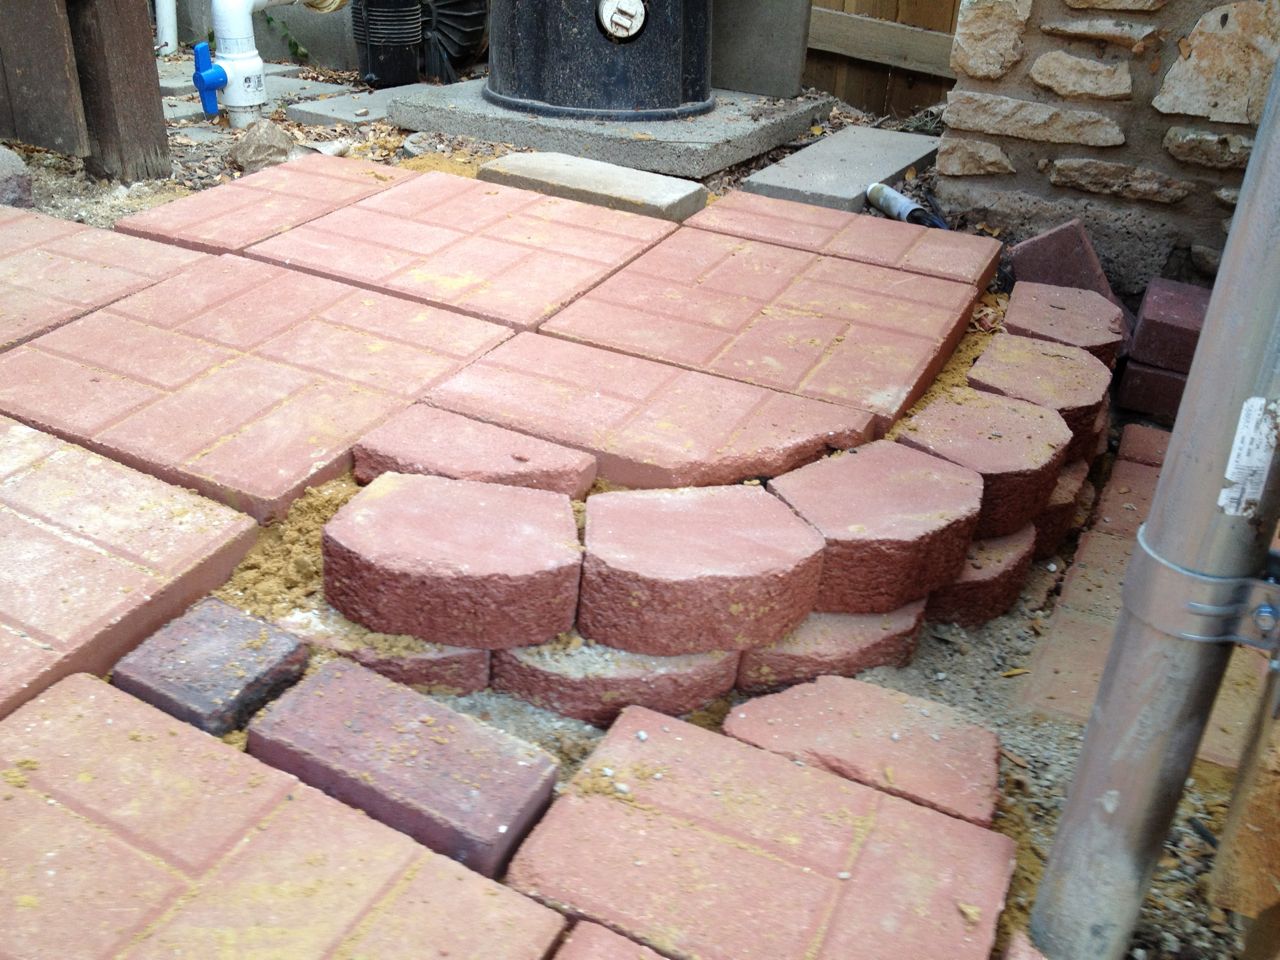
Retaining Wall Almost Done
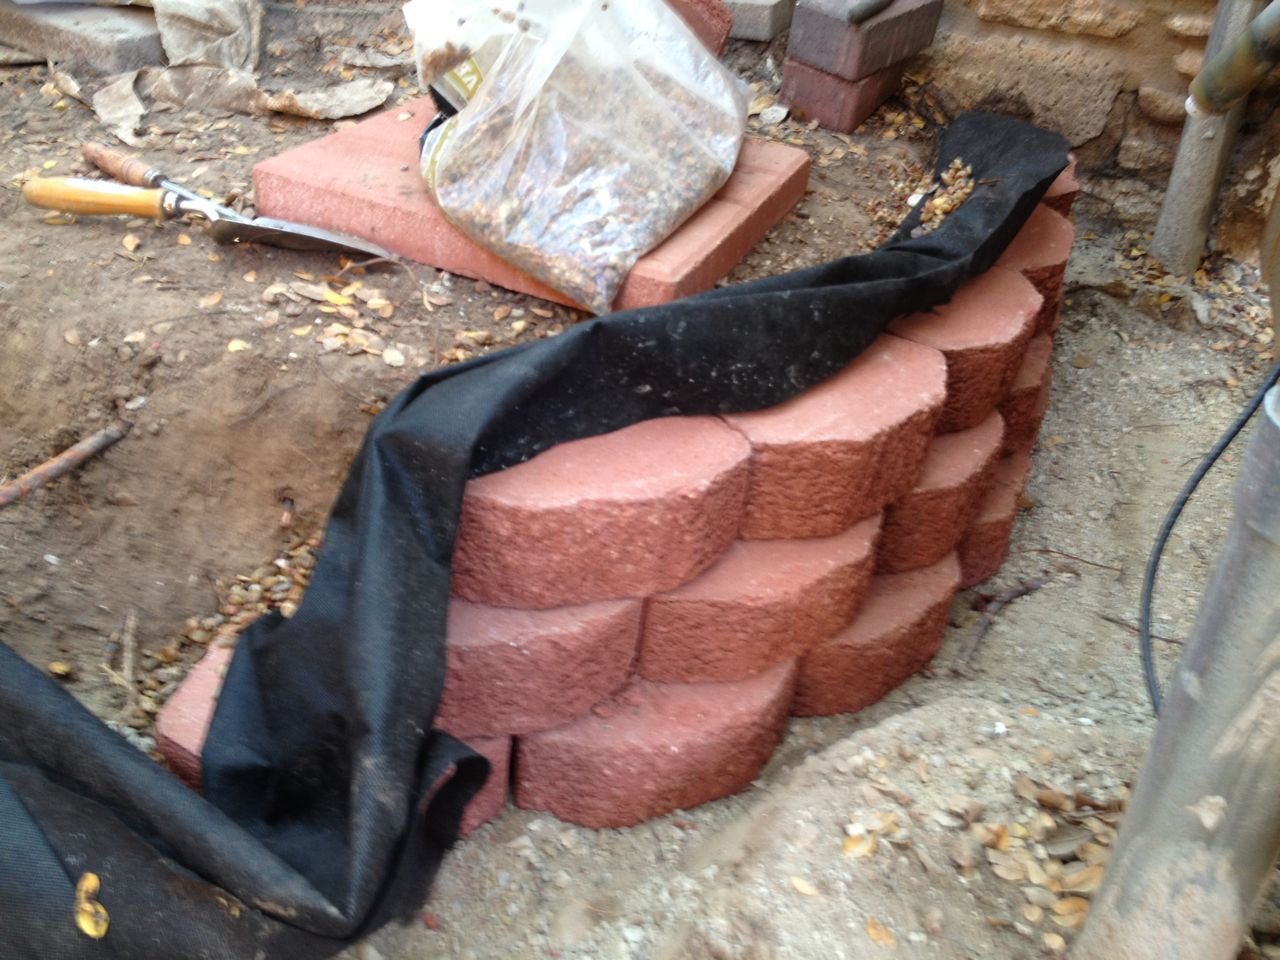
Retaining Wall Closeup
Once the materials were delivered, I could start to place the block and
stones to see just how they would lay out. Besides the paving stones,
there was a small retinaing wall I had to build to hold back the area
where the pool equipment is. Working out the transition between the
wall and paving stones was tricky and the final result was not terribly
elegant.
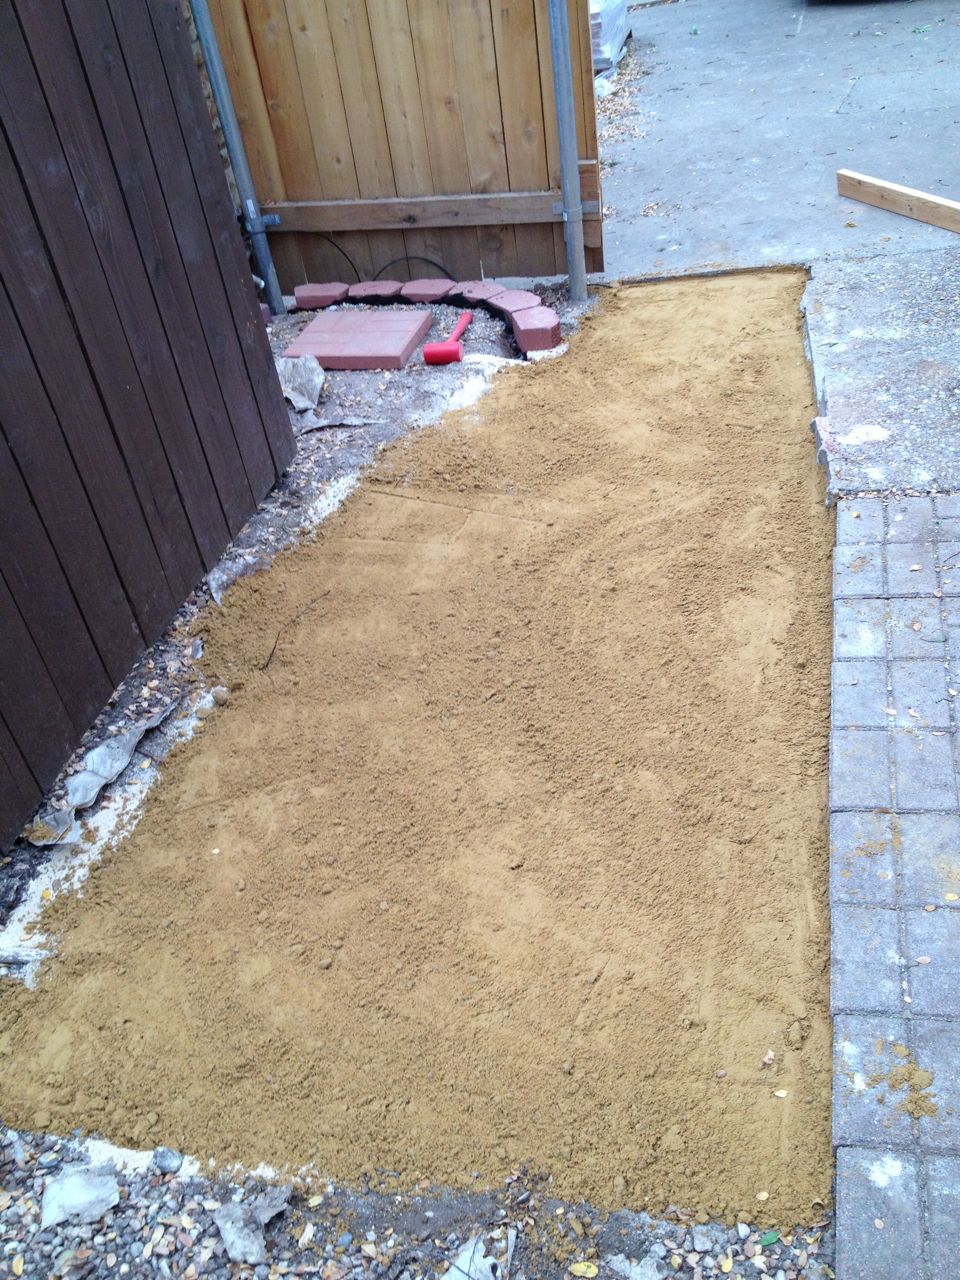
Sand Layer Completed
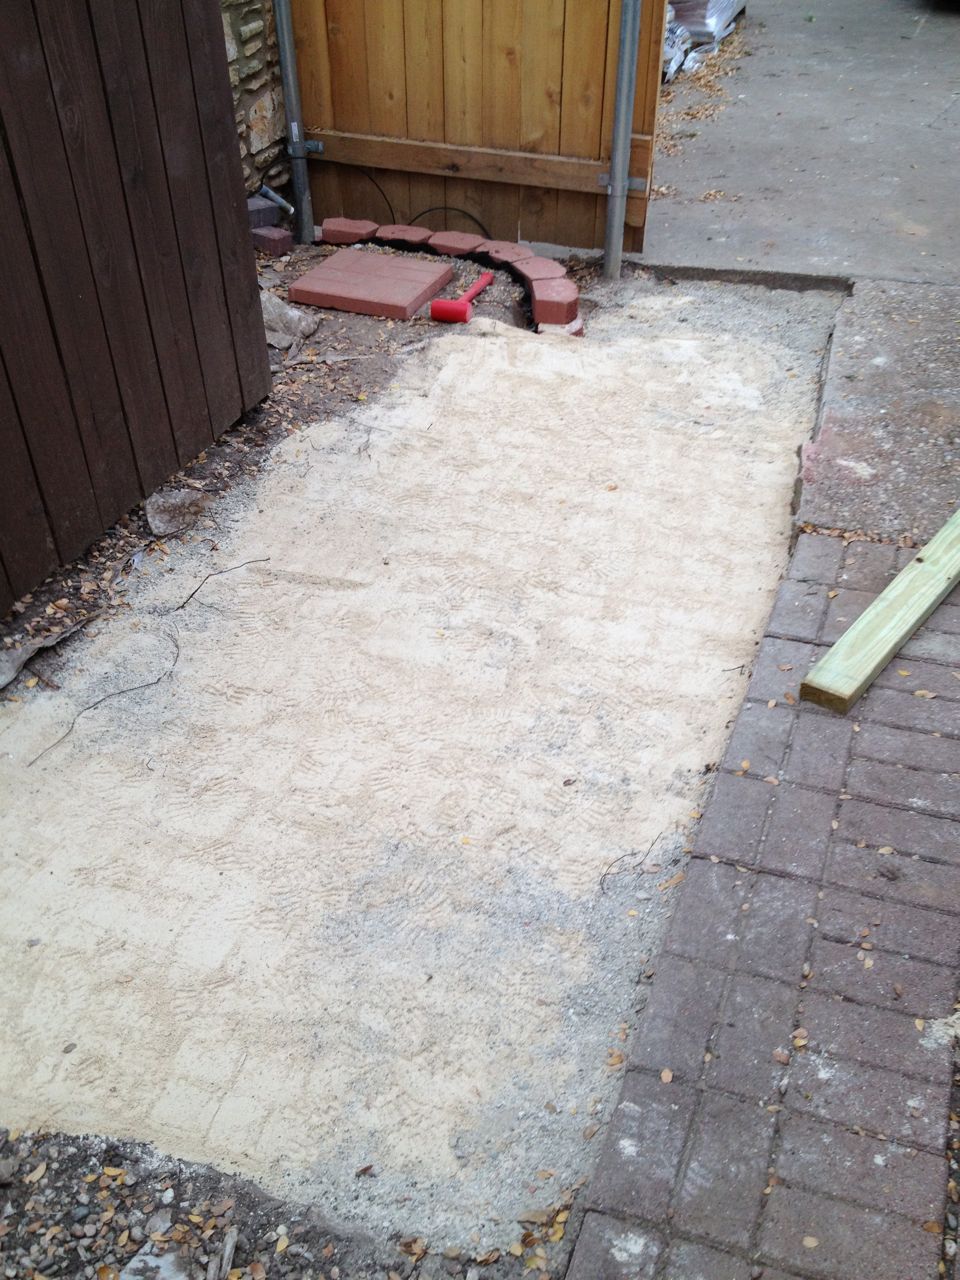
Base Layer Completed
With the retinaing wall in place, I could now begin preparing for the
paving stones. The process here is to install a few inches of base
material (crushed gravel or similar), compact it down, then put an inch
or two layer of sand on top. You normally should be very careful about
leveling the area. Since the whole things was sloped in multiple
directions, for this project, leveling did not have much meaning. I
generally used the adjacent walkway as the guide, since trhat was the
height things had to match to along the slope.
Finished Close-up
End Result
Besides the 18"x18" paving stones, I bought a bunch of matching bricks
to help me fill in areas and use as boundary material. These came in
very handy, though it does make the final result look a little like a
patchwork job. It does not look great, but if it does the job, it is
much better than wa=hat was there.
The biggest mistake I made was not considering that the paving stones
were flat. Sounds obvious, but I was very intent on getting the slopes
and transitions to match the surrounding areas. I did a very good job
of contouring the area, but the probelm was that the paving stones
themselves do not match the contour. Thus, instead of smooth
transitions, I really needed a piecewise, linear grading so that the
stones would lay flat on the base material.
Another Retaining Wall
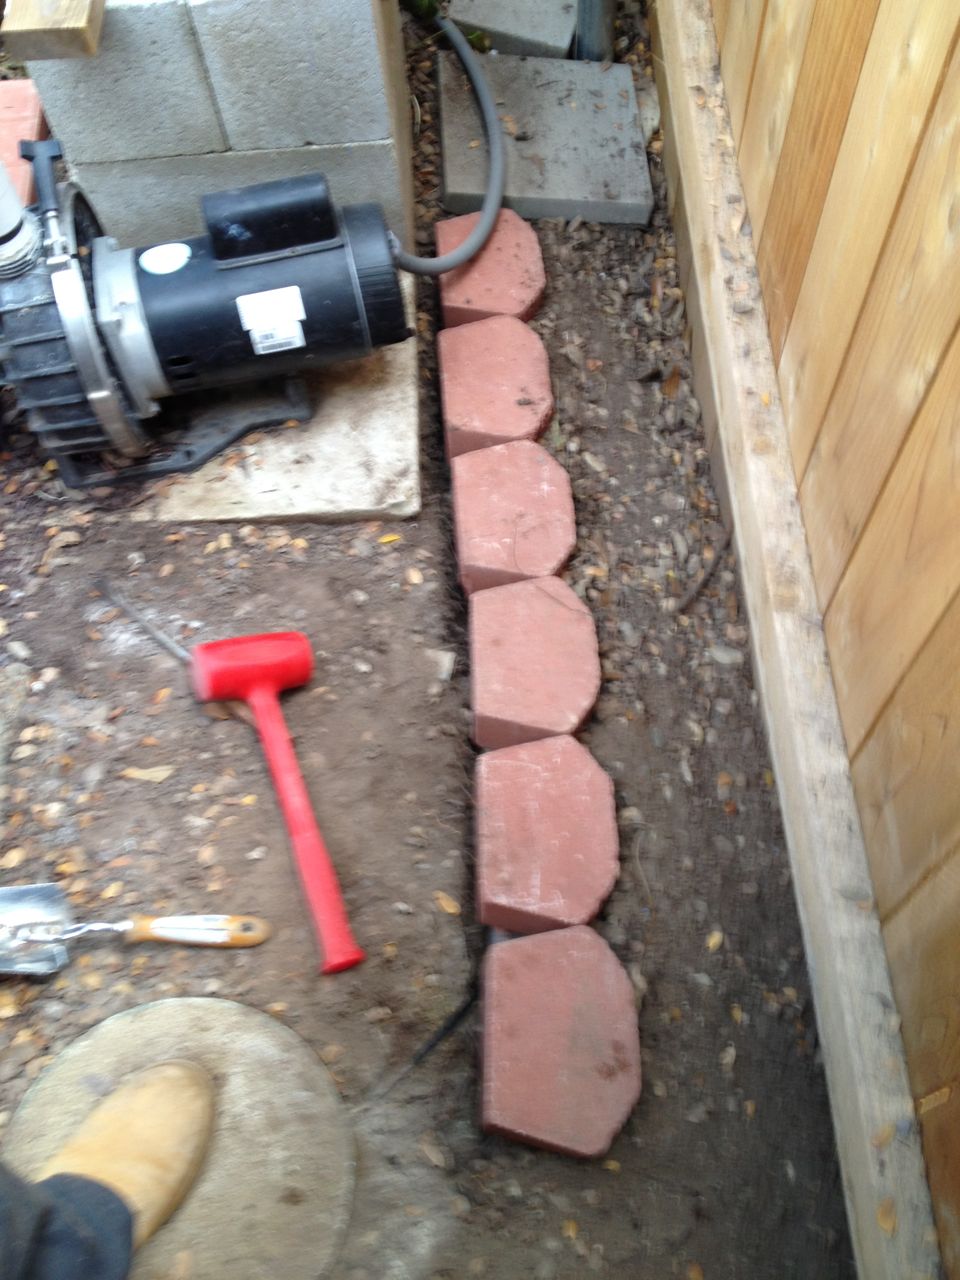
Retaining wall by pool equipment
There was a nearby area that needed a similar retaining wall to hold
the ground back from the new fence excavation. This was right next to
the other are, though perpidicular to it. I did something similar to
the other retaining wall and used the same materials.
The First Rains
After completing the project, I gave it a 50/50 chance of lasting a few
years. The amount of water, and its velocity during a heavy rain would
surely expose some problems. Less than a month after the installation,
we got a moderate rain, which did indeed expose some weaknesses.
There weer some unavoidable large gaps between the existing sidewalk
and the paving stones, since the existing sidewalk was not straight.
This also happens to be where the water flows, so the rain took out a
lot of the underlying sand and left a few of the paving stones
wobbling. I repaired this by using pea pebbles underneath instead of
sand in hopes this might be more stable. Only time will tell, and I
suspect I will have more tweaks to make once I see the effects of
future, heavier rains.