 Cassandra.org
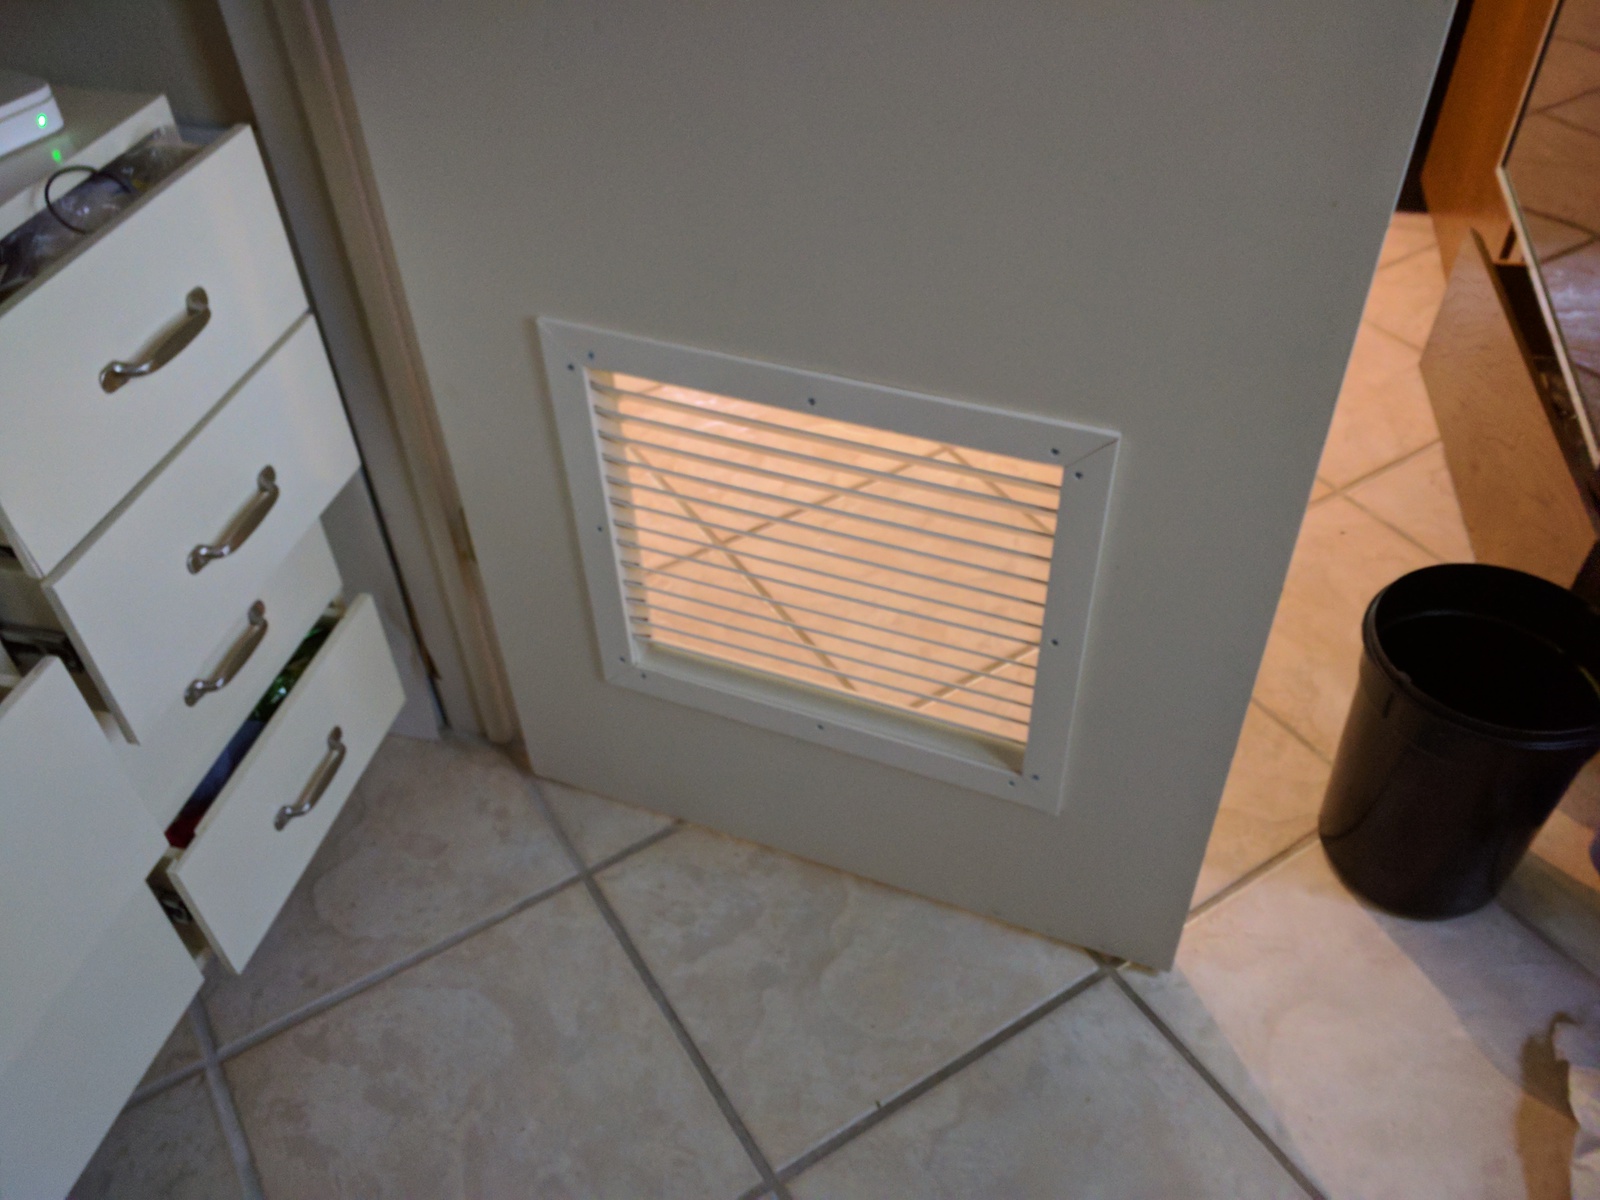
Installed Door Vent (open)
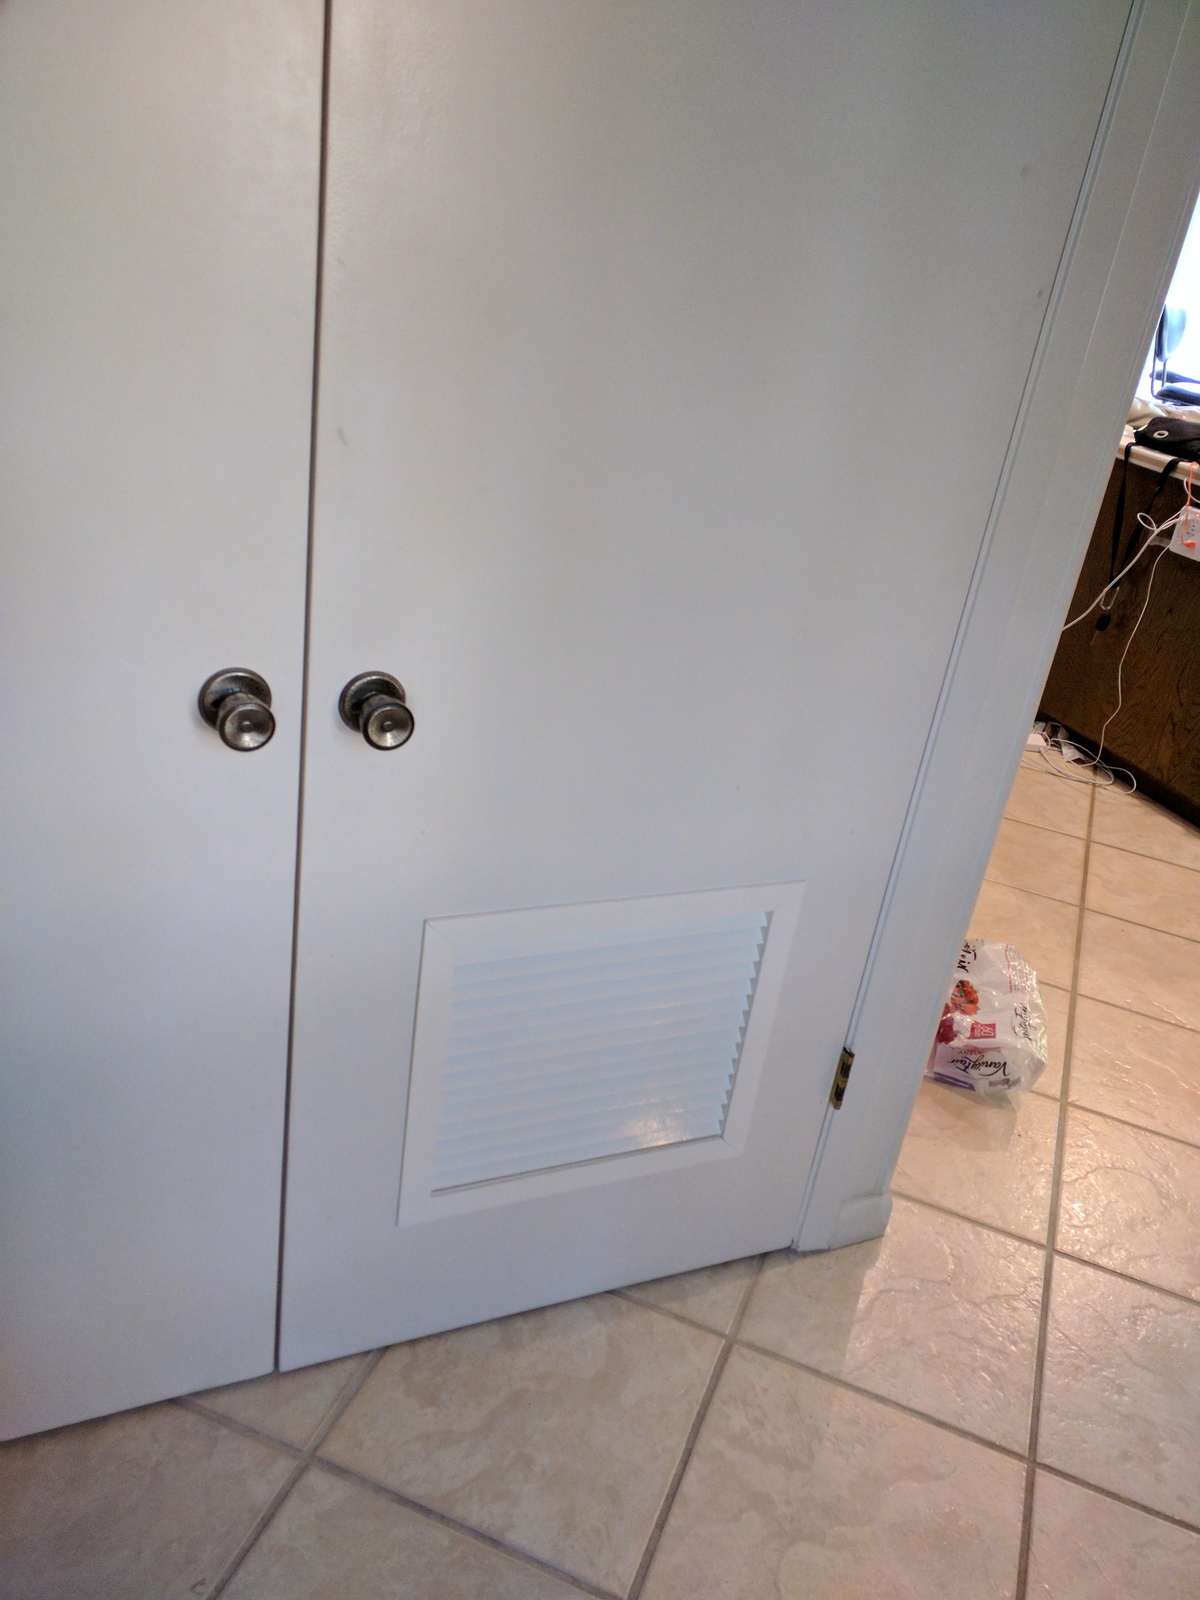
Installed Door Vent (closed)
Background
Server Closet Door Removed

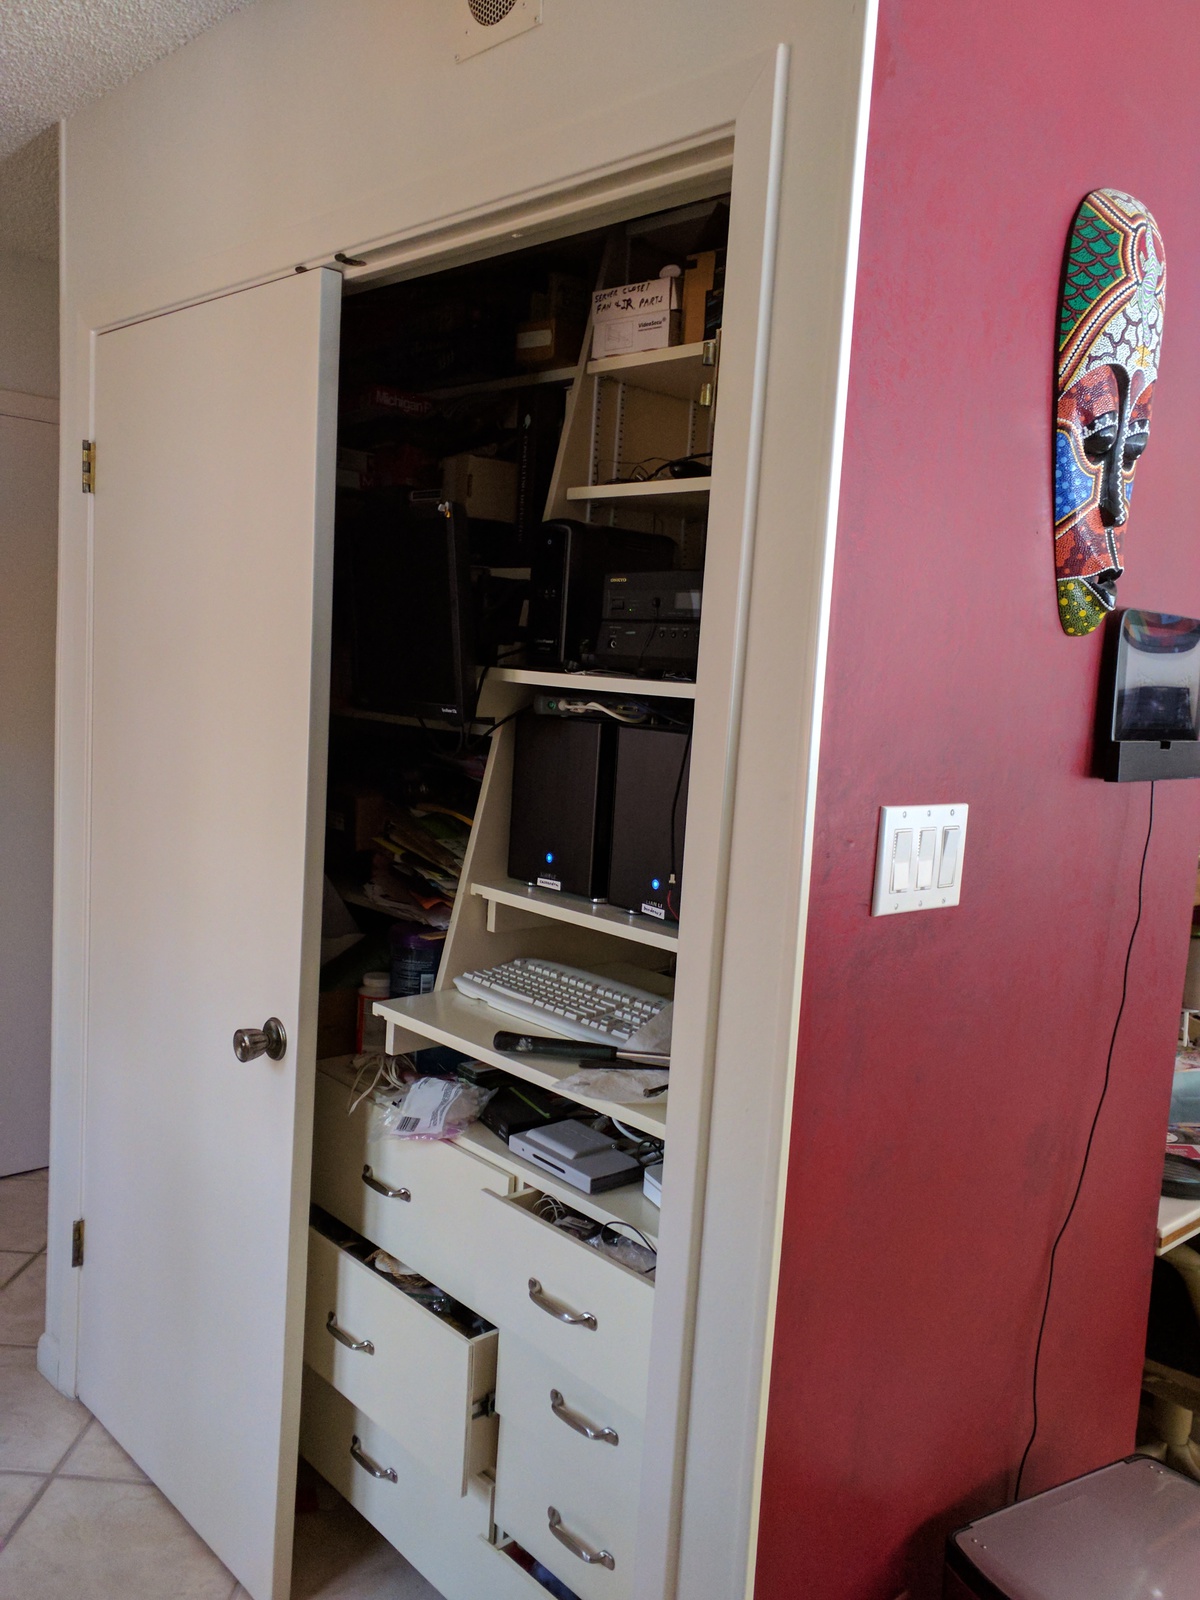
Finished Server Closet
A few years after completing the Server and Storage Closet Project, it became clear that the small-ish, temperature-controlled fans I installed for ventilation and cooling were not quite adequate for the heat that was generated. They could keep things from overheating, but they would mostly just keep up and would stay on for a long time.
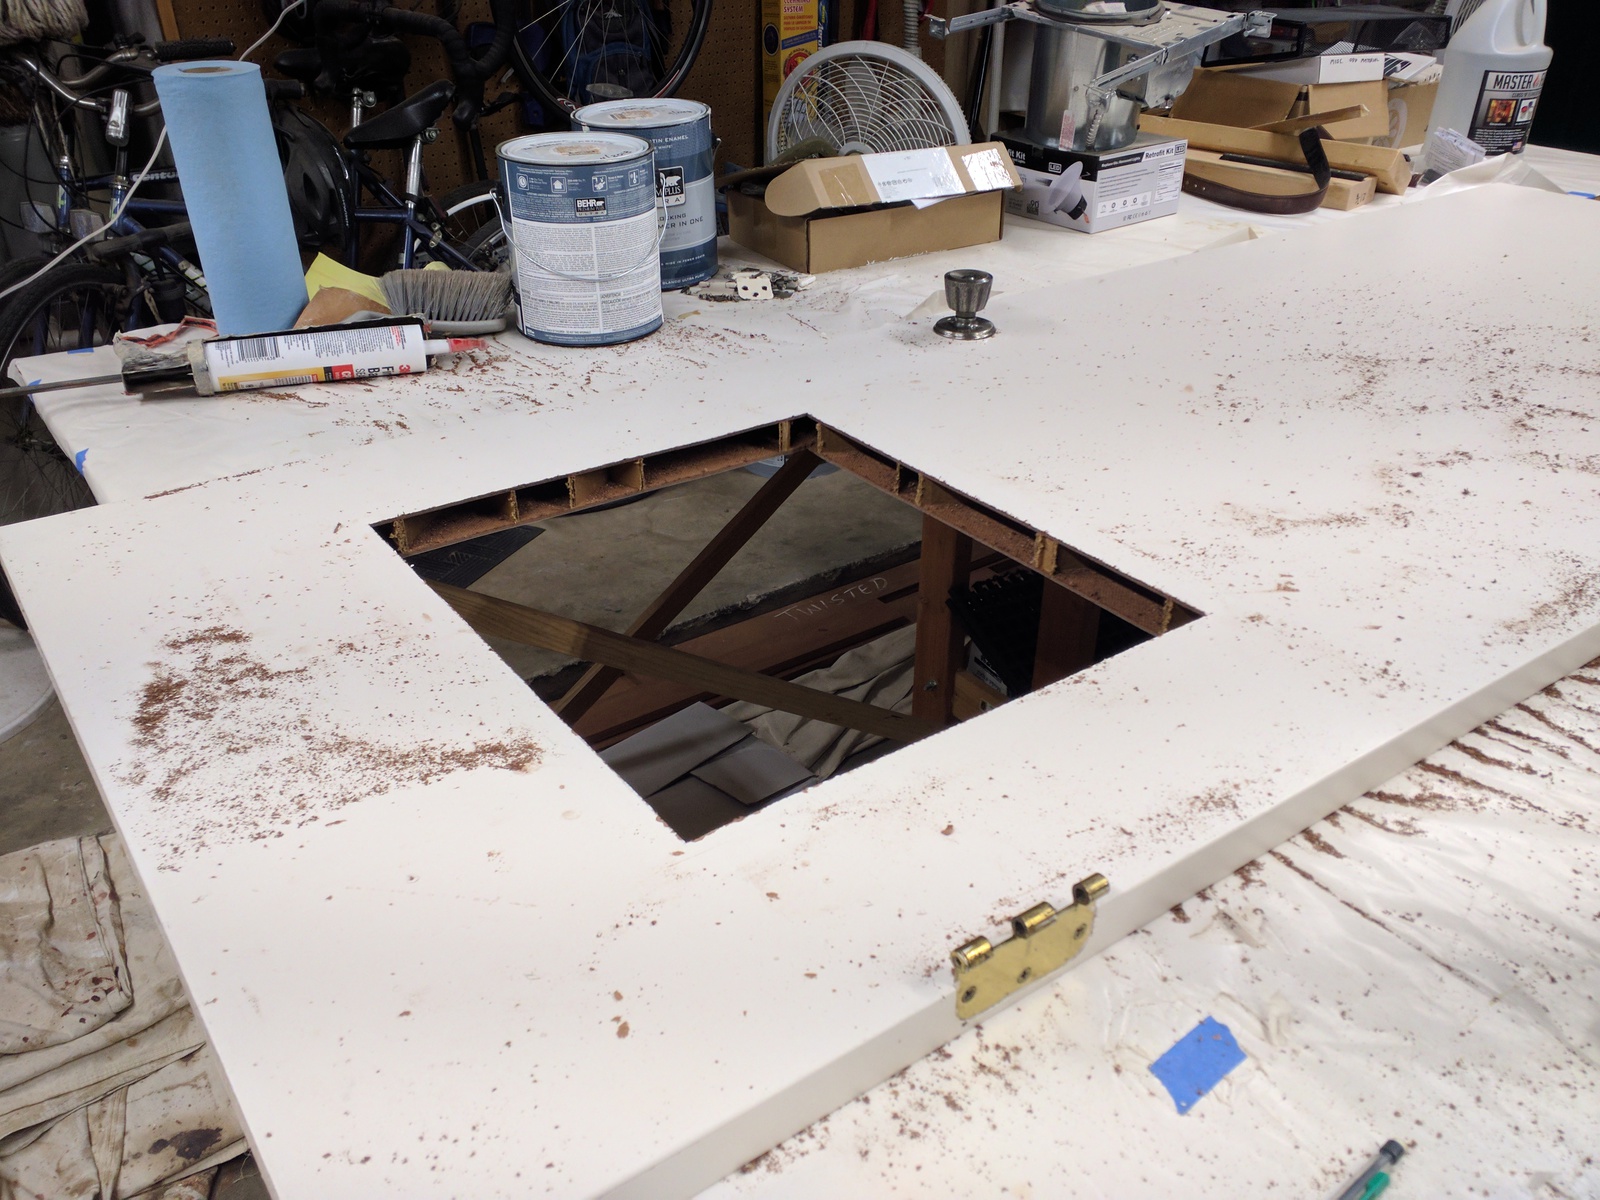
I would usually leave the closet door ajar to provide a little extra airflow and that worked nicely. Thus, I concluded that if I put a vent in the door, this would serve the same effect and I could safely keep the door closed without the fan constantly running. Step 1 was to remove the door.
Door Cutout
Closet Door Inner Closeup
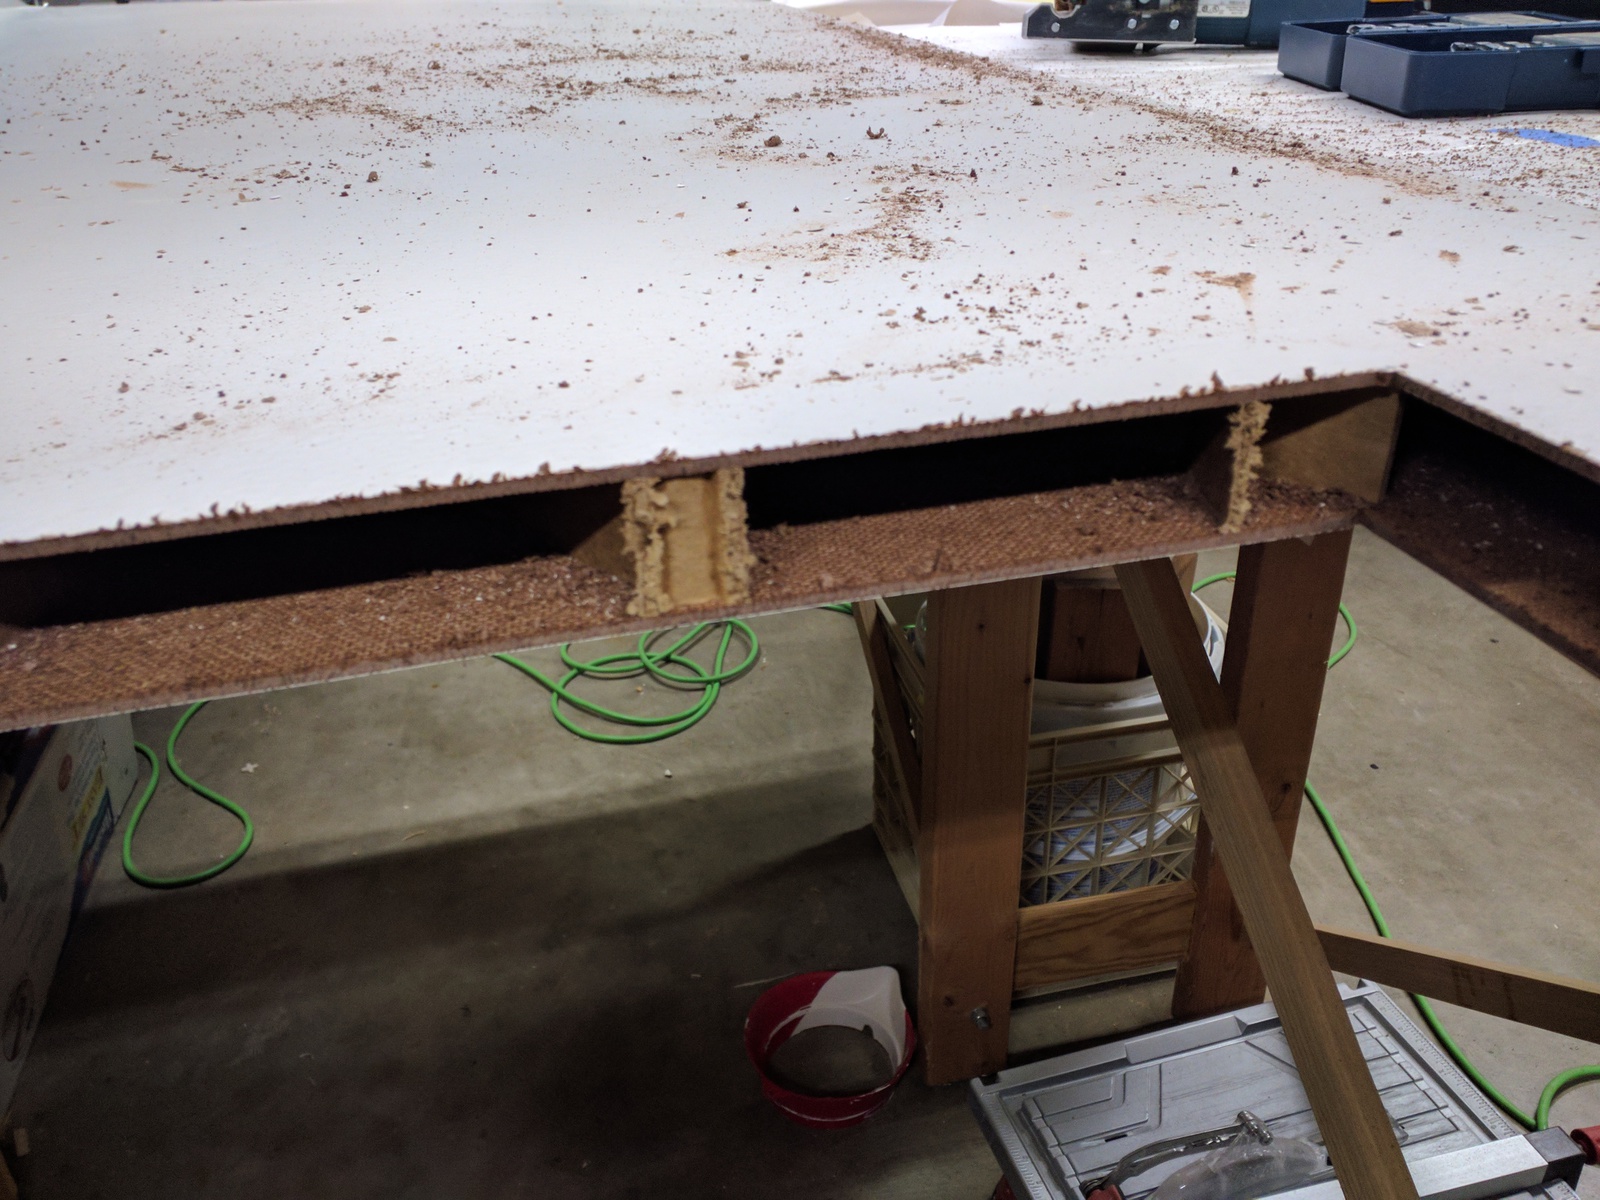
Closet Door Cutout
After removing the door, the next step is to determine how big a hole to make and hoping there are no surprised once I cut into the door. Luckily, it cut easy and there were no complications. I was surprised at the composition of the door. Two pieces of particle board and corrugated cardboard ribs provided the structural support ... yes, cardboard.
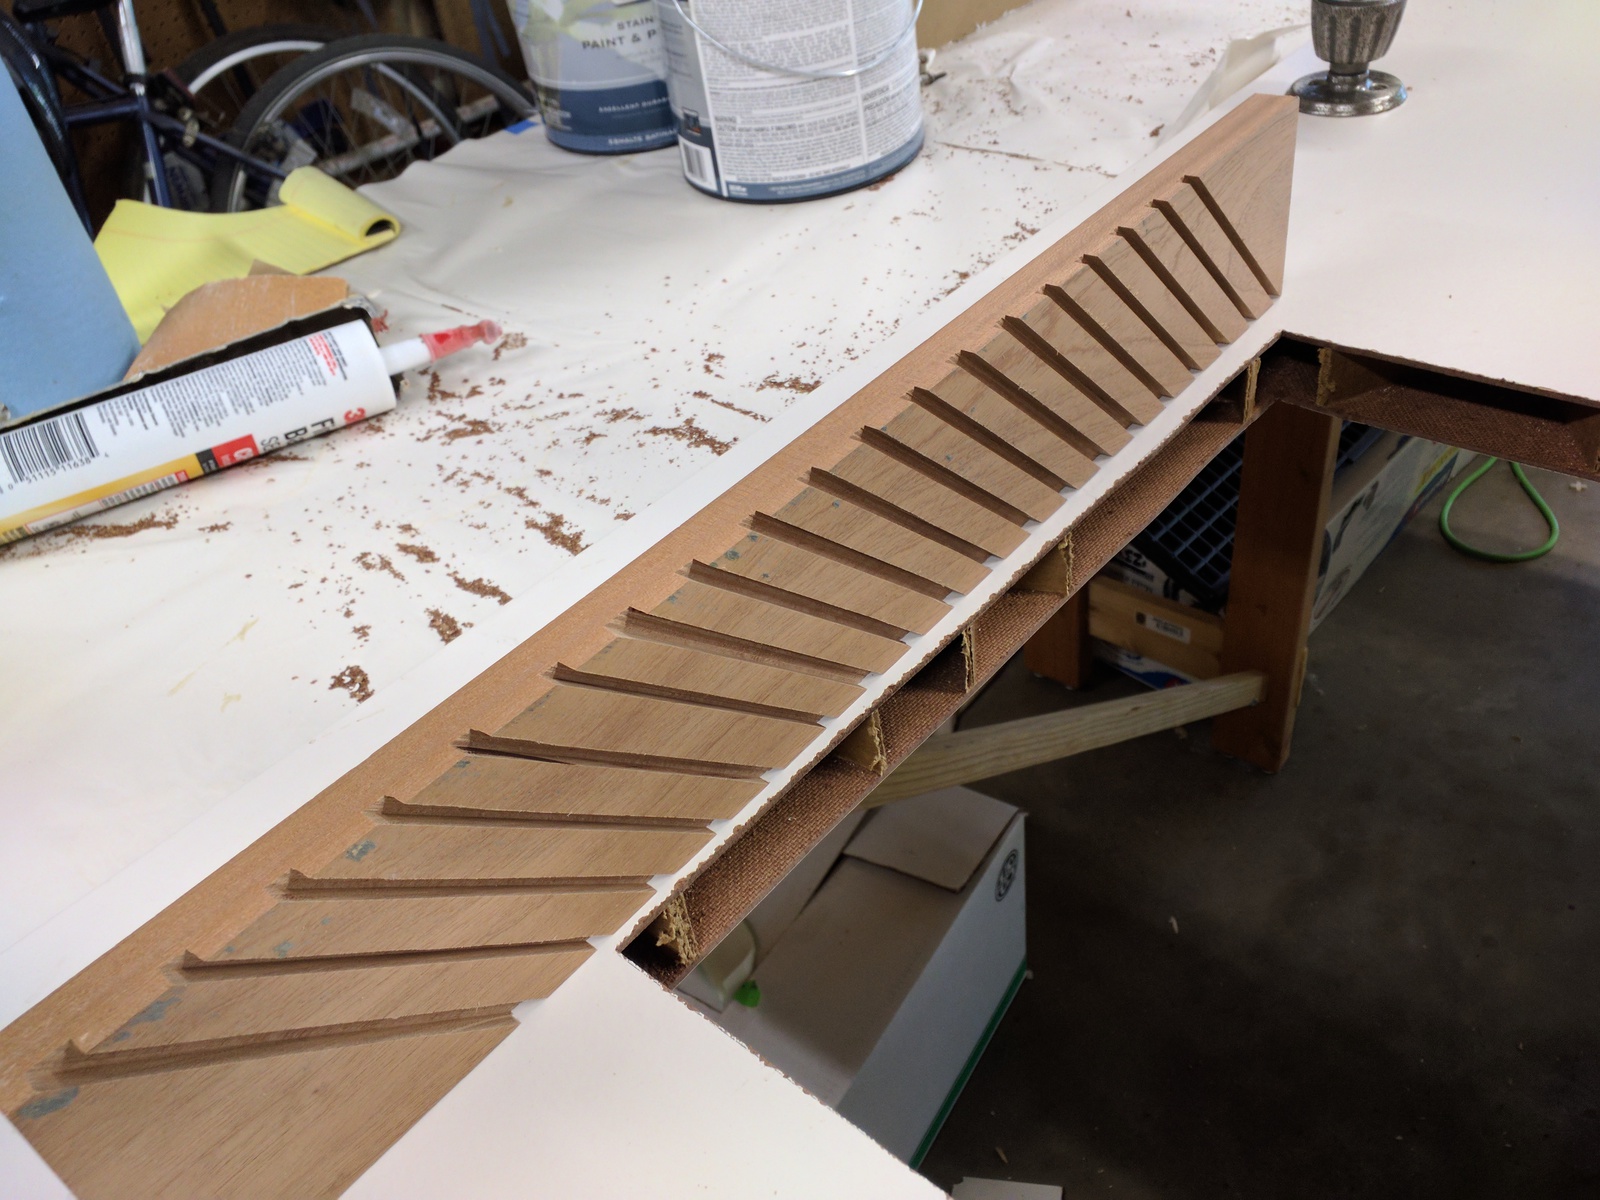
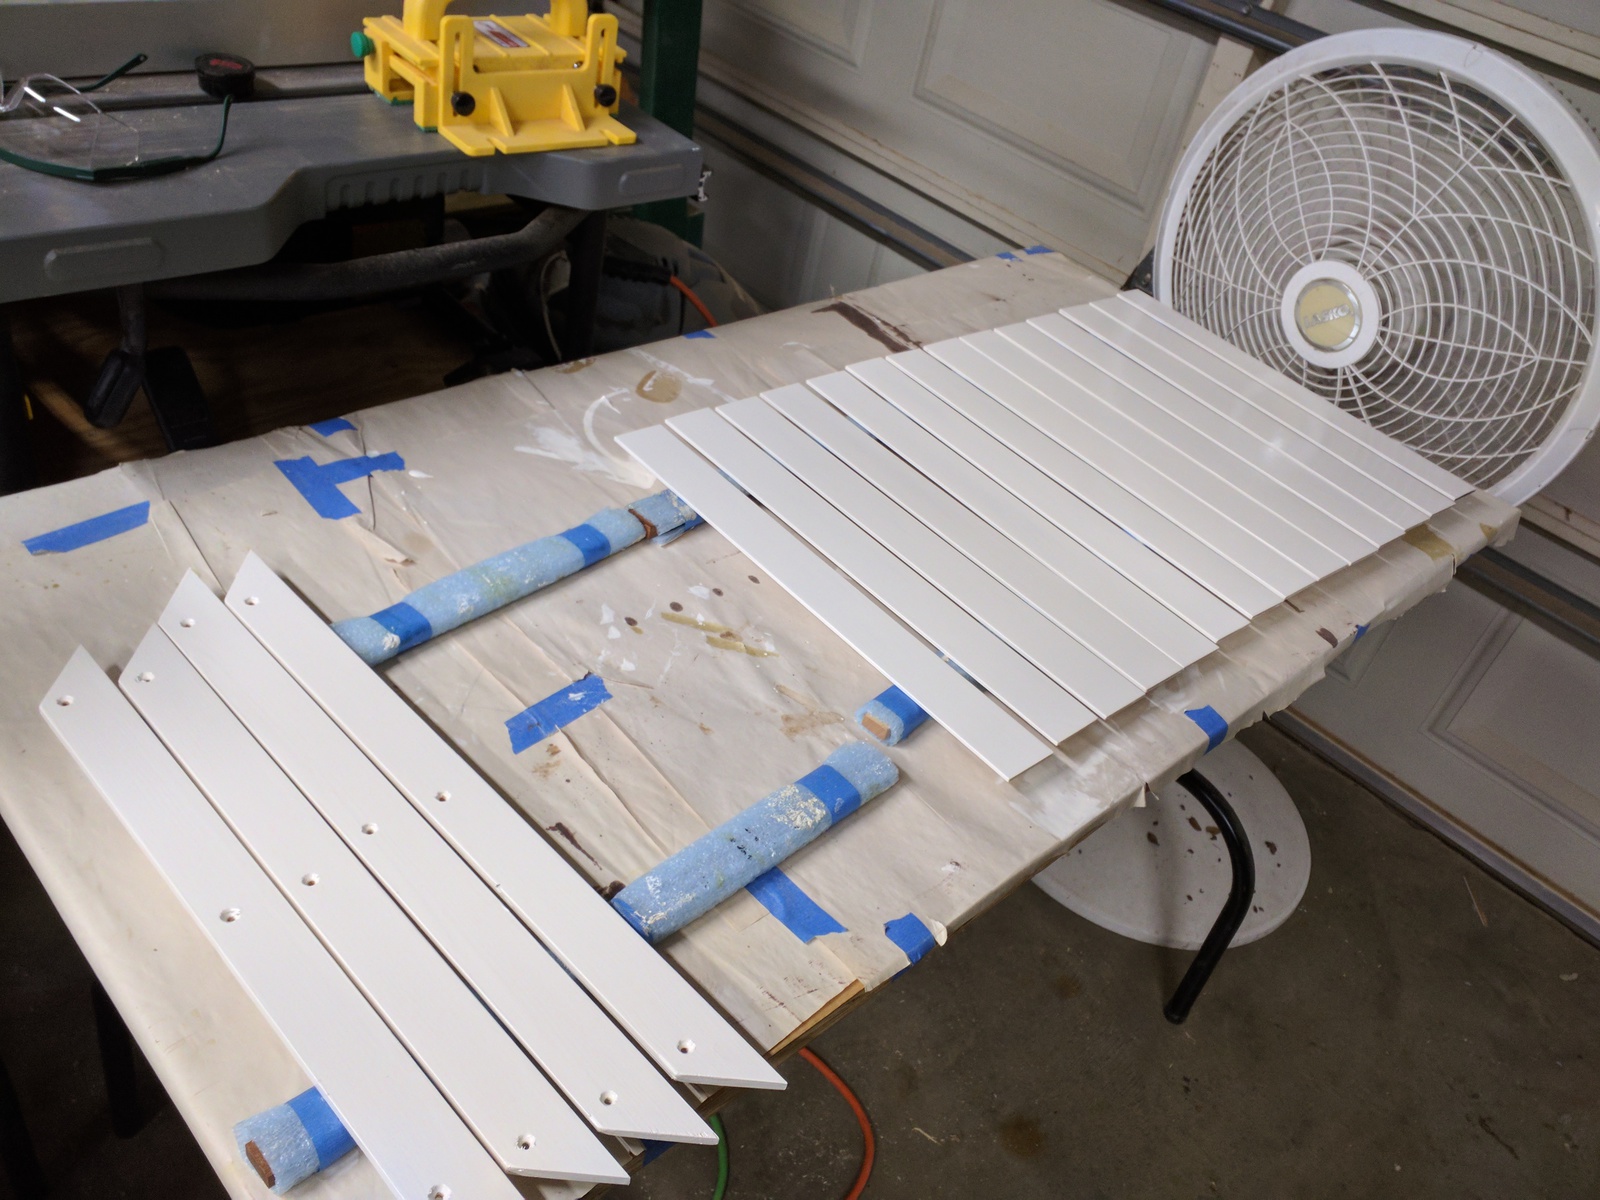
Cutting the Slats
Finished Slats
Cutting Slats
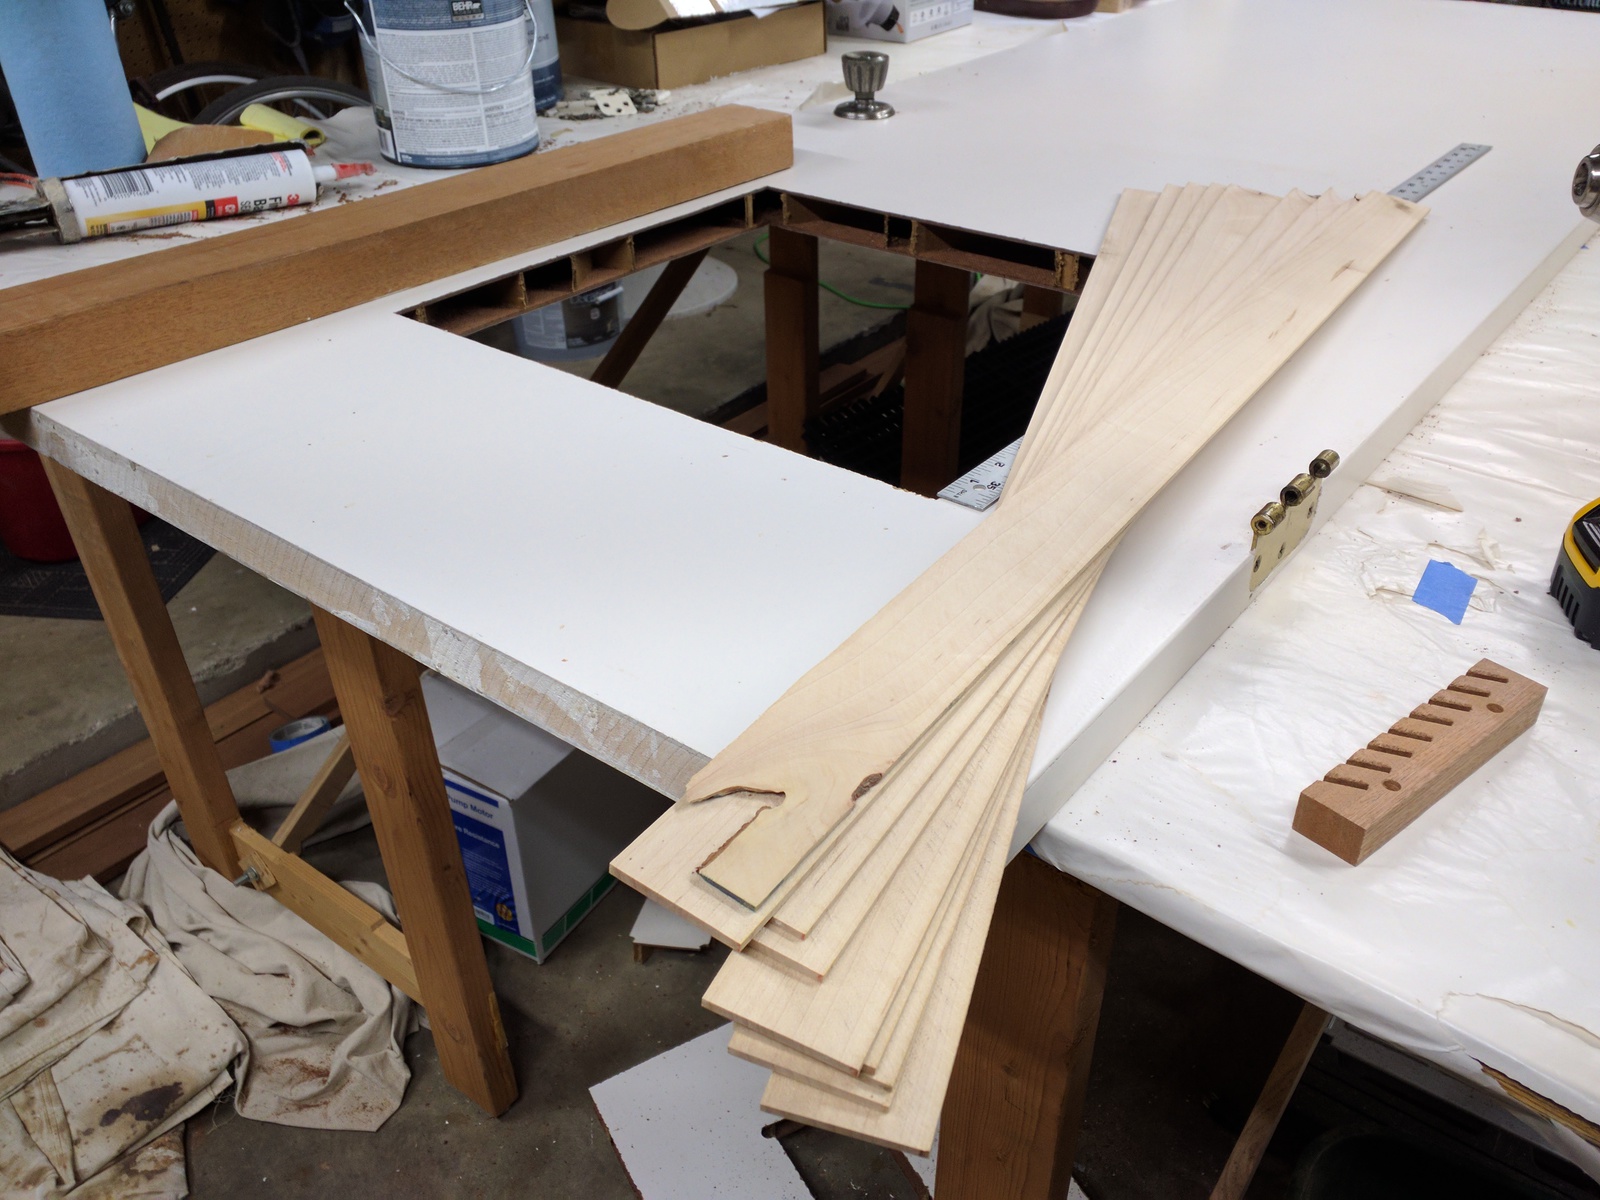
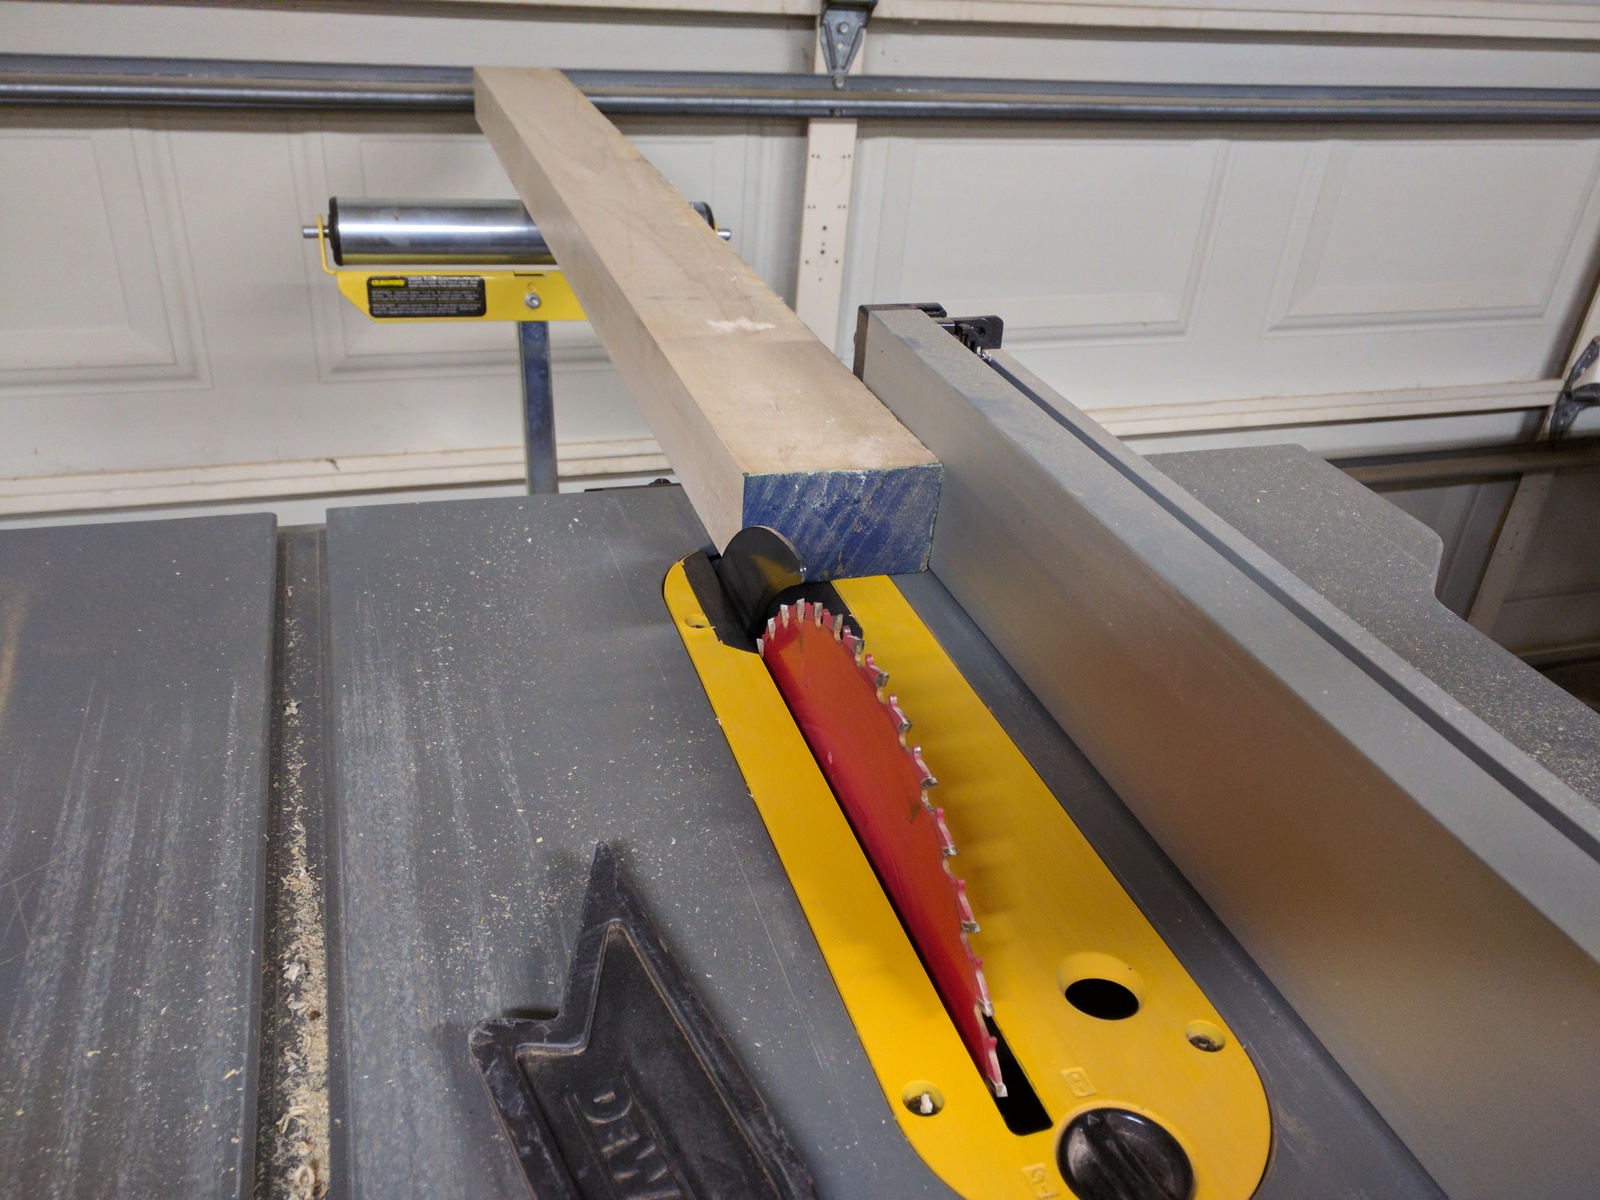
I planned on having the slats at a 45 degree angle, so with the 1-3/8" thick doors, this meant the slats needed to be a little under 2" wide. I had some 2" thick leftover maple wood from one of the benches I made as part of the Long Benches Project that worked out perfectly. I cut these to be 1/8" thick.
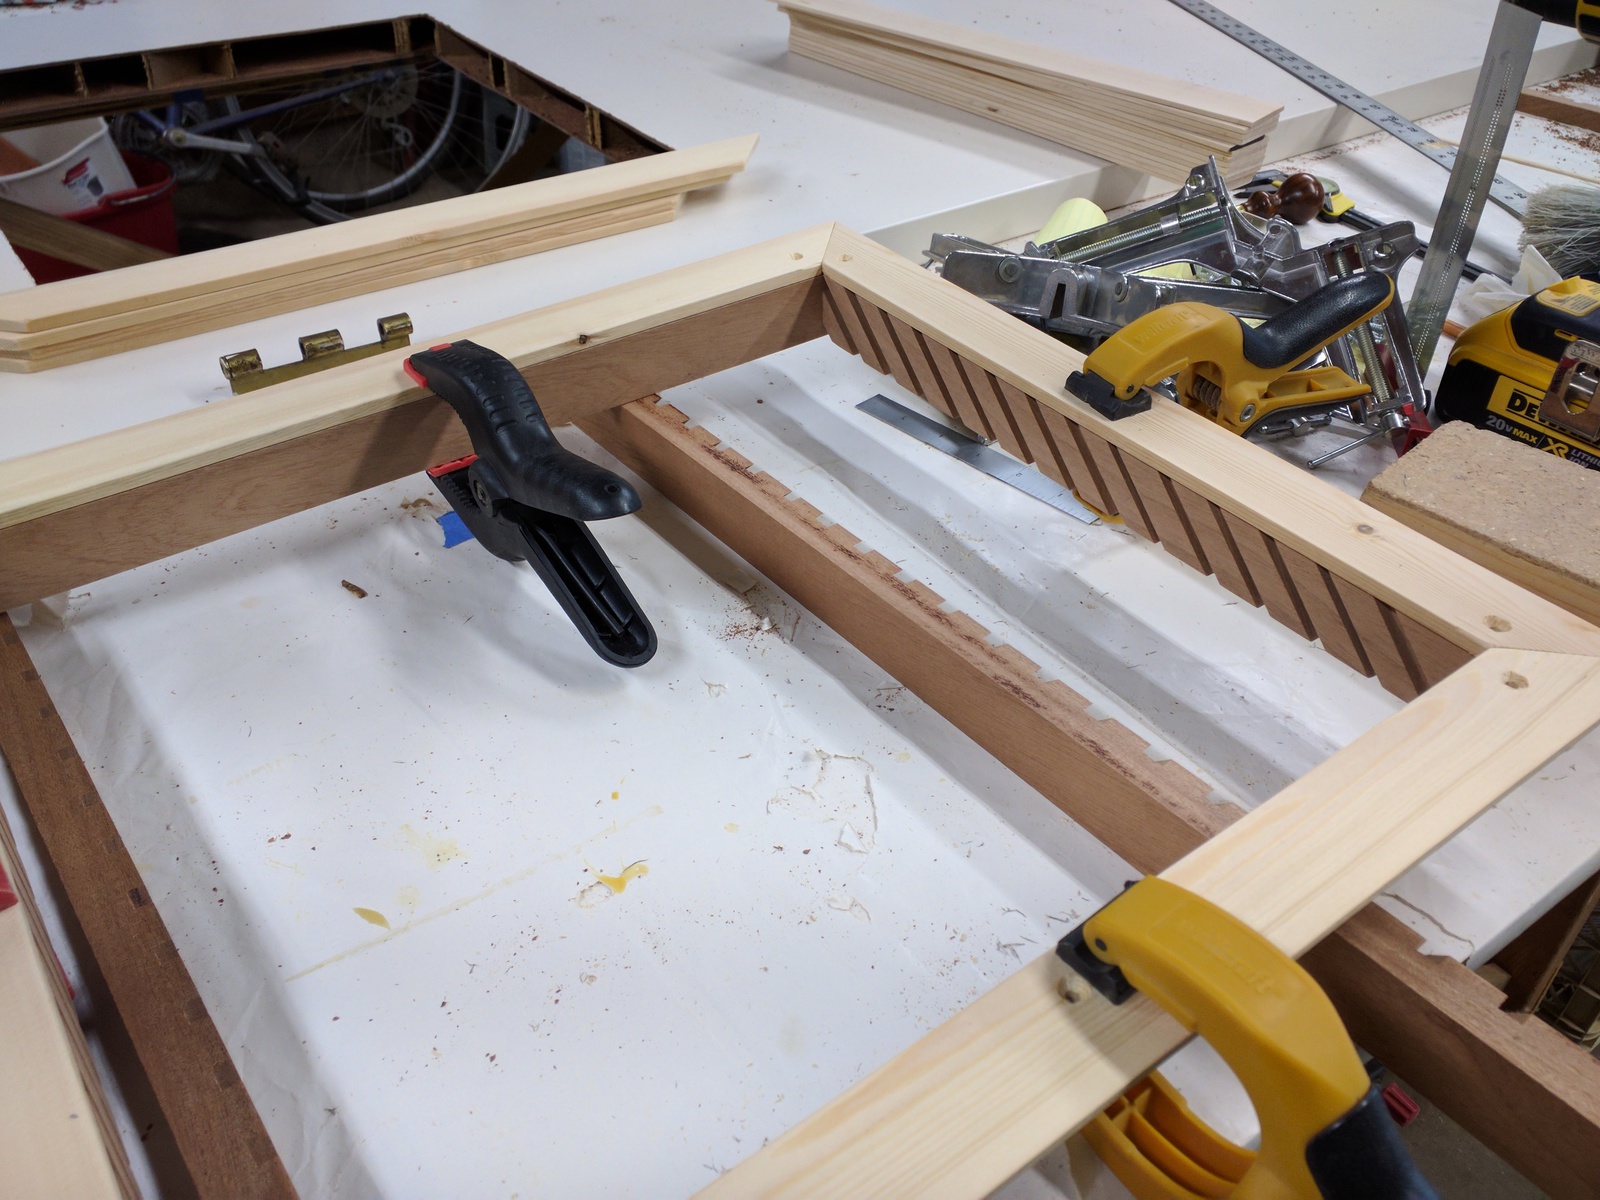
Cutting Slat Grooves
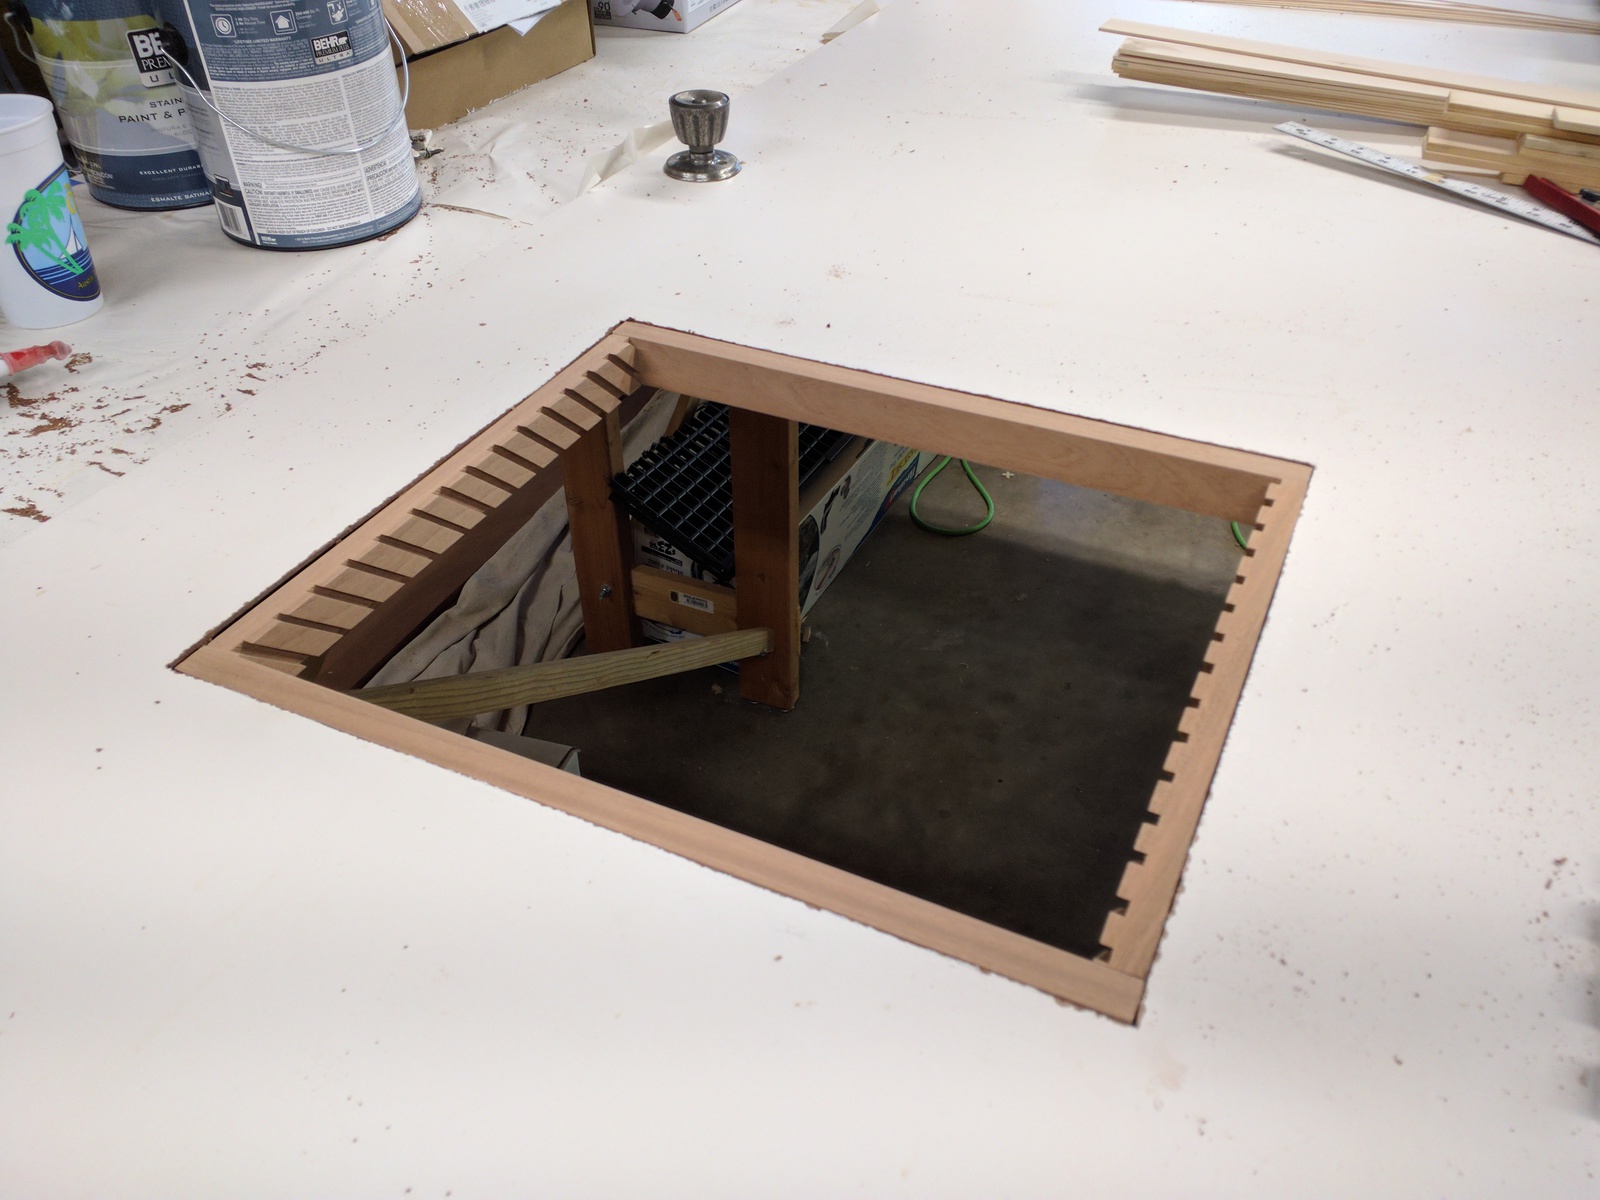
Dry-fitting Slat Frame
Frame for Slats
I cut the grooves for the slats on the table saw using a miter gauge and made a conceptual mistake. I used a wide piece of wood (mahogany) and figured I could then rip this in half and have the two pieces I needed for each side. Alas, geometry does not actually work this way. I needed to then cut another piece with the grooves in the opposite direction.
Painting and Assembly
Dry-fitting Trim Pieces
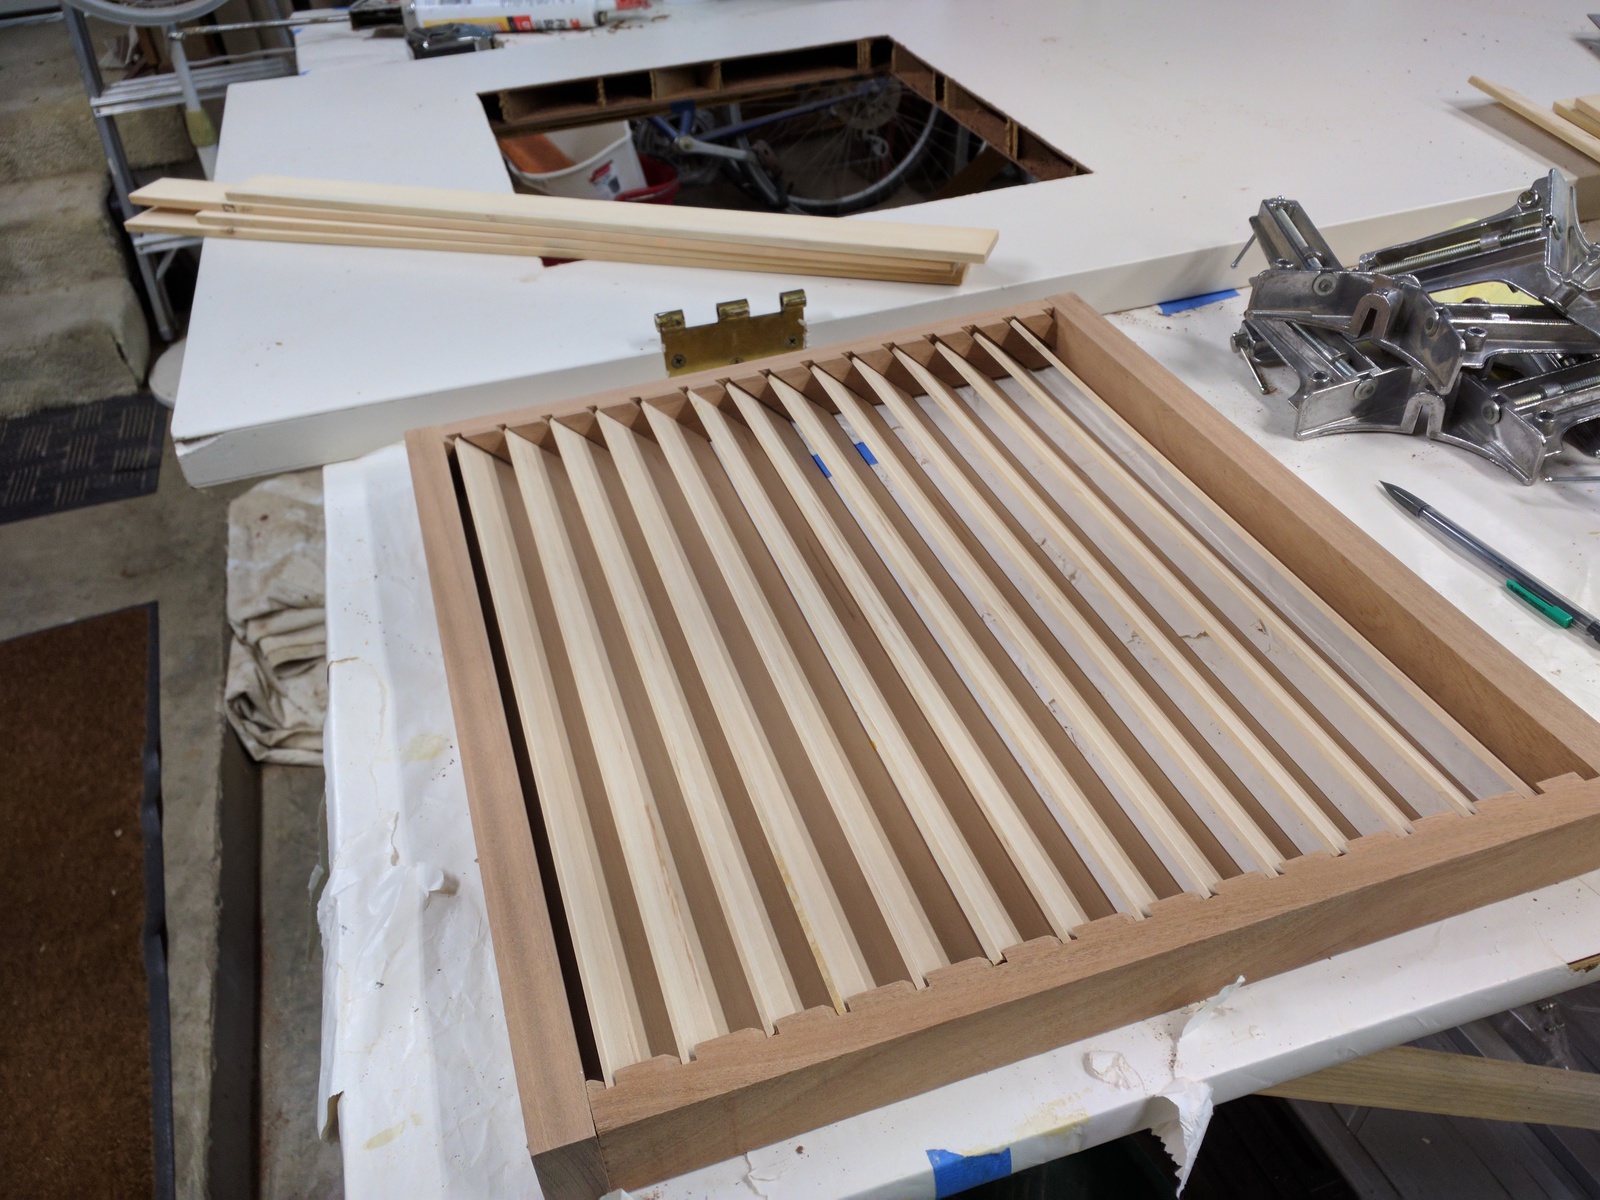
Dry-fitting Slats
I did not want to have any visible screws, but I also wanted to be able to remove the vent in case it might need to be repaired. The solution was to glue the front trim pieces, but use screws for the back (internally facing) side.
Given the intricacies of the slat and grooves, it was going to be much easier to paint before it was assembled, but I also had to make sure to not paint the surfaces I needed to glue.
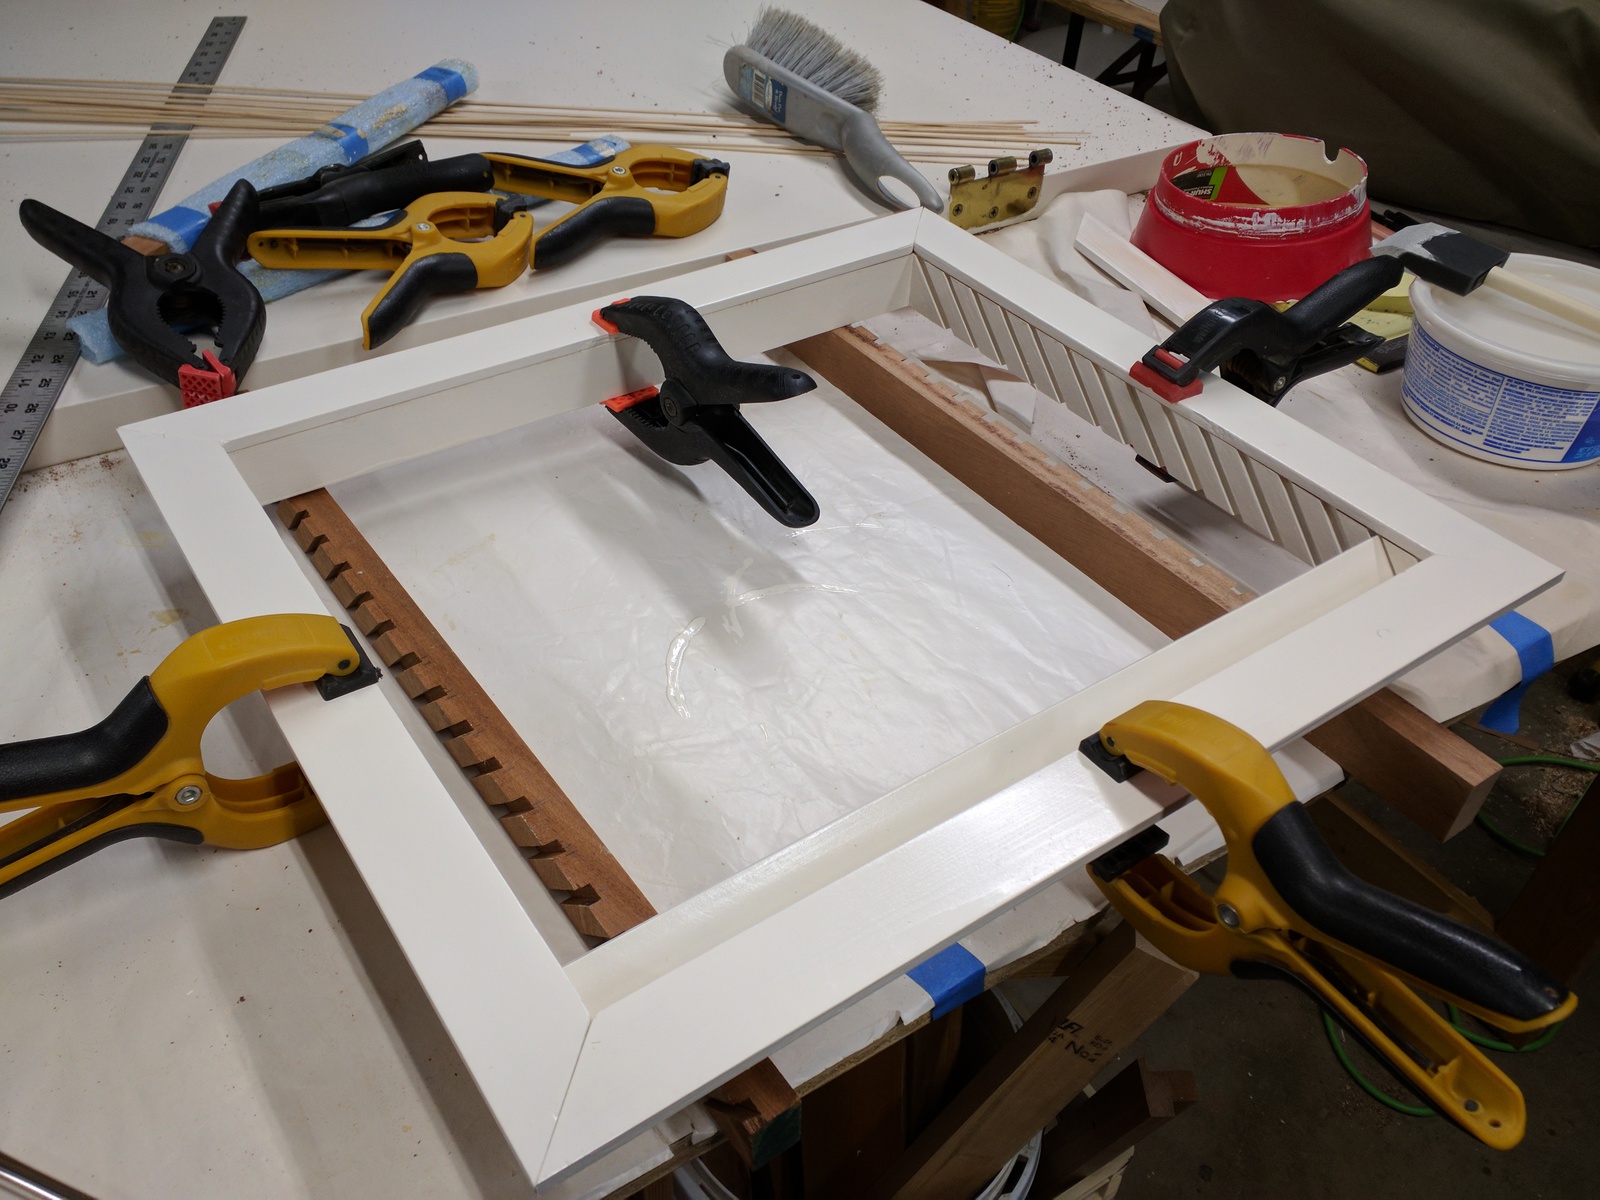
Glueing Trim to Frame

Frame before Glued Trim
Painted Slats and Trim
Final Result
The early experiences is that this is not a complete solution. The fan still comes on, though it does eventually turn off, but it seems like it stays on a little too long. I think I need a larger opening at the top to let the heat escape.
Installed Door Vent (open)
Installed Door Vent (closed)