 Cassandra.org
Under Cooktop Shelving
Specifications
Made of 3/8" birch plywood, stained a medium brown color to match
existing kitchen cabinets.
Story
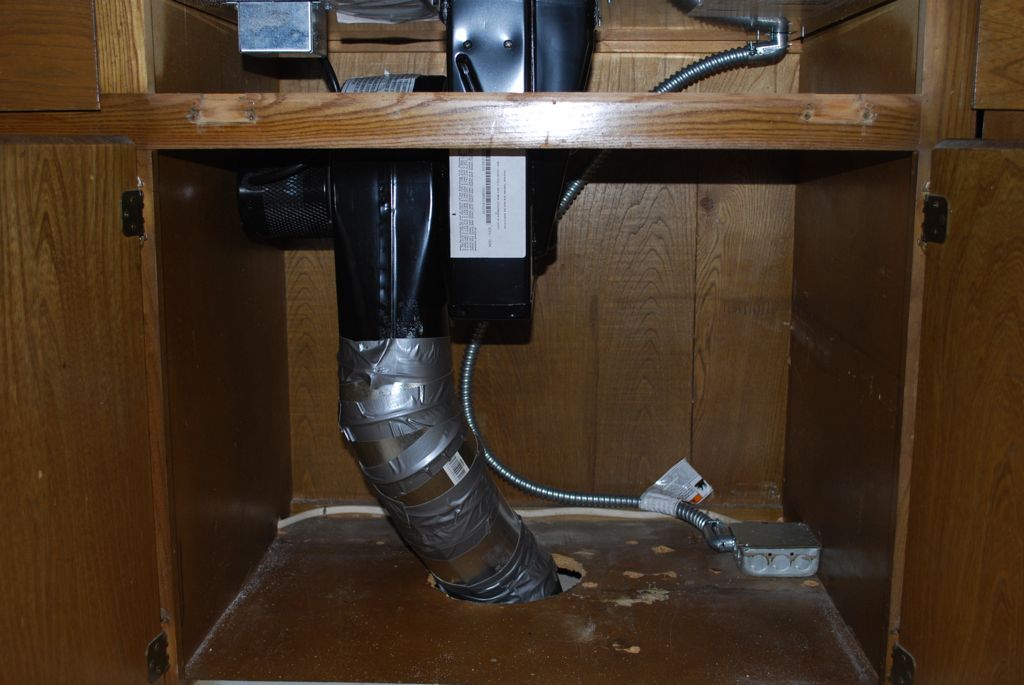
Under Cooktop Mechanicals
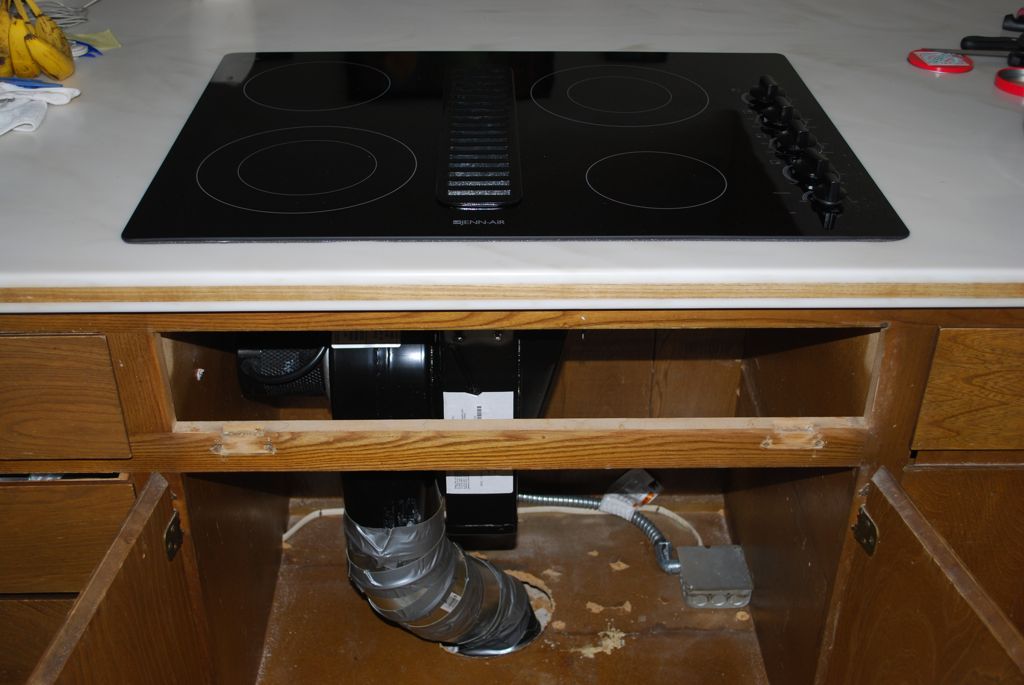
New Cooktop and Empty Cabinet
We had a very good, but very old cooktop that was in need of
replacement. This was a downward exhaust version, with nothing above it so
we needed to replace it another downward exhaust cooktop. After
researching models and finding prices, we ordered one and decided to
install it ourselves. How hard could it be.
The installation wasn't really too bad, except for having to get the
cutout exactly right and the awkward lifting it into place. Ok, so the
installation was not exactly easy, but at least I know if was done
right.
The main problem with the downward exhaust cooktops is that the space
you save above the cooktop you lose below it since the air has to vent
somewhere. In this case, it vents down through the cabinets and into
dusctwork below the slab floor (and out to the side of the
house). Previously, we just crammed whatever was needed into this cabinet,
often banging up the ductwork. Having read the instruction book carefully,
I found out two things that worried me about what we had been doing.
First, properly venting the cooktop means having the ductwork not only very
well sealed, but also free of any small bumps and other irregularities that
would cause turbulence in the ducts. Second, you want to maintain a healthy
clearance from the underside of the cooktop due to the heat.
Since we put in a lot of effort to properly duct the cooktop, we wanted
to protect the ductwork from the day-to-day banging around. Also, the
thought of something under there causing a fire worried me so it would be
good to have something prevent that from happening. The solution was to
make a custom insert that would protect the cooktop and ducts, but also
allow us to maximize the use of the cabinet space.
Construction
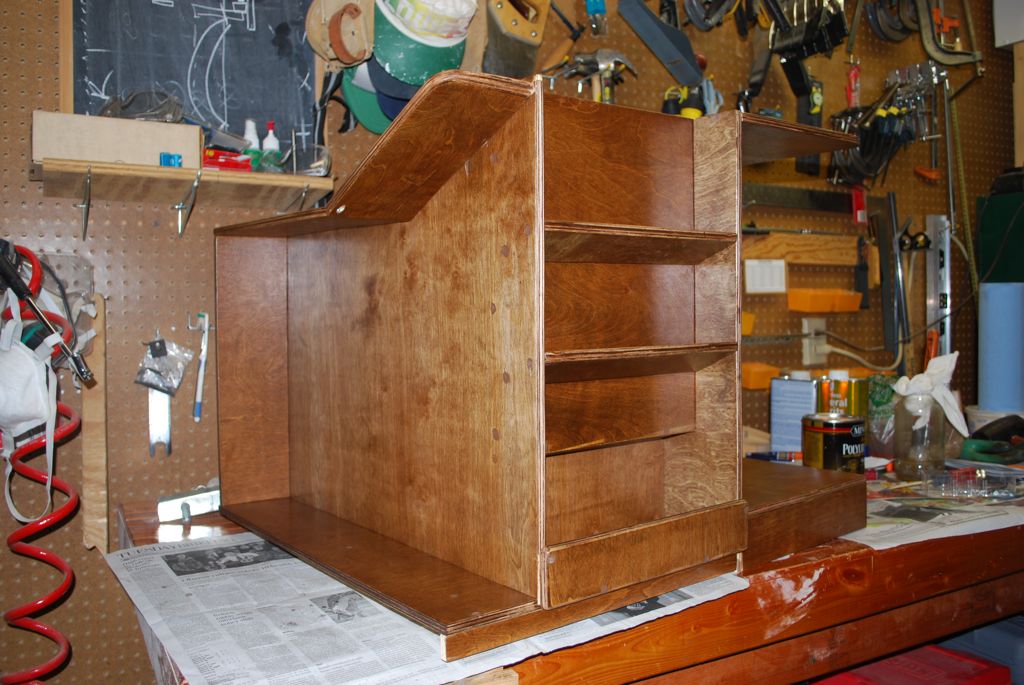
This was a very custom made shelf since it was meant to maximize the
space it allowed for storage. Each piece needed measurements taken
directly from the cabinet, and it wound up looking like an abomination when
just viewed by itself: crazy geometry, and lack of finish on the
non-visible parts. However, installed, it actually looks very nice and
does the job admirably.
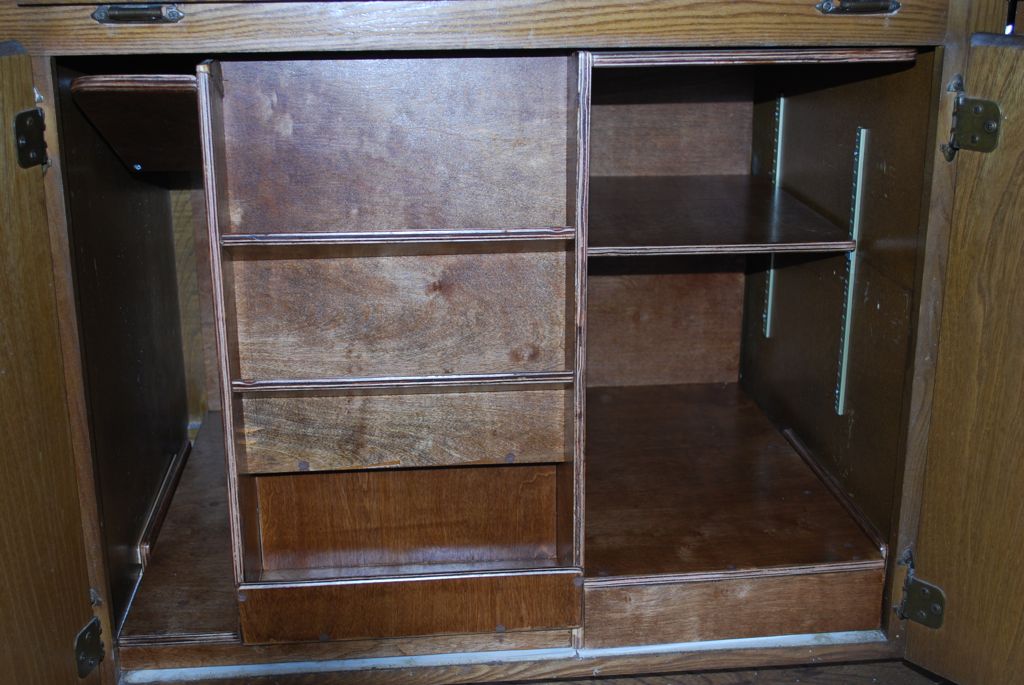
View from left
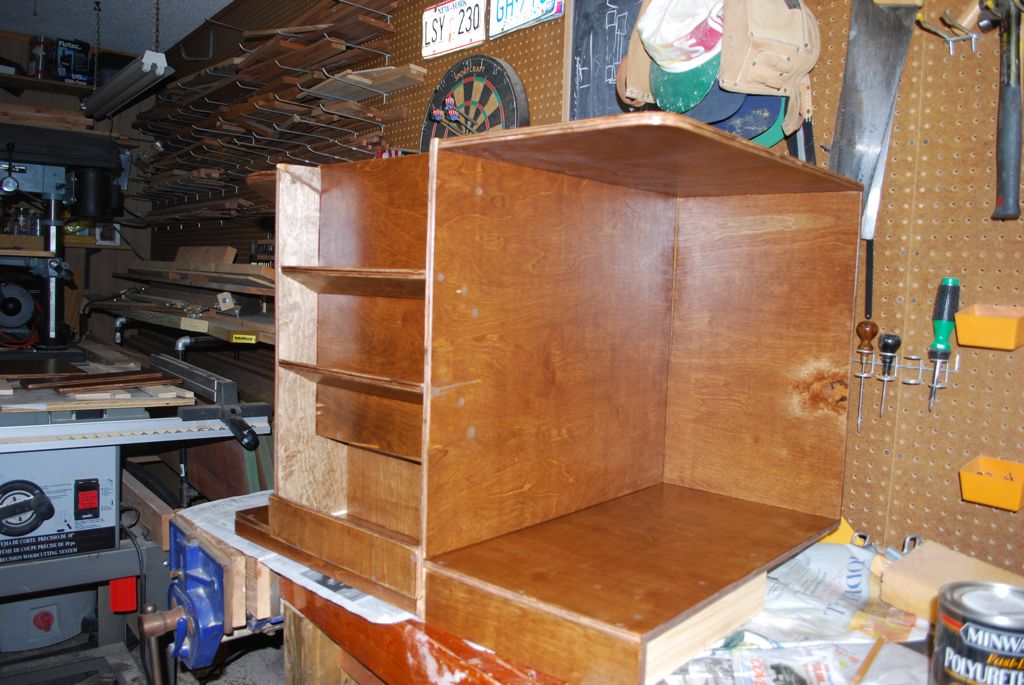
View from right
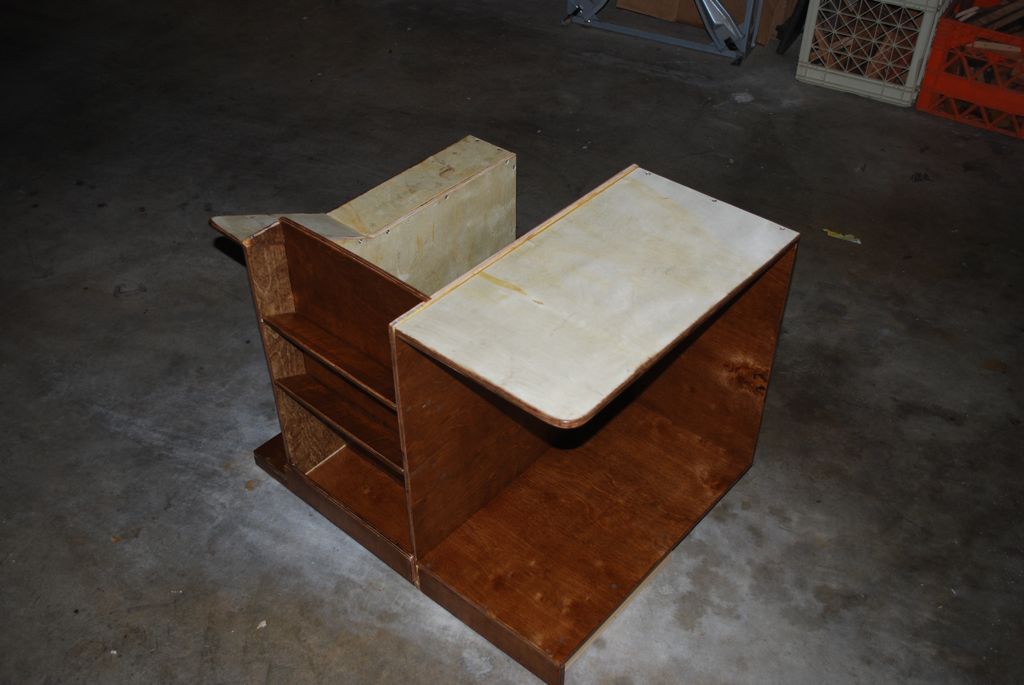
View from top
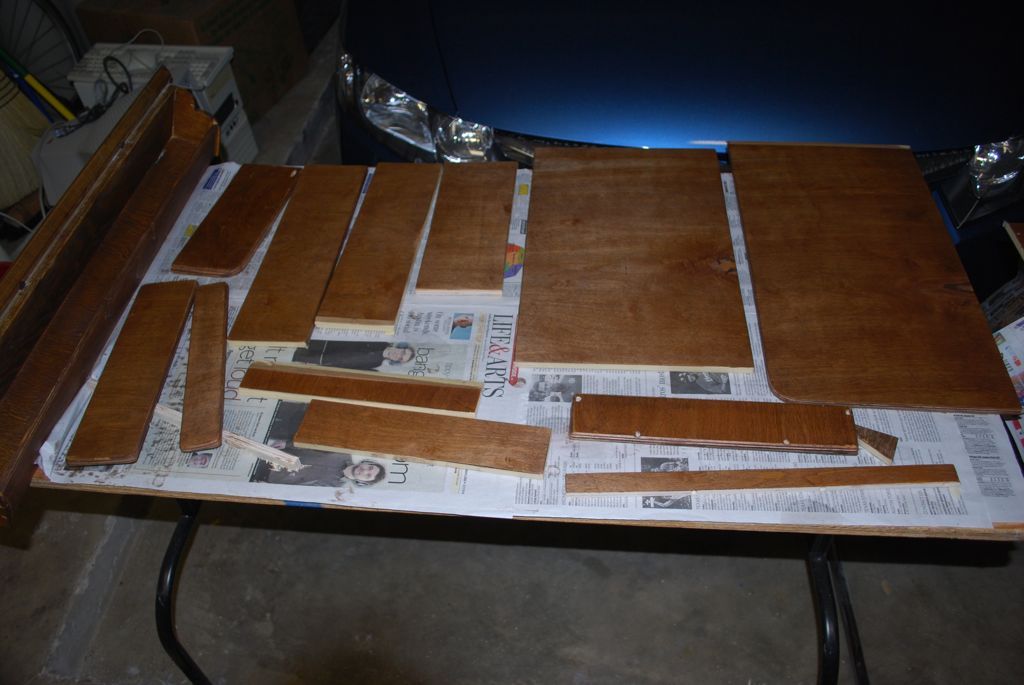
All pieces prior to assembly
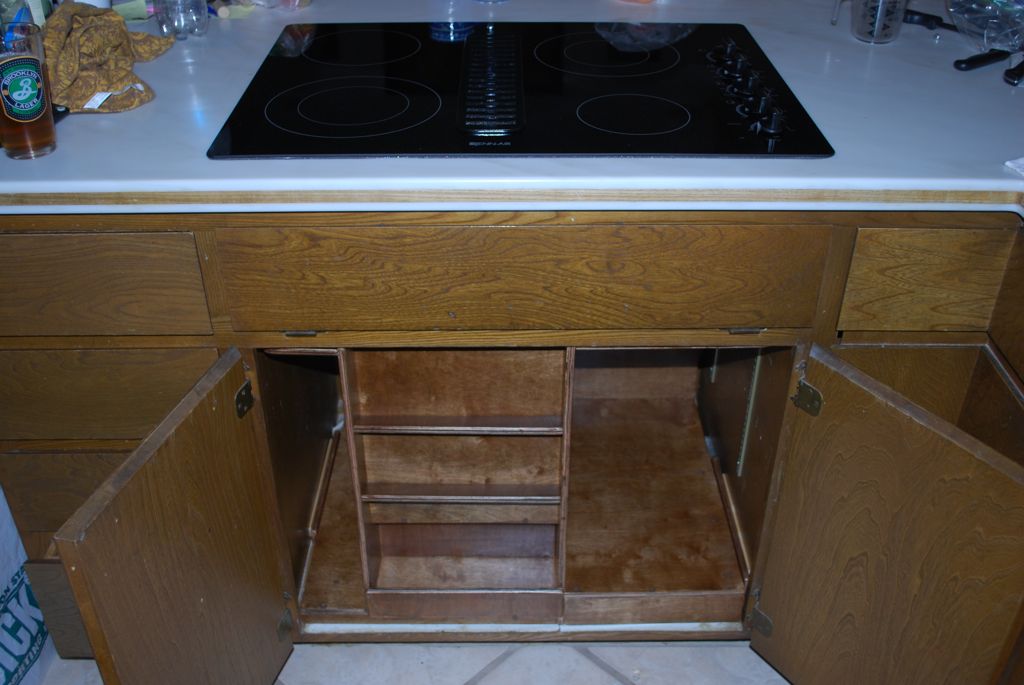
Installed (before shelf added)
Finished result