 Cassandra.org
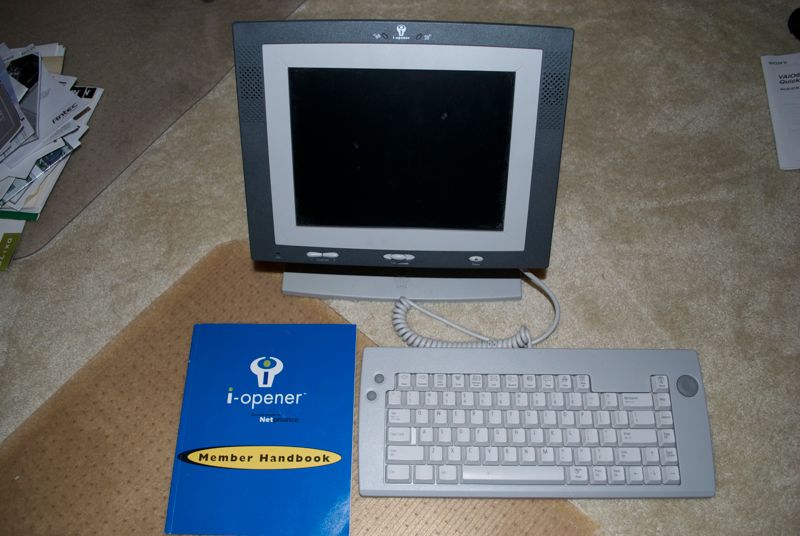
iOpener and Manual
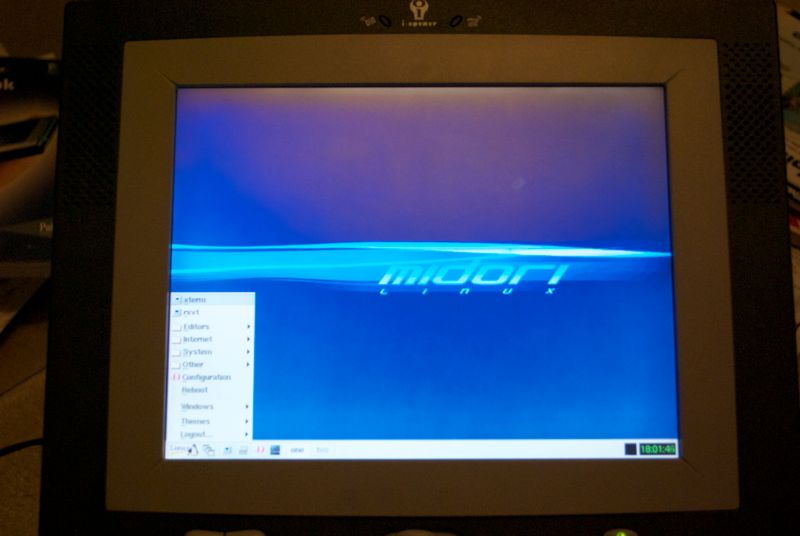
iOpener Running Midori GNU/Linux
Background
Back in 1999 a compny called Netpliance came out with the network
appliance iOpener. They were selling this as a simplified way to get
Internet services (dial-up) where you bought their device and you got
the basics of Internet service, with simple access to the web and
email. They sold their device for $99, though the hardware itself was
costing them 3 or 4 times that amount. It was a loss leader where they
were counting on making up the money with monthly subscription fees.
Lo-and-behold, someone figures out that this device is nothing but a
regular old x86 computer (laptop), with an integrated LCD screen, and
that there were very few obstacles to putting a normal operating system
on it, GNU/Linux being the most popular. So you could get a $400
computer with LCD screen for $99 if you were willing to put a little
work into it. This was the beginning of the end for Netpliance's
business model: a common theme back in the dot com bubble days.
What ensued over the next few years was an escalation of Netpliance
adding more and more protections to prevent it from being hacked and
the hackers always finding ways around whatever was their latest
protection scheme. Most of the changes in the models entailed
variations of the BIOS chip (design, functionality and the amount of
epoxy they used to afix it on the motherboard).
Story
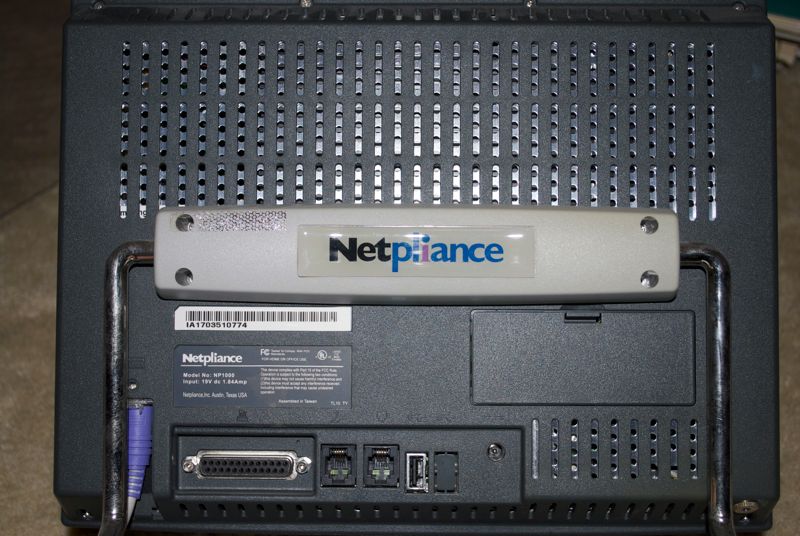
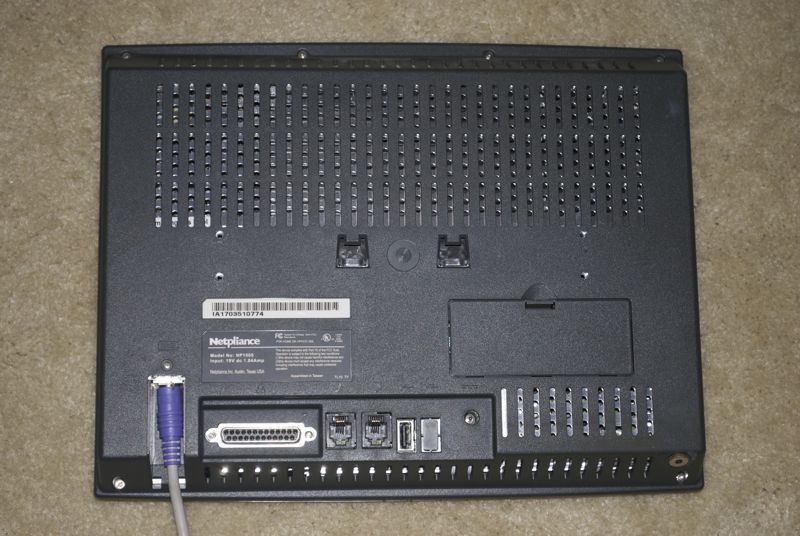
Back Panel of iOpener
When the first stories came out about being able to get this hackable
hardware for $99, two friends and myself contemplated chipping in to
get one to play around with it. We never did pull the trigger on this
though. A couple years later, another friend I used to work with got a
job at Netpliance, which happened to be just down the road from my
house. By this time, the company had changed their name to Tipping
Point and had a new business model making internet security appliances
(firewalls). During the dot com days in Austin when they started, they
were funded with a lot of cash, but unlike most of the companies, they
actually showed some fiscal responsibility and had plenty left to take
the business in a different direction.
When my friend started working there, he'd mentioned that they still
had a bunch of iOpener's lying around the office, so I asked what the
feasibility of acquiring one might be. He said it should be no problem
to get one, and a few months later I had one in my hands (this was now
2004). A litle while after that I found some time to spend hacking it.
I was thinking of using it as a simple web terminal for the kitchen,
with some added ability to play MP3 files.
Project Details
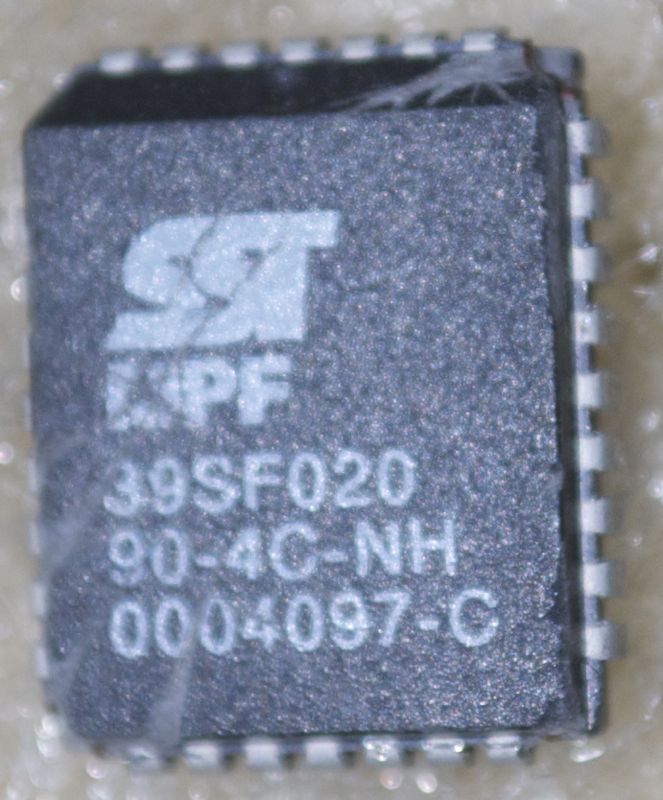
Original BIOS Chip (removed)
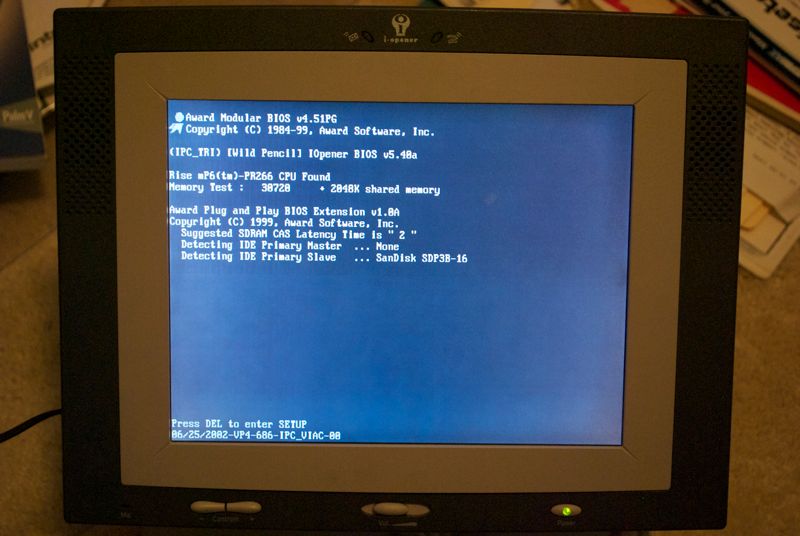
My first task was to find out what version of the iOpener I had, since
that would dictate how hard or easy it was going to be to put this to
some use. Booting the machine up gives the hints and it turns out I
had "V5", dated 7/7/2000. In the first versions, you could just hit
the right sequence of keys during boot and it would dump you into a
root shell and you could do all the work from there. EWith the next
generation versions you would have to re-flash the BIOS, but then could
be on your way. By the time V5 rolled around, there was no way any of
these tricks would work. The only solution was to completely replace
the BIOS chip itself, and I luckily found someone out there in the
Internets that was still selling them: about $25 each.
The next task is to set things up so the iOpener could be hooked to a
hard drive. By default, the iOpener booted from 16 MB of flash memory
(it had 32 MB of regular SODIMM memory). You could either re-flash
that memory with a bootable image from the disk, or you could hook up a
hard drive permanently and always boot from that. To put in a
full-time hard drive was more expensive and tricky since you had to get
a small laptop drive (expensive) and a special mounting bracket (more
money or more work). You also would need to add a fan to cool it down
and there's not a whole lot of extra space inside the case, so it winds
up looking a bit Frankenstein-ish. I decided to just re-flash the
memory with a compact bootable linux distribution, though I still
needed to temporarily hook up a hard drive to get the image into the
flash memory.
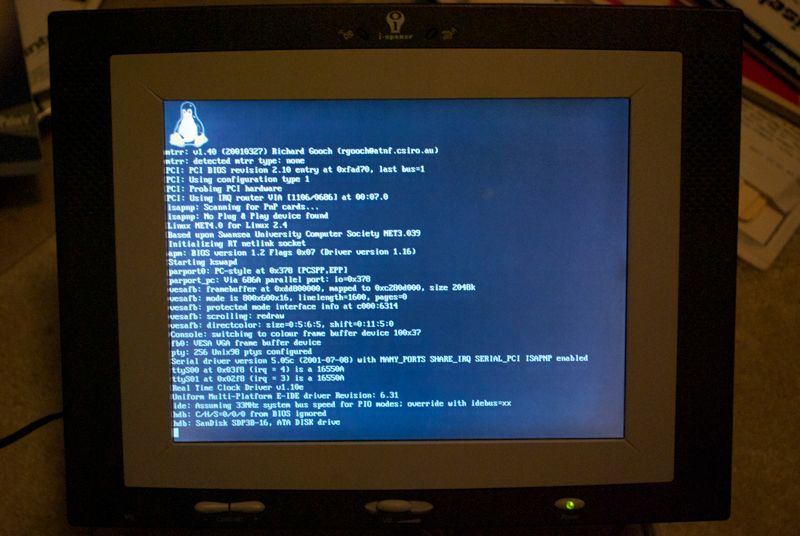
iOpener Booting into Midori GNU/linux
All of this work of installing a new BIOS chip and attaching a hard
drive required getting at the motherboard. The iOpener is essentially
laptop guts mounted behind the LCD screen, so if you open it up, you
find a fairly standard x86 laptop motherboard. However, as part of
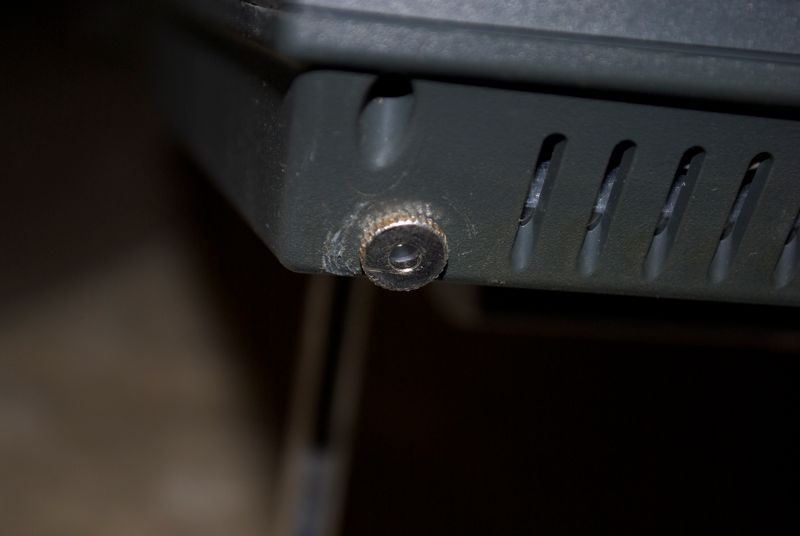
Netpliance's anti-hacking measures, the back cover was held on with
tamper-proof "star-type" screws. What does that mean? It means you just
need to buy a special screwdriver to make them tamper-able: As they say:
if you outlaw special tools, only outlaws will have special tools.
After removing the screws, I used a dremel tool to cut slots in the
heads so I could use a regular flat-head screwdriver from then onwards.
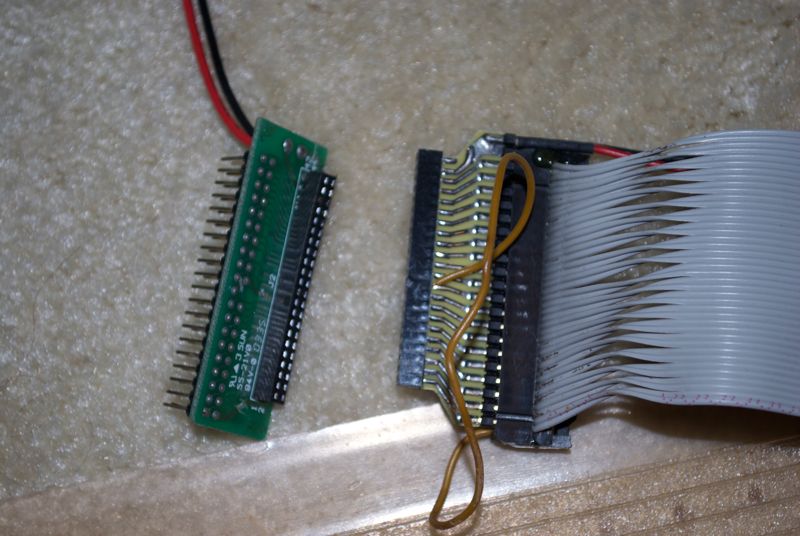
IDE Adapter and Reversed Cable
Being a normal x86 laptop, the iOpener had IDE connector pins for a
laptop disk drive. I had two issues to deal with here. The first was
that I was going to hook up a normal IDE drive, which meant I needed an
adapter to convert the full-size IDE connector to the smaller version
used on laptops. The second issue was the tricky way Netpliance
reversed each pair of pins in the IDE connection. There were folks
selling these special reversed pin IDE cables, but I decided to have a
go at making one myself, and enlisted a friend to help with the
delicate task of stripping apart a ribbon cable and resoldering every
pair of pins reversed. The picture at right shows the final result,
which actually worked the first time.
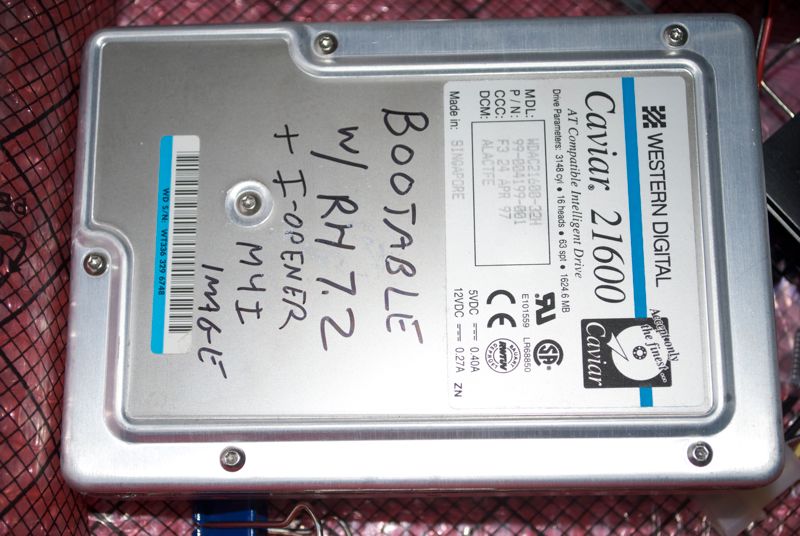
Hard Drive with Bootable Image
I needed to find a suitable GNU/Linux distribution which needed to be
small (fit into 16MB) but support networking, NFS, sound, etc. There
were a few candidates but I settled on the Midori distribution (M4I)
that had a prebuilt image for the iOpener hardware. I grabbed an old
disk drive and put the downloaded image onto it.
After connecting the hard drive, connecting a fan, propping it all up
and then installing the new BIOS, I followed these directions to get
the iOpener to boot off the hard disk:
	 Boot up to CMOS setup (hit DEL from the moment you see print on
	 the screen) and select CHIPSET FEATURES SETUP; SET bank X/X Dram
	 timing to 8 ns; SET SDRAM cycle length to 2

	 Go to BIOS SETUP FEATURES and select BOOT SEQUENCE to C only

	 Go to STANDARD CMOS SETUP and select both C and D drive to : AUTO
	 with their mode : AUTO

	 Save & exit
After rebooting, the iopener booted off the hard drive and then I ran
the following command to get the bootable image into the iOpeners
flashable memory.:
dd if=m41-*img of=/dev/hdb bs=512
This all worked suprisingly well with few hiccups.
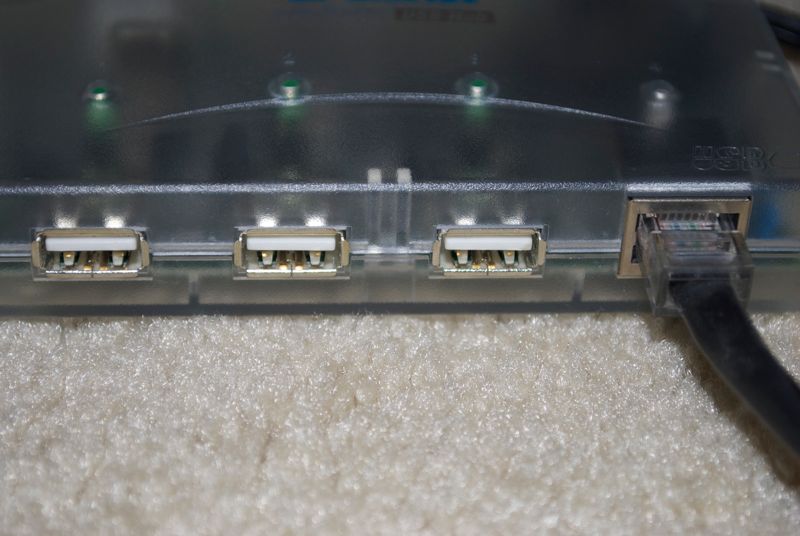
D-Link DSB-H3ETX (closeup)
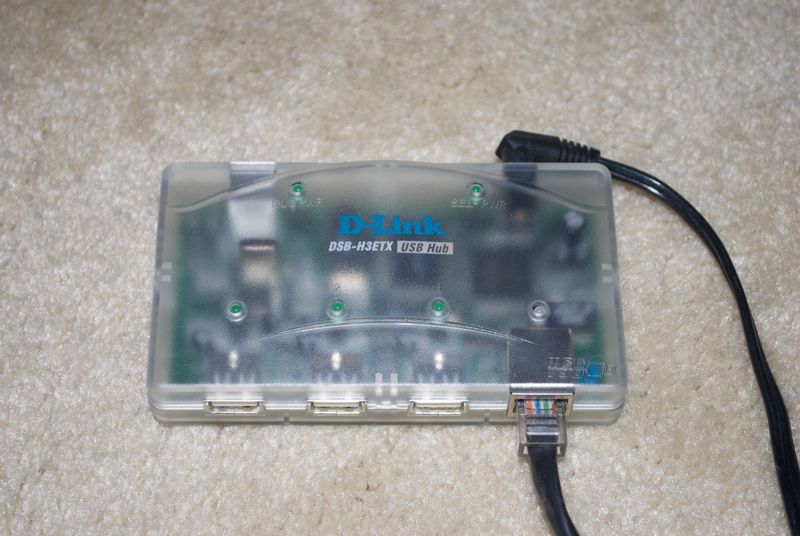
D-Link DSB-H3ETX USB Hub
The next major task was to get the iOpener on the network. It had a
modem built into it (with its RJ-11 jack) for its main dial-up
purposes, but no RJ-45 connector or on-board NIC to speak of. The only
way to add a a network device was via the USB port it had. There were
plenty of USB-based wired and wireless solutions out there at the
time, but very, very few of the options were compatible with the
drivers built into the chosen GNU/Linux distribution.
The M4I (Midori) distribution included the wlan-ng Prism driver and I
saw a few recommendations out there for compatible devices. I first
tried a wireless solution (Netgear MA111), but I could not get that to
work. I then tried a wired solution in the Linksys USB200M, but I
could not get that to work either. A friend of mine suggested using
the D-Link DSB-H3ETX, which is a USB hub, but also sports an RJ-45
connector with full NIC capabilities. This did the trick and I could
get the iOpener onto my LAN.
Added Speaker Jack
The iOpener has a fairly decent sound chip, but was driving two
super-crappy internal speakers. To play MP3s would require reasonable
sound quality. Next step was to install a proper speaker-out jack on
the iOpener so I could hook up decent quality external speakers.
Exactly where to hook these up was a bit of an issue since the various
versions of the iOpener had changed things around the sound chip, but I
eventually tracked down the correct places I needed to solder in the
wires. It was an Analog Devices AC97 (AD1881A) sound chip and I was
able to locate the schematics to find the soldering points. I was able
to make a fairly neat job of installing the jack so it looked almost
like it was designed to have a speaker jack.
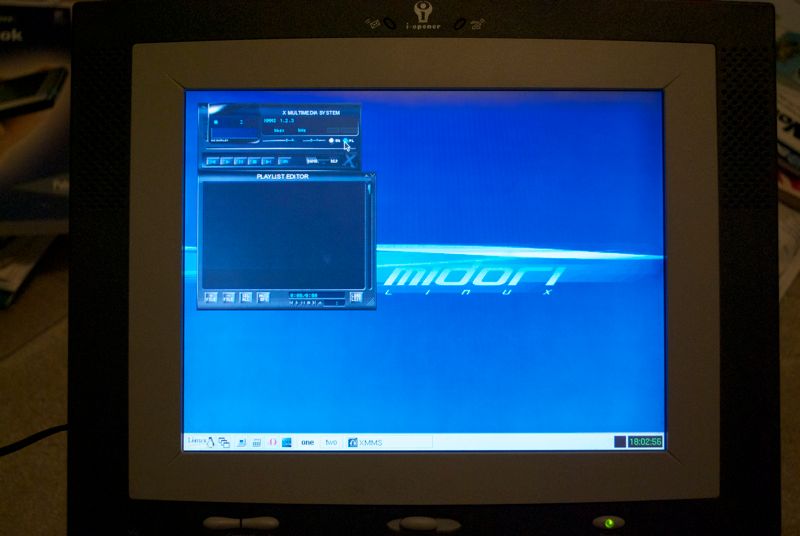
Midori GNU/Linux and XMMS
I then went to the iOpener and set up NFS to mount my home servers MP3
collection. You can see the iOpener running the XMMS player on the
right. You don't see any songs there since I did not have it networked
when I took this picture. I also chose to install the Opera web
browse, since it was the most efficient and smallest footprint option
out there at the time.
The iOpener actually had a PS/2 port hidden behind a cover on the back,
so with the proper PS/2 splitter I could hook up a proper mouse. The
iOpener keyboard had buttons for mouse control that were horrible to
use. The LCD screen was also of fairly bad quality with a very
noticably slow refresh rate and lag. Here's more detailed spec on the
screen:
	 Screen resolution: 800x600
	 Video card: trident Cyberblade /:7d (trident X driver)
	 hsync: 31.5-57.0
	 vfreq: 50-70
	 depth: 16 bit
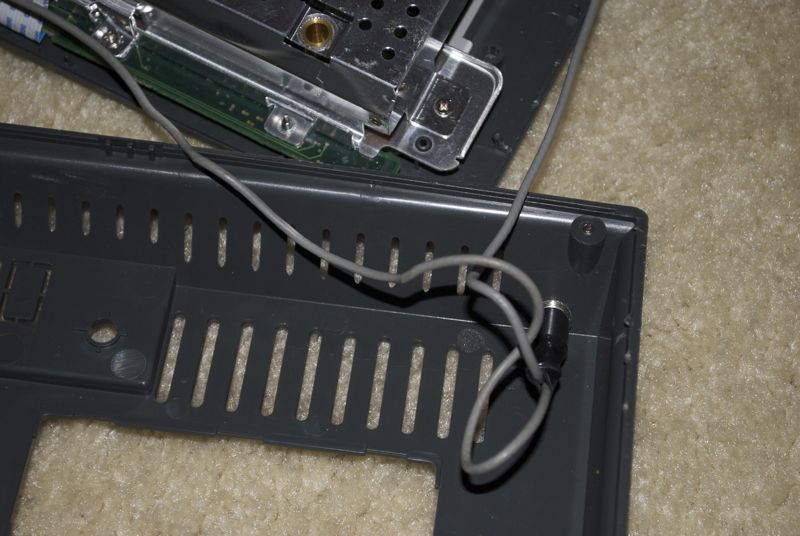
iOpener with Stand Removed
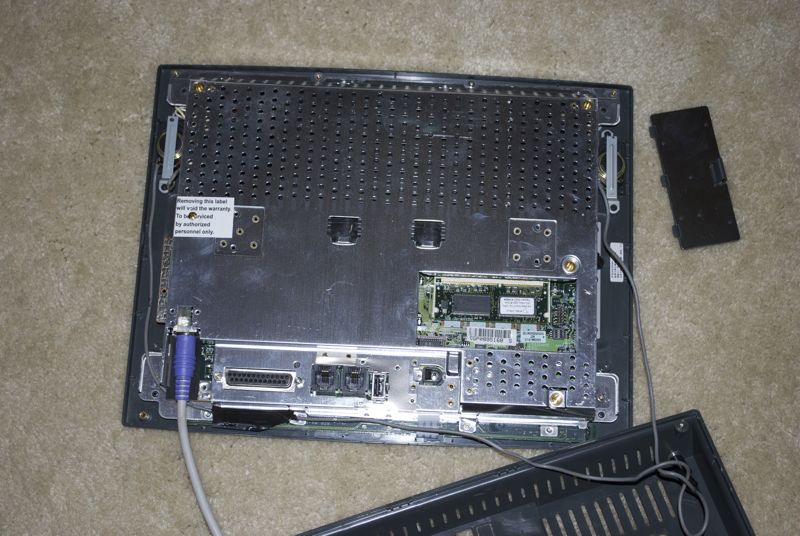
iOpener with Back Removed